Turn An Old Aluminum Can Into The Cutest Flower And Garden Caddy Solution
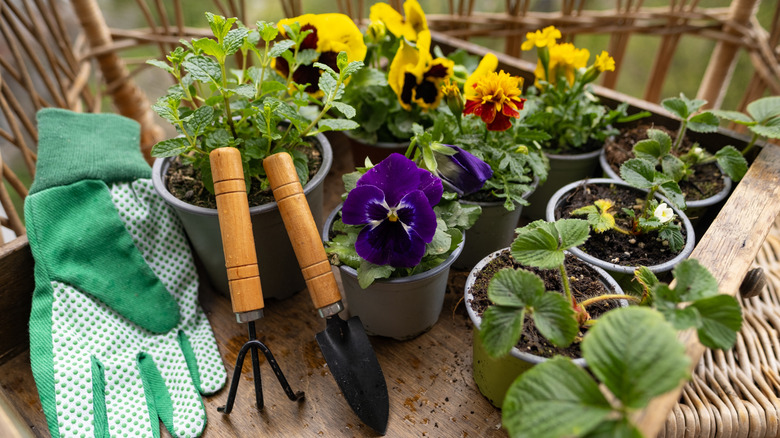
Why is it that there are always so many cute gardening accessories every time you take a trip to the store or plant nursery? From rustic storage boxes that help keep track of all the seeds you have to soft floral gardening gloves, who knew that gardening could be such an expensive hobby?! Thankfully, you can make use of household recyclables to store all those tools by turning a few old aluminum cans into a cute, rustic garden caddy.
This garden caddy creation is a fairly easy craft project. You will need aluminum cans — four, six, or eight would work. You will also need durable paint in any color, such as water-resistant chalk paint or spray paint. See what you have and if possible, repurpose leftover paint. Along with the cans and the paint, you will need outdoor Mod Podge, a 1-inch thick wooden plank, a drill and screws, and a handle. You may also want to get things to jazz up the cans, such as vintage seed packet printables, old wallpaper samples, washi tape, or decoupage papers. If you are particularly artsy, you could even paint your own designs.
Although this is an inexpensive DIY already, you can save even more by reusing wood. So have a look for any leftover wooden planks. It doesn't have to be too big, and you can cut it to size. Again, you may have a handle knocking around. If not, you don't have to buy one. You could use strong rope, a drawer pull, or even strips of leather as a handle, using screws or a staple gun to attach it.
How to create a garden caddy with tin cans
To make this beautiful garden caddy, first, gather all your materials. If you are reusing a wooden plank, cut it to size so it fits the number of aluminum cans you are using. Aim for the plank to be around the same length as the tin cans lined up. Then, get to work painting and decorating the cans. To create a vintage, distressed look, use a sanding block once the paint is dry for a rustic finish. Once that is done, go ahead and customize your cans, using Mod Podge to attach any printables, paper, or cutouts.
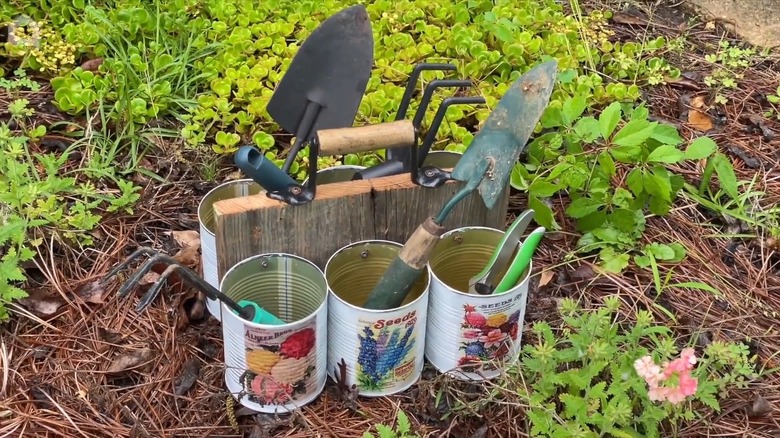
Now that your aluminum cans are prepped, drill them to the wood! Use a marker to mark where you want the screws to go in, drill holes into the cans, and then screw the cans onto the wood. Make sure the bottom of the cans line up with the bottom of the wood, drilling the holes near the top of the cans to make attaching them easier. Once the cans are on, screw your handle to the top of the wood plank, and you are good to go. Place your essential gardening tools in the caddy, and you have a beautiful garden accessory that is not only cute but super helpful too.
You don't have to only use this creation as a caddy, either. This DIY looks great for displaying cut flowers, and you could also use it as a seed starter or as a decorative pot for smaller plants. If you are using it for seedlings, just make sure to add holes to the bottom of the cans so they can drain freely.