No Baskets Nor Racks: The Hanging Shoe Storage Solution You Can Sew
Sometimes, a two-dimensional space is the best place for 3D storage. When you're looking for smart storage solutions, walls and the back of doors can be major space-savers. Whether your DIY skills lean more towards carpentry and wood scraps or needles and thread, we've found plenty of genius shoe storage ideas that are game-changers for small closets and entries. For those who sew, a hanging shoe storage DIY has no baskets or racks—it's just fabric with pockets, and it can hang over any door, inside your closet, or on the wall.
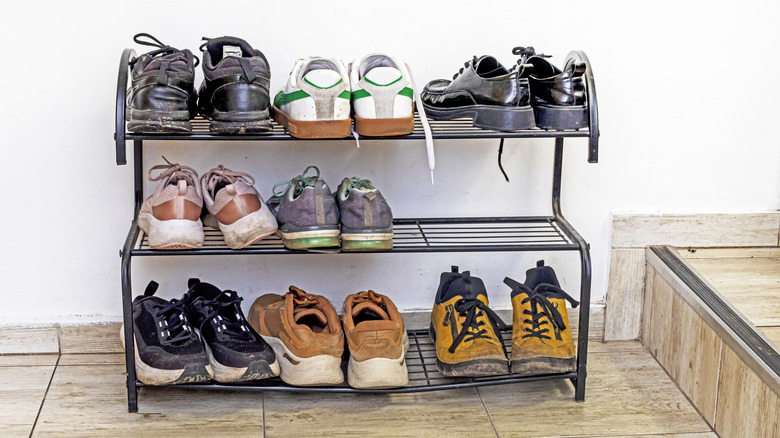
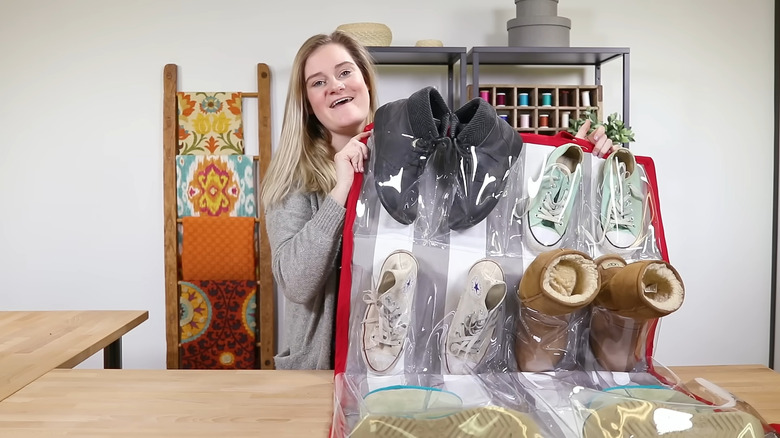
With shoe racks and baskets looking messy and taking up floor space, there's a strong case for hanging shoe storage. It uses up vertical dead space, and with clear vinyl pockets that you can sew directly onto a piece of canvas, you can easily see each pair of shoes, making them easy to find when you're running late and trying to get out the door. By choosing fabric that complements your decor, the organizer can blend into any room. You may have tried using a store-bought version of one of these and found it to be flimsy or the pockets too small, but with this DIY, you get to choose the size of the pockets and whether they're made from vinyl or fabric. And, you can make it as decorative or as utilitarian as you want.
Learn the basic sewing pattern for a hanging shoe storage
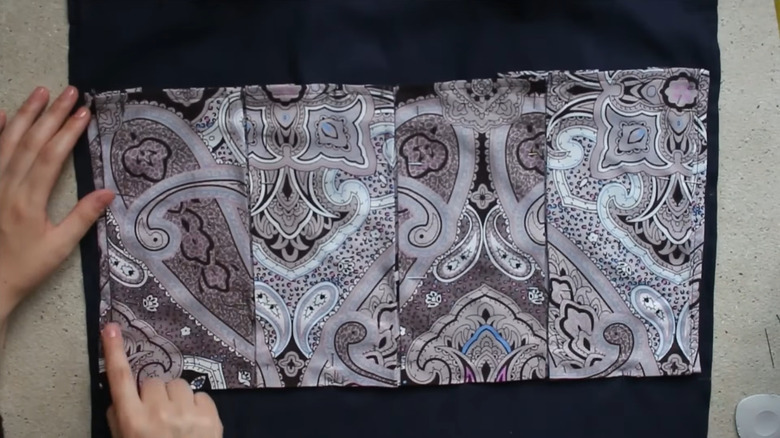
There are a lot of ideas online for sewing hanging shoe storage, but they all follow the same basic pattern. Start by measuring your space and cutting the backing fabric and stabilizer to size, then pin and sew a hem around the edges. For the pockets, cut strips of vinyl or fabric, adding pleats or gathers to allow room for bulky shoes. Sew the pocket strips onto the backing in horizontal rows, then add vertical stitching to create individual pockets. You can hang these over the door or mount them to a wall using a dowel rod, webbing loops, grommets, or a clothes hanger.
With sewing, having everything ready before you start is the secret to success. For this project, you need a detailed plan that includes the width and height of your shoe organizer and how many rows of pockets it will have. If you're a beginner, this is a good project to practice pattern-making since it uses straight lines. After you determine the dimensions of your shoe organizer, you have a lot of creative license to design it exactly the way you want it. When you're planning your design and purchasing fabric or interfacing, consider common fabric widths, such as 45 or 54 inches, so your design minimizes waste.
Which materials to choose for a custom hanging shoe organizer
When it comes to customizing your hanging shoe organizer to fit your style and needs, there are many different materials to choose from. Canvas makes the perfect backing material, but if you want it to have more structure, use a stiff fusible interfacing. It may still sag if it's holding a lot of weight, so another idea is to repurpose cardboard scraps and sew them into the top or mount it to a board to give your shoe organizer more structure.
Budget-friendly options include repurposing an old tablecloth or using a canvas drop cloth for a no-frills version that can go in your garage. Whether you make the pockets from clear vinyl, fabric, or mesh is more of a design choice than a practical one. Fabric pockets feel more decorative, making them a better fit for an entryway where you want your organizer to blend in or add style to your decor. However, clear vinyl is usually under $9 a yard for 16-gauge, which is durable enough for shoes, making it a more budget-friendly option than many fabrics.
You can make these for any room in the house, including mudrooms, laundry rooms, and children's rooms. When you're finished with your shoe organizer, you can even use the scraps to make a small version for storing spices in your pantry or organizing your bathroom.