This DIY Rattan Trick Hides The Eyesore You're Sick Of Looking At In Your Home
We may receive a commission on purchases made from links.
Let's face it: routers are ugly, but we need them. They're mandatory in homes (unless you want to go without Netflix or Instagram), but Wi-Fi routers can make a space look cluttered. If you're renting, or recently bought a new home, there's a good chance you don't have much of a choice where your router goes; it needs to be near an electrical outlet and cable outlet to work. On top of that, organizing those cords can be a challenge, especially when they're all different lengths and going in opposite directions. While you could buy a rattan router cover from Amazon or Etsy, finding a product with your exact router measurements can be tough.
You may be tired of staring at that eyesore and thinking of creative ways to hide your wireless router. If so, there is a DIY solution that can help cover the router while still looking design-forward. Before you start, you need to decide where you want your router to go and what's feasible. Choose a flat surface, such as a desk or console, then use masking tape to create a rectangle around the router, leaving between ¼ and ½ inch around it. Don't forget to measure the height — add ¼ to ½ inch there as well. If you set a box over the router (which is what we're about to do), the box should not be flush against it. You can either leave the masking tape as a measuring guide or write down the measurements and remove the tape.
How to make your own rattan router cover
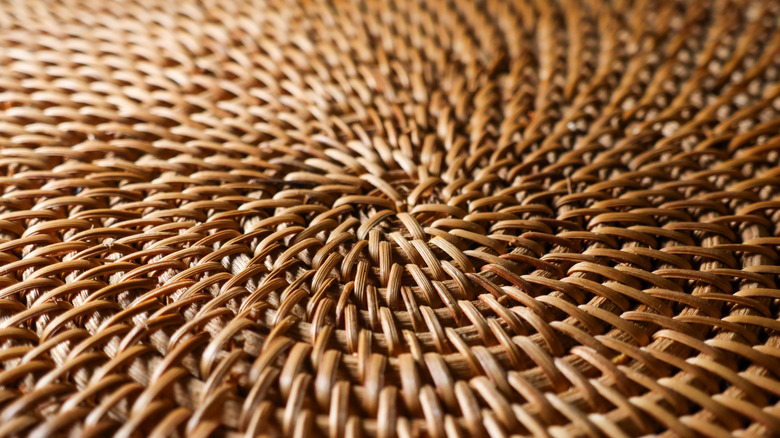
To complete this project, you need thin, unfinished wood planks, a can of finish, wood glue, a roll of rattan (an inexpensive way to incorporate organic texture into your home), and a hot glue gun. Measure and cut your planks to the desired lengths, if needed. Go one side at a time, gluing the planks together to form the top of the box, two short sides, and one long side. The second long side should be left open for wires. Use a brush to apply your finish and let the wood dry. While you're waiting, move onto another side to keep the process moving. Once everything has dried, measure and cut your rattan so it fits over the rectangular space while leaving a bit of room on all sides of the wood. This is where you glue the sides together, so you don't want the rattan reaching all the way to the edge. Use your hot glue gun to attach it to the wooden rectangles and let it dry.
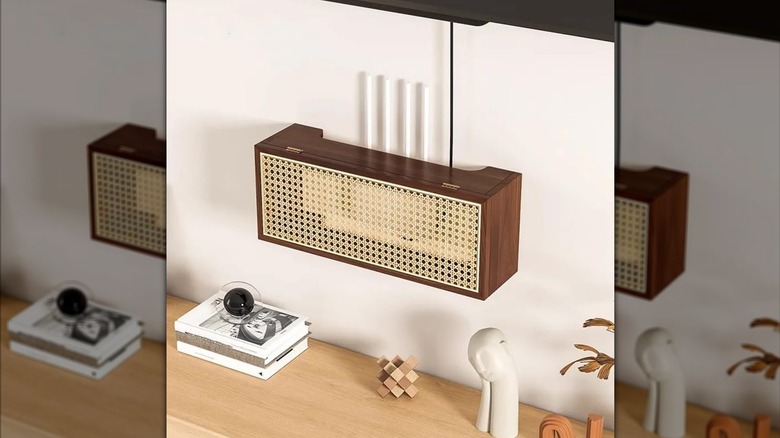
Now it's time to attach the sides together to make the box. Take the largest side, the top, and lay it finish-side down. Then, glue the other sides to the top and let it dry once more. As soon as it's ready, flip it over and nestle your router underneath it. The open back side lets the antennas and cords come through without issue. Move it to your desired spot, and you're all set. Remember, this box is not a sturdy shelf, so nothing should be placed on top of it. If the DIY approach is too much, you could try the HJAGDJ Rattan Router Storage Box, which is hung on a wall.