How To Build A Retaining Wall Using Only Concrete Bags
Homeowners have lots of reasons to build retaining walls. Have issues with erosion and runoff? Is flooding a threat? Need to hold back dirt? Want to build a patio? The answer to all these needs and many more may be to construct a retaining wall. True to its name, a retaining wall is intended to keep something in (like dirt), keep something out (like water), or do both.
You might be aware that you can build a stackable retaining wall, but you may not know that you can accomplish the task with bags of concrete and rebar for support. Landowners have used the concrete bag technique for retaining walls for decades, so it's a well-tested method.
This method is a potentially less expensive approach because it's easy to DIY, and you don't have to hire a contractor. For a large wall, you can also save money by ordering concrete bags by the pallet. While it takes strength and stamina to lift multiple 50-pound bags, it's not a complex project. Let's look at the steps to build your concrete bag retaining wall.
Prepping your retaining wall project and laying down the concrete bags

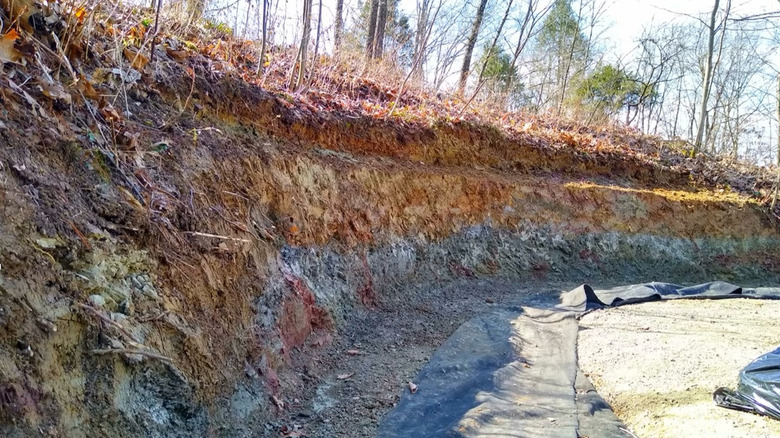
Most do's and dont's of building a retaining wall apply to a concrete bag wall, such as checking with local authorities to see if you need a permit for your project. To prepare, plot out the height and length of your wall, which will give you an idea how many concrete bags you'll need to buy. Check the stability of the surface where you'll be placing the bags and make sure it's level. Placing a layer of geotextile fabric on the surface will protect against soil erosion.
As you build your retaining wall, be sure to flip the concrete bags upside down from how they were stored on the pallet. Concrete bags settle during shipping — the heavier cement particles sink to what was the bottom, while the coarser aggregate rises to the top. Inverting the bag before laying it down places the denser, cement-rich material on the outer face, which produces a harder, smoother surface once the bags cure.
Start laying down the bags, fitting the first row of bags snugly against each other. To ensure stability for the next row and all even-numbered rows, use the half running bond style of stacking, in which each row is offset by exactly half a bag's width in an interlocking fashion. Then, insert rebar into every bag on the final top row and pound it down until it reaches the bottom of the stack for extra support.
Wetting the bags and helping the paper decompose
The final step is to spray water on the bag with a hose, saturating the paper thoroughly so the concrete hardens. Tamp the bags down lightly with your feet after watering them to help the water soak in. The exact amount of water you apply isn't too important because the bags will also get rained on and absorb moisture from the air, so they'll definitely harden.
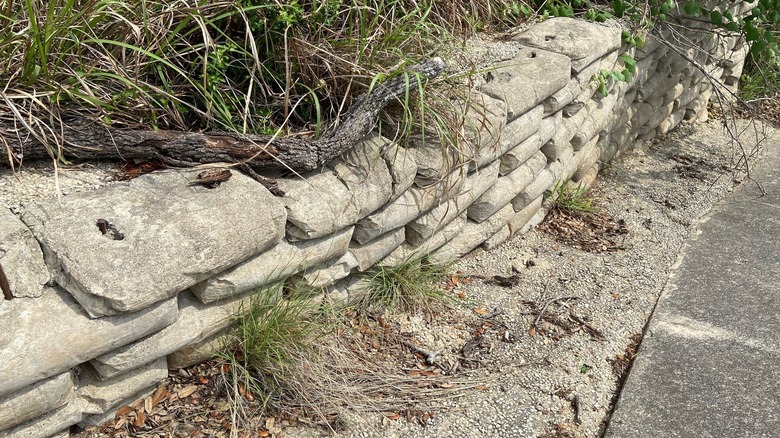
You may wonder whether you'll be advertising the concrete manufacturer in perpetuity, but if you buy bags labeled "biodegradable," natural processes — rain, humidity, sun, and decomposition — will gradually remove all traces of the paper so your wall just looks like it's made from broad stones. Do make sure that the bags don't have a plastic liner that would prevent or slow that decomposition. Some people also poke holes in the bags to allow more water saturation. The concrete should set in 24 to 48 hours, but you may want to let it cure for up to seven days before attempting to remove any remaining paper by pressure washing at a low setting or torching it off.
Useful drainage solutions are often used in conjunction with retaining walls. Consider adding drainage capabilities and even more support and stability by using gravel to backfill the area behind the wall.