Don't Toss Empty Cans - Turn Them Into Adorable Garden Decor
We may receive a commission on purchases made from links.
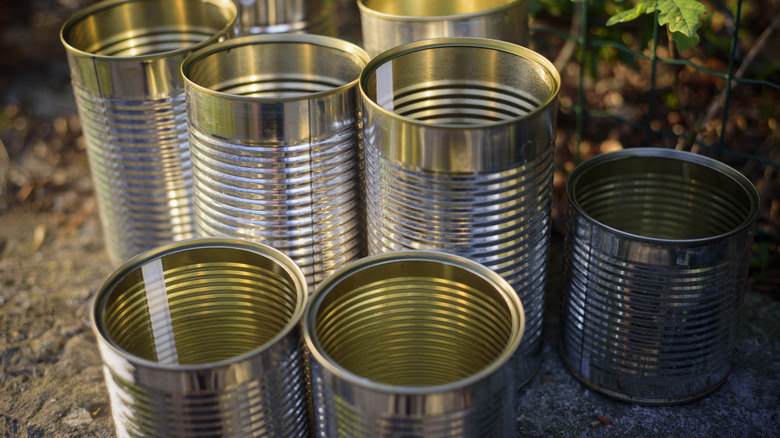
Stop right there! Before you toss those empty cans into the recycling bin, pause for a second. Think of the potential. From transforming tin cans into a stylish home storage solution to upcycling them into DIY tin can holiday lanterns, there are so many clever ways you can repurpose these everyday scraps. However, this garden decor idea might just be the most adorable of them all.
With just a few odds and ends and a dash of creativity, you can revamp tin cans into cheerful bumblebee yard picks. These decorative stakes will look right at home buzzing around your garden beds. It's the kind of touch that will make your garden feel a little more whimsical. And the best part? This DIY is endlessly customizable. Summon a little imagination, and you can make ladybugs, butterflies, or a whole swarm of quirky critters.
Even if you're not the most crafty, this project is incredibly easy to complete. Just be sure to have all your supplies lined up. You'll need: empty tin cans, empty plastic bottles, nails, wooden dowels or stakes, some strong adhesive like Gorilla Glue, paint, bottle caps, and black buttons or googly eyes. Opt for DecoArt Patio Paint or a similar acrylic, so that your tin bumblebees can enjoy a long life in your garden. Once everything's ready, you're officially ready to give those discarded tin cans a second life — and your garden a glow-up.
How to make a bumblebee yard pick with a tin can
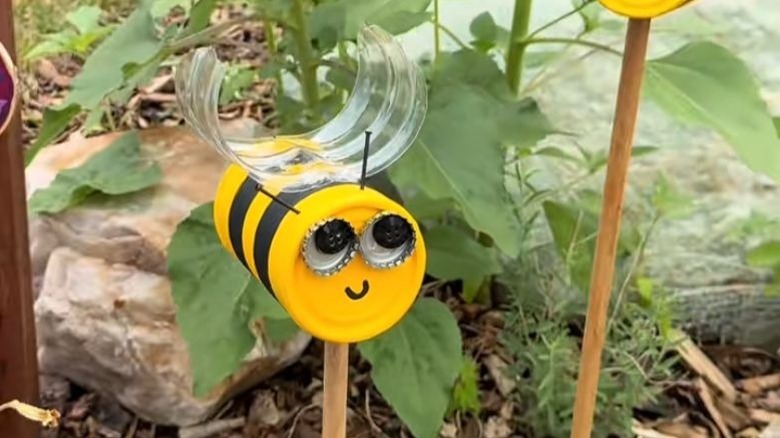
Start by making certain that all labels are removed from your tin cans. Then, give them a full coat of bright yellow paint, and set aside to dry. Once dry, add a few black stripes around the can to create that classic bumblebee pattern. At the same time, paint your nails black. Allow both to dry completely. Before moving on, use a nail or screw to hammer a hole into the center of the can's bottom, or what will become the bumblebee's belly. Here's where you'll fit the stake or dowel (but more on that soon).
To bring the face to life, paint a simple smile on the lidded end. Just above it, glue on two bottle caps for eyes, positioning them so the open side faces outward. Inside each cap, attach a button or googly eye. Or, if you prefer, stick to googly eyes alone. Next, carefully hammer a pair of painted nails into the side of the can, just above the eyes, to form the antennae.
@woodlandwhimsystudio A few tin cans, some bottle caps, a bit of plastic, and a whole lot of imagination. Today we made garden bees with plastic wings and bottle cap and button eyes. A little reminder that even the smallest scraps can become something sweet. 🌼✨ #UpcycledCrafts #GardenDecor #diygardendecor #BeeCrafts #CraftingWithKids #naturecrafts #WhimsicalGarden #TinCanCrafts #kidscrafts #upcycleddecor #EcoFriendlyCrafts #RecycledArt #DIYGardenDecor #GardenMagic #NatureInspiredCrafts #creatorsearchinsights
For the wings, cut the top and bottom off an empty plastic bottle, slice it vertically, and trim out a horizontal strip about 4 inches wide (or sized to your can). Trace a line of glue down the middle, and attach it to the top side. Alternatively, you can shape floral wire into loops for a more playful, delicate wing effect. Finally, secure your stake or dowel into the base of the can. You might need to use wire cutters to widen the opening slightly, or you might be able to just wedge that baby in there. And just like that, you've got a delightful garden companion. Next time you're thinking of throwing them out, consider all the genius ways to reuse leftover soup cans around the house