Turn Leftover Wood Into A Hidden Toilet Paper Storage Solution
We may receive a commission on purchases made from links.
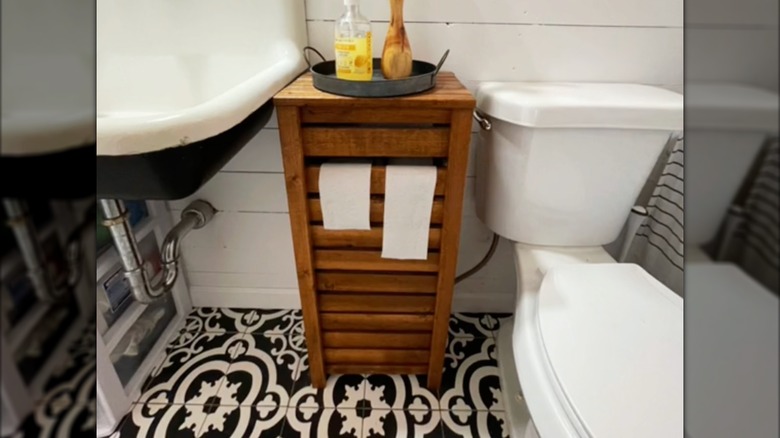
How did toilet paper get to be so complicated? Not only are there considerations about strength, softness, sheets per roll, and price, there's also the issue of where to keep it. There are decorative ways to store toilet paper in the open, but many people would prefer it wasn't on view. If that's you, then the good news is you can turn leftover wood into hidden toilet paper storage that can be finished to suit your decor, and it doesn't require any fancy joinery.
In essence, what you'll build is a three-sided box. It will feature a removable lid, a rod to hold toilet paper rolls, and a shelf for spares. It has a slatted front to dispense the toilet paper that also stops it from looking too chunky and heavy.
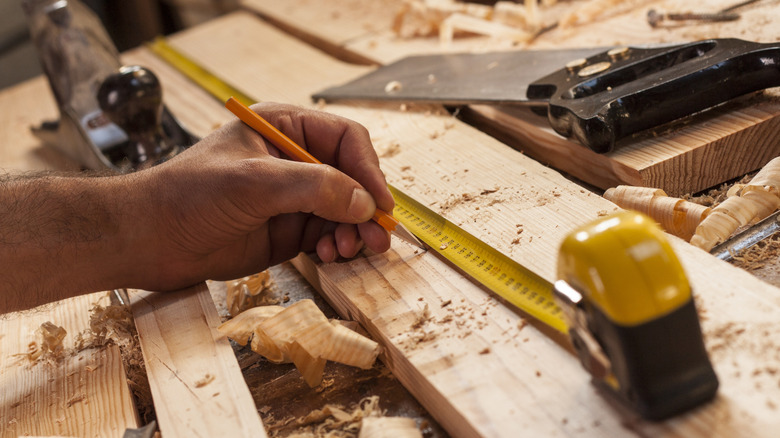
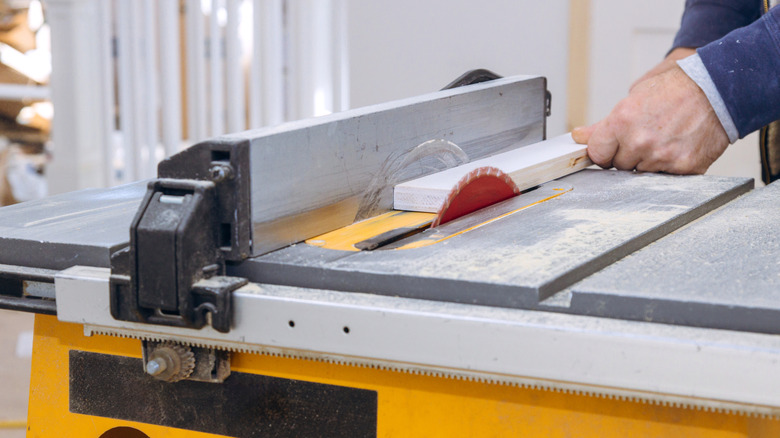
A variety of lumber sizes could be used for the main frame. For the side panels and internal shelf and boards, you'll need some plywood; for the slats, the lumber should be an inch thick or less and 2 to 3 inches deep (spare fence pickets would work). You'll also need some ¾ or 1-inch dowels, a pair of U-shaped brackets like these Rise Age Closet Rod brackets, and some wood screws. As for tools, a table saw would be ideal, and it's one of the top tools worth investing in for woodworking at home. A circular saw or jigsaw could be used with care. Finally, you'll need a cordless drill driver.
How to tackle the design and construction of the toilet paper storage solution
Over on TikTok, content creator Yourboernerealtors shows how this DIY comes together. To build a similar solution yourself, first you need to determine the overall size. If you want a two-roll version, going 12 to 14 inches wide and 12 inches deep is about right. Making it level with the top of your toilet tank is good in terms of height. You could make a card mock-up to visualize it and then take measurements from it once you start building.
@yourboernerealtors Cutes toilet paper holder! TWO ROLLS! Winning! #farmhouse #diy #country #fixerupper #livinmerica #decor #bathroom #bathroommakeover
The legs are L-shaped, and you make them by screwing two pieces of lumber together (the content creator uses nails in their video, but screws are stronger). Ideally, opt for 1-by-2-inch or 1-by-3-inch planks, but slightly mismatched sizes are fine. The big advantage with a table saw is that you can quickly and accurately cut things narrower or shorter.
Cut the lumber to length, allowing for the thickness of the slats for the top. Mark a half-dozen equally spaced holes along each plank, then drill small pilot holes first so you don't split the wood. Now, screw them together; if you have a couple of clamps, use them to hold the pieces together while you work. Finally, cut two plywood side panels to width and a couple of inches shorter than the legs. Line them up inside the legs and screw them together — the slats will go between these two panels and serve as the front of the cabinet.
Finishing the frame and fitting it out inside
Finish the frame by cutting the slats to length, lining them up along the inside of the legs, and screwing everything together. If you cut two pieces of scrap to the thickness of one gap, you can use them to ensure even spacing. The top is made by screwing more slats to a couple of battens. You can size it to be flush or have a slight lip. For the shelf, all you need are small support blocks screwed onto each leg. Position them so that when the shelf is in place, you can easily reach the stored toilet paper when you lift the lid. Cut a piece of plywood to fit and slot it in.
A piece of dowel will hold the toilet paper rolls for dispensing. Using U-shaped closet rod brackets makes it easy to change them. Think about the height they should be when you are seated. If the plywood sides are not thick enough to screw into directly, glue a couple of blocks to the inside (leftover pieces of the slats would do), then screw the rod brackets onto them. Finally, use a tinted varnish or paint to match your bathroom.
Making the hidden toilet paper storage from leftover wood requires care and patience but doesn't demand a high degree of skill. So, this is a woodworking project even beginners can do. Of course, given how good the finished storage looks, you don't necessarily have to tell people how easy it was.