Upcycle Plastic Platter Lids Into Concrete Garden Stepping Stones
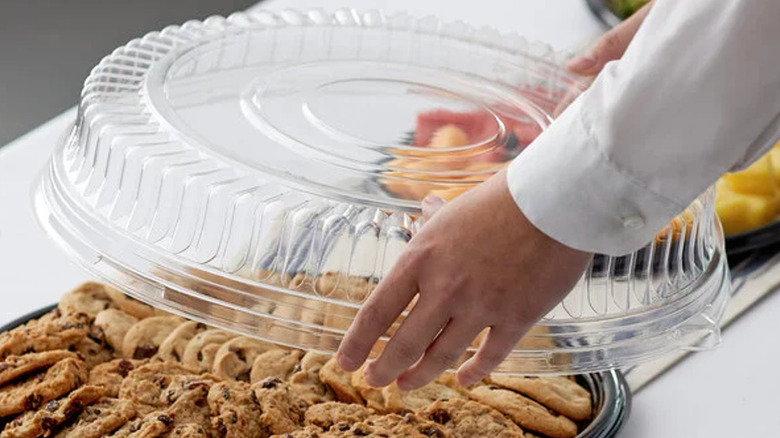
You've been saving plastic party platters and their lids because you just knew you'd find a good use for them someday. Well, that day has arrived, especially if you happen to need some stepping stones in your yard or garden. You can easily create garden stepping stones with a simple budget-friendly DIY using concrete — but the one we're sharing here is even easier and cheaper, because you don't have to make your own molds for the concrete. You can use — you guessed it — the plastic platter lids you've been hanging on to, and idea introduced by @hometalk on TikTok.
These lids are an inspired choice given their round shape that lends itself perfectly to stepping stones. Their fluted sides add an elegant curvy edge to your stepping stones. They also come in multiple sizes (12, 16, and 18 inches) and two depths, so depending on what you have on hand, you could use a uniform size for all your stepping stones or mix them up.
Stepping stones are a great addition to any garden. They guide how you want people to walk through your property, help protect your lawn, and define distinct areas of the yard. Stepping stones also help keep people from tracking dirt and mud into the house and allow you to access your garden beds without compacting the soil. Perhaps the greatest advantage of stepping stones for homeowners is that, as permeable hardscaping, they reduce runoff.
Mix concrete for your DIY stepping stones
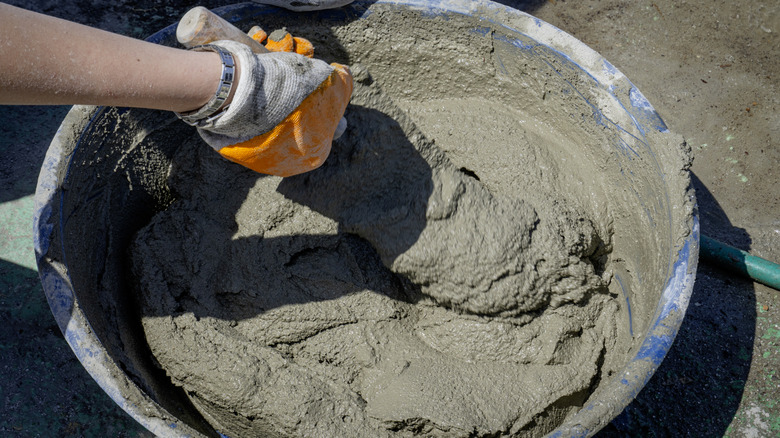
To make concrete stepping stones, first determine how many you'll need. If you don't have enough plastic lids, you can reuse those you have for subsequent batches, as long as you're careful in removing the dried stepping stones from them. It's a good idea to wear gloves, safety goggles, and a face mask for this project, due to your interactions with the concrete and its dust. You'll want to coat the inside of the lids with cooking spray to help the concrete easily release from the plastic lid mold.
Next, combine your dry concrete mix with water, according to package instructions, ensuring that you're not confusing concrete with cement. At this point, you have an opportunity for some customization by adding colorant to the concrete, if desired.
@hometalk Pour concrete into a take-out lid – this is BRILLIANT! #upcycling #summer #genius #decor #garden #hack #summerhacks #diy #idea #fyp #project #budget
Fill the lid with the concrete mix. Optionally, you can fill it halfway, add a small sheet of chicken wire of hardware cloth for strength and durability, and then continue filling the rest of the way. Use a gloved hand to pat down any air bubbles; tapping the sides of the lid can also help get rid of bubbles. If you see excess concrete at the top, use a yardstick or similar object to scrape it off. About 45 minutes after you fill the lid, consider adding a fun personal touch with DIY stepping stone ideas like sea glass, mosaic tiles, or bottle caps.
Remove your stepping stones from the plastic lids and place them in your garden
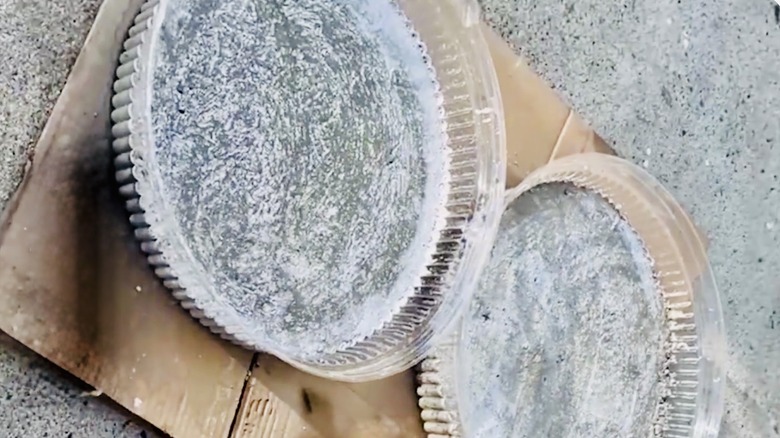
Although your stepping stones will initially set in 24 hours, it's best to allow them to dry for up to three days to prevent cracking. After that, carefully turn the lids over. Gentle tapping can loosen the the concrete from the lids. Then poke and prod with your fingers to remove the stepping stones from the lids. In a pinch, you could cut the plastic lid away from the concrete, but try to avoid that if you want to reuse the lid for more stones.
To be able to withstand foot traffic, the stepping stones need to cure for another week. Once they're cured, brush off any stray bits of concrete. Consider using several coats of concrete sealer on the stones before placing them in the garden. To improve drainage in spots where you place the stones, put down a 1/2-inch layer of sand first and then place the stones on top of the sand. Get even more inspiration for how to customize and arrange stepping stones among our whimsical garden stepping stone ideas that will transform your garden.