Turn Scrap Wood Into A Handmade Entryway Storage Solution
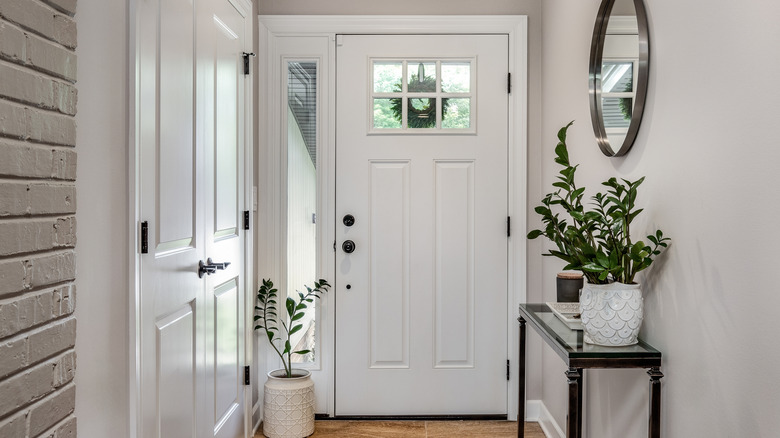
Your home's entryway is a place of transitions. It's where you pick up and drop off your keys, change your shoes, hang your coat, and more. It can easily get cluttered and untidy, which is not what you want to see when you get back from work or shopping. So storage is important, and there are entryway storage hacks that can work in even the smallest apartments. A wall-mounted rack can save space and also be surprisingly versatile. It can be handmade from scrap wood and finished to match any decor style, from traditional rustic to sleek modern.
The construction is very straightforward. Standard 1-by-3 lumber (actually ¾ inches by 2½ inches) or 1-by-4 lumber (¾ inches by 3½ inches) is ideal, but any similar-sized scrap wood should work. Lengths of these will be used as vertical rails that support horizontal shelves. They can be combined in a variety of ways to provide as much or as little hanging entryway storage as you need.
When it comes to tools, any saw will do, but a miter saw makes the job particularly easy. It is among the tools worth investing in to start woodworking at home and can be used for a huge range of projects. You'll also need a drill/driver, a square, a sander (or sandpaper wrapped around a scrap block), wood screws, and your choice of finish.
Designing and assembling the handmade entryway storage
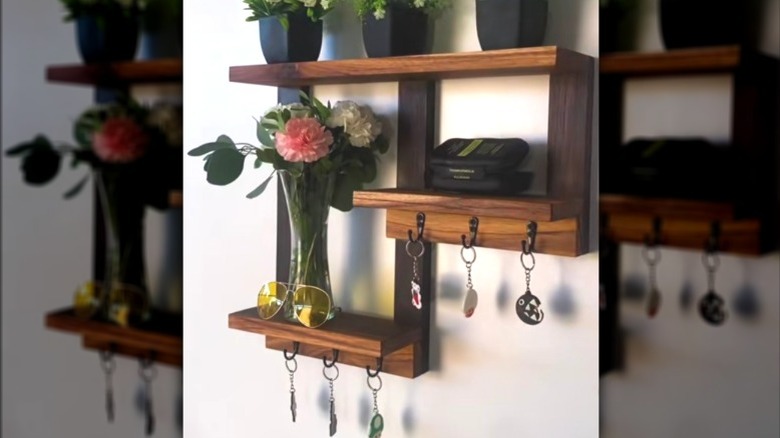
Think about what you want to shelve and hang. Place three vertical supports 6 to 8 inches apart on a flat surface. Lay some horizontals across them. Allow sufficient gaps between shelves if you have tall items and enough space for hooks. Rearrange your scrap wood until the layout meets your needs.
Plain shelves can be the same wood as the verticals, but fixed horizontally. Shelves with hanging hooks underneath need two pieces screwed together in a downward-facing L-shape. You can vary the length of the verticals, stagger them up and down, and run shelves across either all three verticals or only two of them. Once you're happy with the design, cut the pieces to length.
For a rustic look, just sand the edges to remove splinters. If you want a really smooth surface, you'll need to spend more time. When that's done, lay all the pieces out face down, and make sure everything is square. Drill pilot holes to prevent the wood from splitting, and carefully screw it all together. Finish with paint or a polyurethane varnish for a wood look. Finally, add hooks where appropriate.
This is one of those useful woodworking projects that even beginners can do and should be relatively easy to put up. If you have wall studs in a convenient position, you probably only need to drive long screws through the rack directly into them in a couple of places. If not, you'll need to use wall anchors to make sure it's secure.