Ditch The Baskets: DIY A Shoe Closet In Your Garage
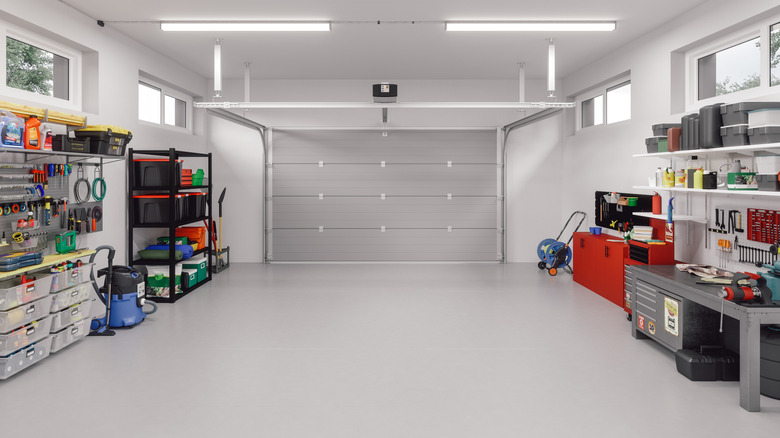
There are a number of smart ways to store shoes without baskets or shelves so they don't take up valuable space you would rather use for something else. However, with multiple people in the house, it doesn't take long to fill those storage spaces, and you might eventually run out of spots inside your home. One alternative that can turn an unused area into a terrific solution is to DIY a shoe closet in your garage. It's not difficult to do using a few supplies from the hardware store and some basic tools.
The materials you'll need will depend on exactly how you build the closet, and we'll look at that in detail in a moment. In a nutshell, you'll use 2x4 lumber, drywall, a bunch of screws, and maybe some wall anchors. To fit out the closet, you'll want some adjustable metal shelving. There's plenty to choose from, and Closetmaid, Everbilt, and Rubbermaid are well-known examples.
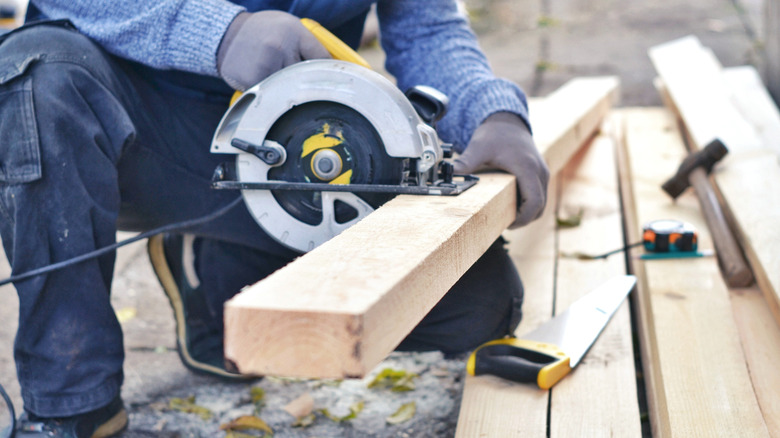
As for tools, you'll need a drill/driver and possibly a hammer drill. You'll also need a saw. A circular saw is recommended as one of the must-have power tools for first-time homeowners and is perfect for quickly slicing through 2x4 lumber. You could also use it for cutting the drywall, but the score and snap method is fast, effective, and creates less dust. All you need is a utility knife and a straightedge.
Building the frame for the DIY shoe closet
A good position for your shoe closet is in a corner, because then you only need to build one new wall. Having said that, putting up two stud walls isn't much harder. It's also convenient if the shoe closet is near an adjoining door to the house, so you can access the shoe storage space easily on your way in and out.
The width and depth are up to you. You may want to make it to suit the shelving you buy, although it's relatively easy to cut the thin metal shelving to whatever size you like. However, don't try to use your circular saw. The teeth aren't designed for it and could snag dangerously. Either use a cheap hacksaw or a jigsaw with a metal-cutting blade. In terms of height, running the closet from floor to ceiling is easiest. It's a good idea to fit a crossbeam halfway up to increase rigidity.
Over on YouTube, Family DIY TV quickly runs through the process of building a simple frame and attaching the drywall. If you're drilling into a concrete garage floor, you'll need a hammer drill. If you can fix the uprights to the walls and ceiling using existing studs, you only need to drive long screws through the 2x4. If the studs aren't conveniently placed, use wall anchors in the garage walls and ceiling so that the 2x4s are firmly attached. Although you can use drywall screws for this, wall anchors often come with screws, and that type provides more strength.
Finishing and fitting options for your garage shoe closet
Cut the drywall to size and attach to both sides of the studs with screws 8 inches apart. Normally when you're building a stud wall, you would tape any joints, cover it and the screw heads with drywall mud, and then sand smooth. You might choose to do that, but as it's in the garage, you may think a quick coat of paint is all that's necessary. Then, add your shelving into the open closet area, choosing spacing that works for your footwear.
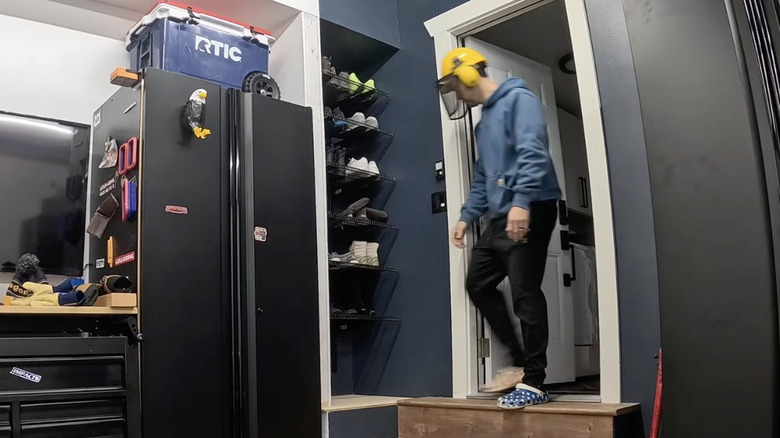
In the video, the shoe closet is next to stairs, so having the rack go all the way to the floor isn't practical. Instead, the creator adds a simple storage box made with a few battens fitted to the sides and plywood for the front and top. It's easy to do if you would find it useful. If you build the shoe storage area to the full ceiling height as suggested (typically 8 or 9 feet), there's not much point in running shelving for shoes right to the top, as you wouldn't be able to reach them without something to stand on. Instead, you could use battens and plywood again to create one or two convenient shelves for totes or any items that aren't in regular use. Building a shoe closet is just one of the garage storage ideas to inspire the handyperson in you, allowing you to maximize space that might otherwise be wasted.