Turn An Old Shoebox Into Clever Faux Brick Storage For Cluttered Countertops
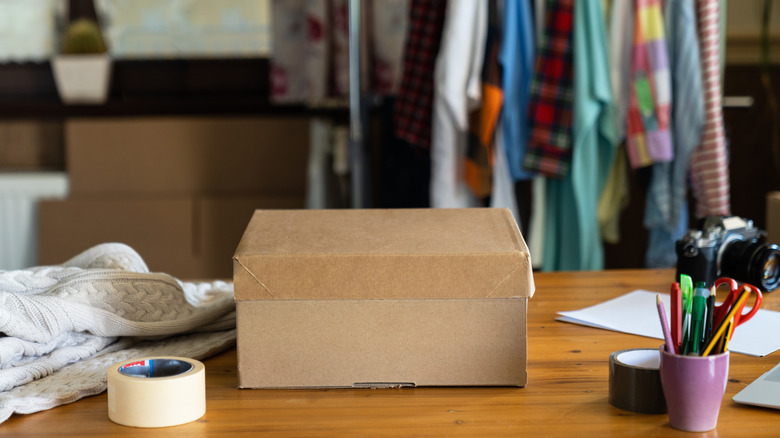
You probably have a shoebox or two lying around somewhere in your home right now, but you may not have considered its repurposing potential. When it comes to storage, not all containers are made the same. It can be difficult to find the perfect containers that match your color scheme and aesthetic. Designing your own storage containers can address this issue. You can use an old shoe box as DIY storage for craft supplies, bathroom toiletries, and even kitchen countertop supplies. With just some paint and everyday materials, you can craft an adorable faux-brick storage container to declutter your countertop. In addition to an old shoebox, you'll just need paper towels, paint, glue, and cardboard for this project.
As exposed brick remains a popular interior design, you can craft this brick look to complement an area of your home or to better lean into the country kitchen feel. From brick accent walls to backsplashes, the trend is all over the place. The brick look can add warmth, texture, and contrast to a space in need of a focal point. This DIY perfectly ties in these elements without drawing too much attention.
Crafting a faux brick container
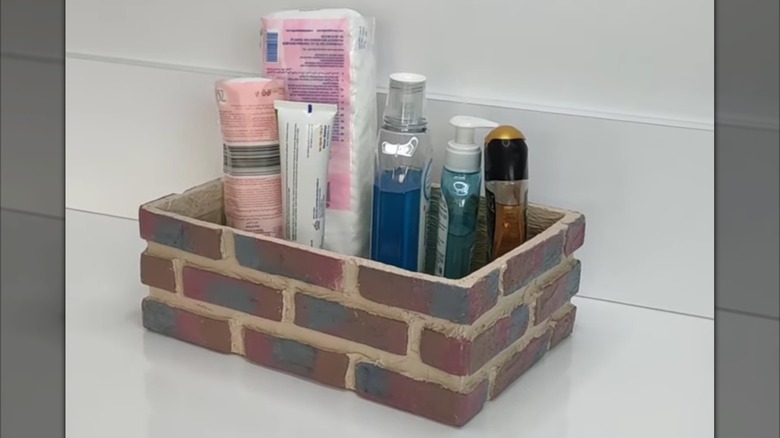
When it comes to keeping kitchen counters clutter-free, there are all kinds of decorative solutions. For this DIY, you'll begin by mixing a glue-and-water solution — one part each. Next, you'll fill in any holes in the shoebox. Use a paintbrush to apply a layer of the solution to the interior of the shoebox, then adhere and flatten paper towels to cover the cardboard. On the exterior, cut out rectangular 'bricks' of cardboard and line them up intermittently along the exterior of the box. Glue the pieces into place on all four sides for the brick look. Ripping off small paper towel pieces, use the solution to wet and mold them into place over the brick texture. Cover the entire box and allow it to dry. Once dry, the paper towels should add texture, but look almost clear over the box.
Finally, it's time to paint. Use a neutral mortar color and paint between the pop-up bricks. Then use a sponge to dab the color onto the bricks. Choose a color that suits whatever brick style you like. This is where you can get more creative, incorporating faux vining plants or personal graffiti designs. Ultimately, you should cover the whole box in a paint-on varnish to seal and protect your work. Once dry, your organizer is ready to use! You could even consider making multiple boxes and stacking them like bricks themselves to further the look and storage space.