Don't Throw Out Old Markers — Use Them To DIY Watercolor Paint On A Budget
We may receive a commission on purchases made from links.
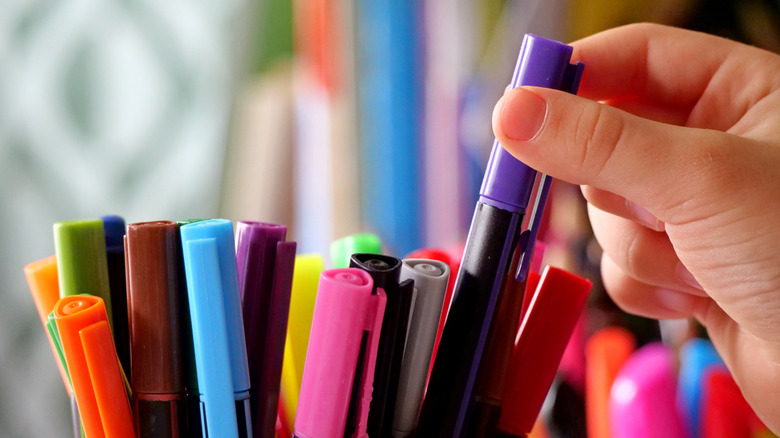
There are so many creative ways to repurpose old or unwanted items and elevate your interior decor at the same time. Wrap a piece of mesh cut from a fruit bag over a glass jar full of water and you have a makeshift flower frog. Decorate the inside of dried and washed oyster shells with pretty patterned paper napkins and Mod Podge. Another case in point: you can give old colored markers a second life by turning them into DIY watercolor paint. To make your own paint at home, all you need to do is remove the inside of the spongy ink reservoir from the plastic casing of the marker and drop it into a jar full of water. After waiting a few hours, you can paint whatever you like with the resulting dye.
For the best results, use water-based markers, like the ones you find in the kids' craft section, which dissolve well in water. However, any old pens should do the trick — you just need to be prepared to experiment. If you have to buy the markers new, this 24-pack of Cloudriver Acrylic Paint Pens costs about $6. While you can use any containers to hold your liquid paint, lidded glass jars are the most durable option. You can get six JoyJolt 8-Ounce Wide Mouth Mason Jars for a little under $17. If you're making the paint for kids to use, consider plastic containers, like these Patelai Round Wide-Mouth Leak-Proof Plastic Containers. You'll also need some pliers, scissors, and a fine mesh strainer. Once you have a vibrant collection of paint, you're ready to add a splash of color to your home.
Using your DIY paint to decorate your home
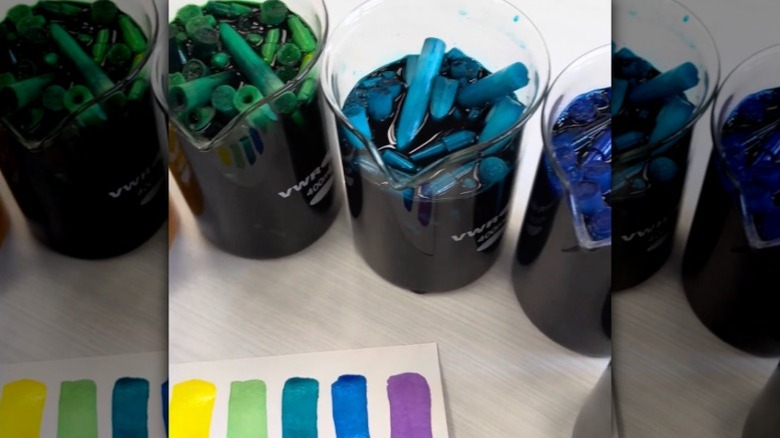
First, sort your pile of old markers into matching colors. Then don a pair of disposable gloves and remove the end cap and ink reservoir from the marker using the pliers. Drop the spongy cylinders into your glass jars — you'll need one jar per color. You can also chop the reservoirs up with scissors to help the color leach into the water faster. Fill the jars up with water until the ink reservoirs are submerged. The color should start to bleed out right away, but it's best to set the solution aside for at least a few hours. You could also simply place about 10 markers — lids off and nibs down — directly in your glass jars. To alter the color intensity, play around with how much water you add to the jar. More water will create a weaker hue, and vice versa.
With your DIY watercolor paper on hand, you're ready to create original artwork for your house. Even if you're not an artist, simple designs and doodles in colors that complement your interior can read very chic. Don't skip ugly framed art at the thrift store — you can repurpose the frames for your watercolor creation. Or create a painting on paper, cut it out, and decoupage it onto a lampshade, jewelry box, or vase for an entirely upcycled creation. You can even get the kids involved. They could decoupage their own watercolor art onto a toy chest or drawer fronts in their bedrooms. Want an everlasting bouquet for a dining table centerpiece? Repurpose cotton pads into beautiful flowers with a simple DIY using your watercolor paints.