Transform A Boring Nursery Pot Into A Stylish Planter Using Newspaper
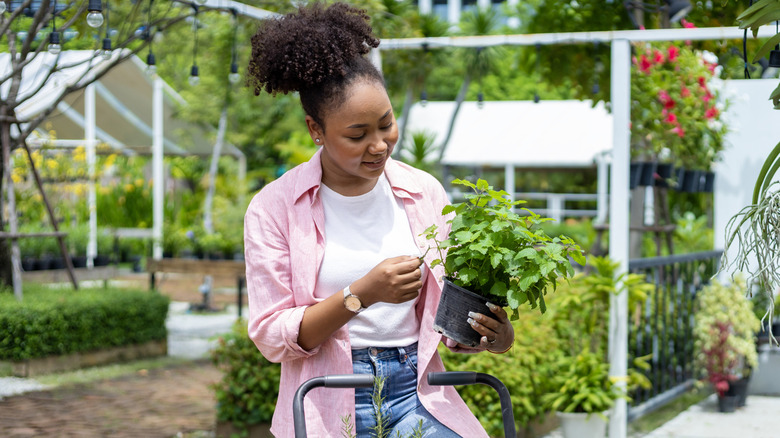
Just because a plastic container has a recycling code on it doesn't mean it should go in the curbside bin. Take nursery pots that come home with the plants, for example. No matter how many creative ways to reuse plastic nursery pots are discovered, avid gardeners always seem to have more left over. One of the most valuable upgrades — in terms of style, at least — is a clever take on papier-mâché. Coating a nursery pot in layers of mortar-soaked newspaper strips leaves you with a sturdy planter, while its upgraded surface becomes a blank slate for customizing with textures and colors.
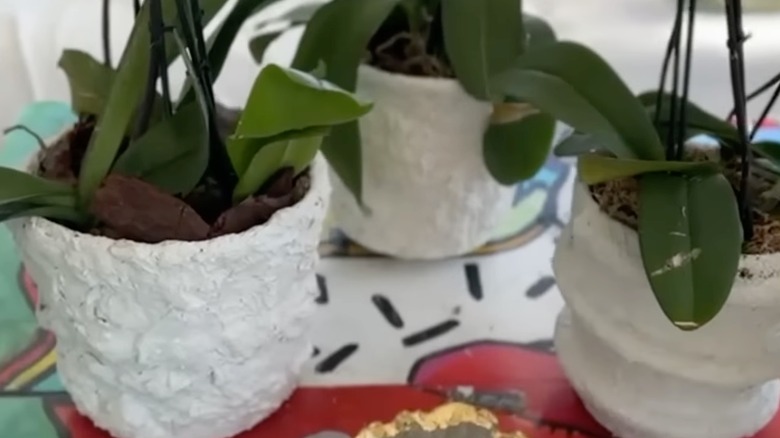
YouTube creator @marcieziv shared a brilliant video of one such transformation. In it, large plastic pots with no aesthetic value become bespoke planters with tons of textural appeal with the help of the creator calls "mortar-mâché" — a variation of papier-mâché that relies on thin-set mortar instead of paste. This works for flimsy and even cracked containers you'd never think of using again. The content creator repurposed more hard-to-recycle materials by adding them as detailing to the pots. Slices of wine corks dot one pot, a used CPAP machine tube coils around another, and clumps of paper add topography to yet another. Instead of looking tacky, the results are eye-catching, unique, and super sustainable.
To make over your own planter in this fashion, start with a medium-to-large nursery pot. Gather up a thick stack of newspapers, powdered thin-set mortar, rubber gloves, a container of water, a disposable bowl, and a stir stick. If your creation is intended for outdoor use, also set aside waterproof sealant and a paintbrush. Painting is optional, but consider using white mortar for a more purposeful look if you're skipping this step.
Steps for applying the technique to your plastic pot
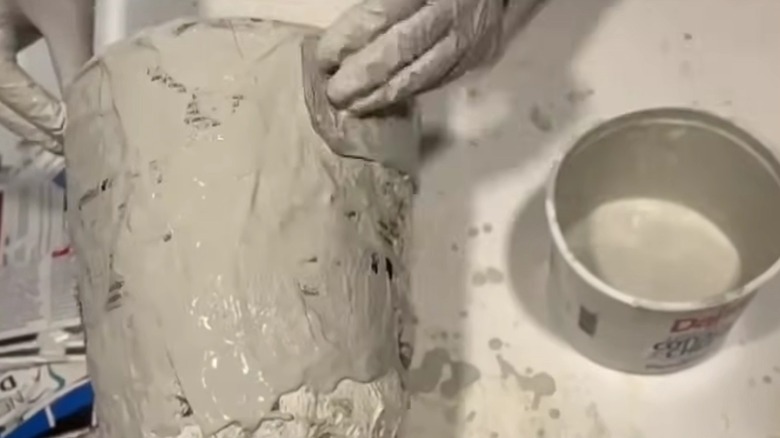
Clean off any loose dirt before you reuse your plastic nursery pot. Then, put on your favorite podcast, grab that stack of newspaper, and settle in for a long paper-tearing session. Each planter will need seven layers of mortared paper, both inside the pot and out. You'll also cover the base; you have the option of covering the drainage holes to make a cachepot or keeping the holes open. If you enjoy paper-free news these days, other types of paper can stand in. This is a great excuse to repurpose junk mail, but you should avoid using any paper that's glossy. Tear or cut the paper into strips about 2 inches by 4 inches.
Pour 1 to 2 inches of powdered mortar into the disposable bowl and top it with enough water to achieve a smooth consistency similar to that of heavy cream. Begin dipping paper strips into the mortar and laying them over the pot's exterior. Overlap the pieces as you go and continue until all surfaces of the pot — inside and out — are covered by one layer of the mortar-and-paper mix. If you're keeping the drainage holes open, poke through the paper in those spots. You will have to make several batches of mortar as you work. Continue applying the overlapping mortared paper until you have seven consistent layers. Let the surfaces dry fully before moving on.
Detailing and finishing your planter
Now, it's time to make this project yours. Even if you mimic the craft in the video above, you can still add personalized touches that set your work apart. To add a thick coil around the pot, for instance, grab a section of rope and mix up more cream-consistency mortar. Around the mouth of the pot, begin attaching the first inches of coil with mortar-soaked paper strips. Lay the long strips around the rope's width, so that the paper holds it to the pot like a u-bracket. Reinforce the first few inches of paper-covered tube with a clamp as you work. Attach the tube a bit at a time, coiling as you go, eventually covering the tube with two or three layers of paper.
In the video, @marcieziv created a 3D dot effect with slices of wine cork. Go one better by subbing a biodegradable natural cork for something that'll take eons to break down, like a plastic bottle cap. Mix some mortar that's as thick as brownie batter, then press the caps around the pot and smooth the mortar over them.
If you're not feeling that much dimension, you can simply add texture to a layer of thick mortar. Draw designs into the mortar or press them with your fingers (or with the tines of a plastic fork). Give the piece plenty of time to dry and cure — 24 hours is a good start, but if your area is humid, you may want to give it 48 hours or more. Top-coat the pot with sealant; if you're painting your pot, do this before sealing it.