Build A Customizable Vertical Shoe Storage With A Clever Idea From A TikTok User
We may receive a commission on purchases made from links.
Whether it's the sheer number of them or the variety of shapes and sizes, trying to keep shoes and boots tidy can be frustrating. Although there are lots of tips for organizing your shoes, finding convenient space is often the biggest challenge, and horizontal solutions can be especially difficult to accommodate. However, over on TikTok, Shara of Woodshop Diaries has a clever idea for vertical shoe storage. It can be customized to suit your footwear and finished to match your decor.
This budget-friendly project can be made with just two standard 1-by-12-by-8-ft softwood boards (also called whitewood) and a 1-inch dowel rod. You'll find both at most hardware stores. You'll also need a drill/driver and a combo drill and countersink bit (the EZARC Countersink Drill Bit Set is popular and affordable). A speed square is invaluable for marking out and lining things up for assembly. Clamps are useful but not entirely necessary if you're careful. You'll also need a sander (or a sanding block) and some wood glue.
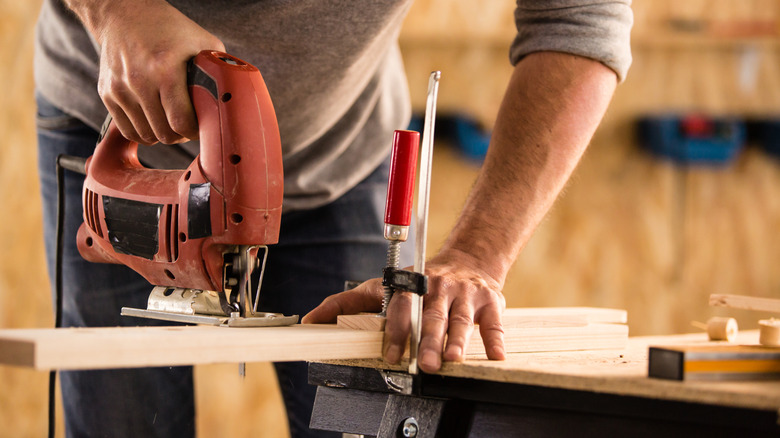
Shara uses both a miter saw and a jigsaw. The first is great for fast and accurate crosscutting, but it can't cut curves. A jigsaw can. If you haven't used one before, our beginner's jigsaw guide will unlock a world of DIY possibilities. These tools can also cross-cut boards, so it's not absolutely necessary to have a miter saw, but it does make the job easier. A circular saw can also be used for crosscutting, but not for curves.
Putting the clever vertical shoe storage together
Shara's design is very versatile. You can assemble the main frame, then choose shelves to suit the type of footwear you want to store. In a separate video on YouTube, she reveals that the back is cut to 48 inches long and the central upright to 47 ¼ inches, leaving ¾ inch for the base (confusingly, 1x lumber is actually ¾ inch thick). Mark the center of the back, glue, and screw it together. Do the same for the base. If you have clamps, it's easier to hold things in place while you work. Double-check your measurements before you drill.
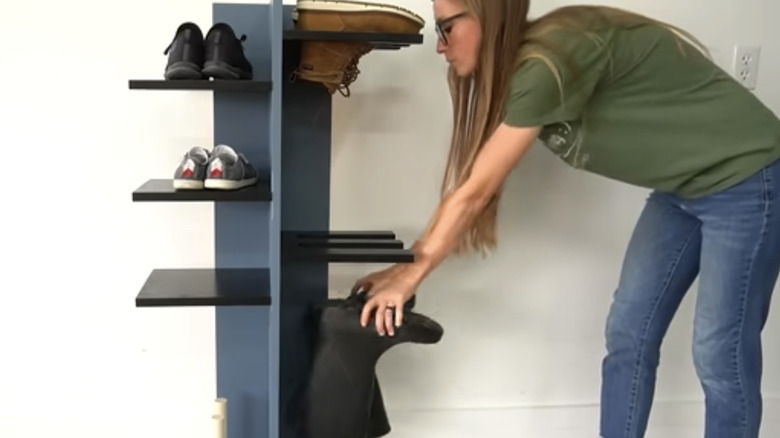
@woodshopdiaries Have a lot of shoes but not a lot of space? Let's build a solution 😉 I built this simple vertical shoe organizer from two boards and a dowel and it's way to customize to fit your needs. I added posts on the bottom for tall boots, slotted shelves on the right for work boots, and solid shelves on the left for sneakers. If you need a freestanding, space saving solution for your shoes and boots, learn how to build (and customize) your own on the blog and in my latest YT video. Happy building, friends! #shoeorganization #shoeshelf #diyorganizer #shoestorage #easydiy
There are two shelf options, one plain and one with two "U" shapes jigsawed out. Think about the shoes you want to store and decide on the combination you need. Shara is quite generous with spacing. You may be able to put shelves closer together to accommodate more pairs. If you're painting the shoe rack in contrasting colors, do so before assembly. Otherwise, it can wait until the end.
In the video, pocket hole joinery is used to attach the shelves, but a jig and special screws are required. With care, drilling through from the opposite side will work equally well. Finally, the dowels are fitted to the bottom, drilling through from underneath. That's it, a smart and clever vertical shoe rack that's one of the woodworking projects beginners can do, but it looks like you bought it at the store.