How To Start A Flourishing Garden From Scratch
We may receive a commission on purchases made from links.
Gardening is hard work and requires lots of effort and patience, without much immediate payoff. Sometimes, you have to wait seasons to discover your initial mistakes, like poor plant placement. But while gardening is, inherently, a process of trial and error, there are ways to set yourself up for success from the get-go. If you're starting a garden from scratch, knowing what to plant where and what nutrients and amendments the soil needs, will set the stage for a gorgeously thriving garden.
We'll cover the basic steps you should take to cut out the uncertainty and newbie mistakes everyone makes. Whether you're going for homegrown vegetables or a cottage flower garden, these steps will ensure you set your new garden up for success. Besides analyzing the soil, you'll need to amend it, figure out what number of sun hours each area of your new garden gets, and plan plant placement. The best part is that none of this is rocket science; it's just making sure your garden's foundation is as solid as possible so that you can save time, money, and the heartbreak of having your hard work wilt in the sun.
First, get a soil test
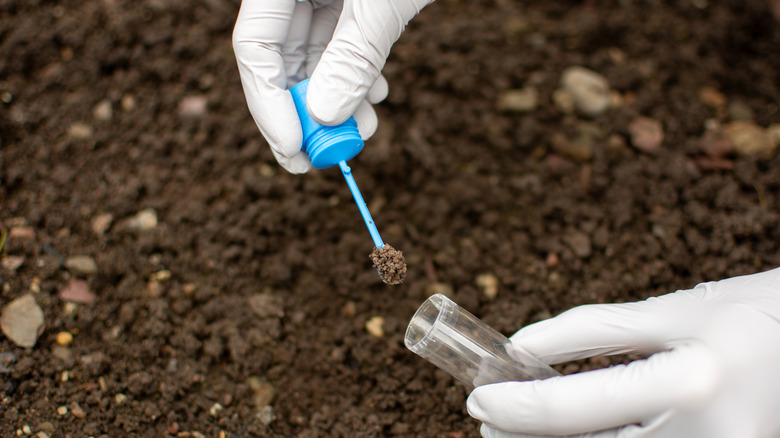
Some gardeners skip getting a soil test, but it's a key starting point if you want your garden to hit the ground running. Soil tests can really help a garden flourish because they show you what the composition of your soil looks like, as well as nutrient and pH levels, so that you can get a clear idea of what to do to get your soil ready for new plants. Without a soil test, you won't know if your soil has deficiencies or a pH imbalance that needs to be rectified. If there are any severe deficiencies present, or the soil is overly alkaline or acidic, this can impact plant growth.
You can get soil tests on Amazon, like this Luster Leaf Rapitest Soil Test Kit for Gardens, but we recommend spending the $30 or so and getting your soil test professionally done. This might sound overwhelming, but it's really easy to do. Search for your local university's cooperative extension and find out how to get them to analyze your soil. They'll typically ask you to send a bag of soil — without grass — and will analyze it with lab equipment to check specific nutrient levels and the makeup of your soil. The report you'll receive in a few weeks will often also give recommendations from the lab on what your garden will need to have supplemented, like nutrients or soil additives, and have recommendations for how much. By paying for a soil test, you can cut out the trial and error and go straight to the pros.
Watch how the sun lands on your potential garden space
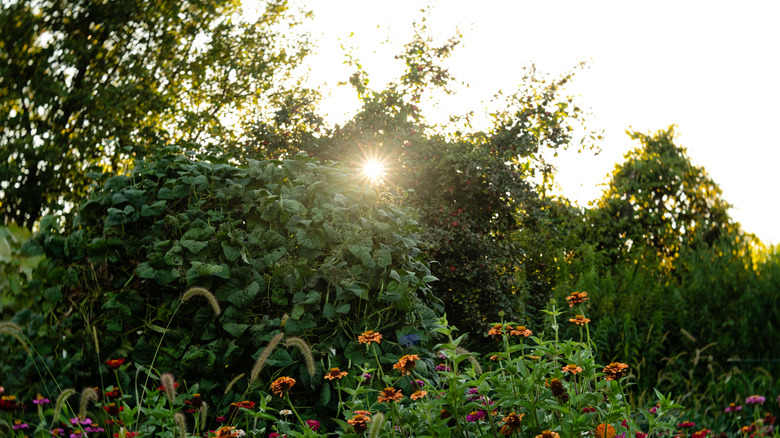
While you're waiting for your soil test results, spend some time in your potential garden space watching how the sun hits it throughout the day. This will help you determine which type of plants will flourish the best since you don't want to get partial shade-loving plants for a full sun setup, and vice versa. That's just a waste of money and leads to a sad-looking garden.
Make sure to head out there multiple times a day, as the goal is to document how many hours of sunlight hits each part of your garden. Notice if there are any obstructions that end up blocking light, like a neighbor's tree or tall fence, and watch to see how every part of your garden space is affected. You may notice one side of the area gets more sun than the other as the day continues, which will help you plan which plants can go where. Alternatively, if you want to eliminate all guesswork, a light meter like the EVO-20 DLI Light Meter can automatically analyze which areas of the garden fall as shade, part shade, full sun, etc. Plants that require full sun need at least six hours of light, while partial shade plants need four to six, and full shade can handle up to four hours only.
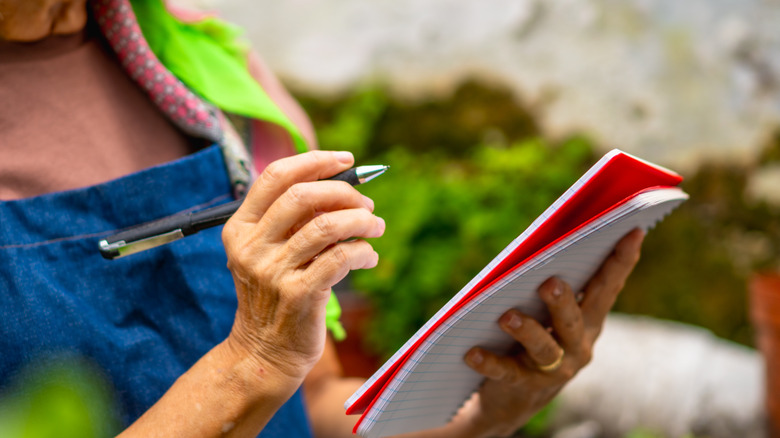
Create a spreadsheet that has germination times, sun requirements, heights, etc
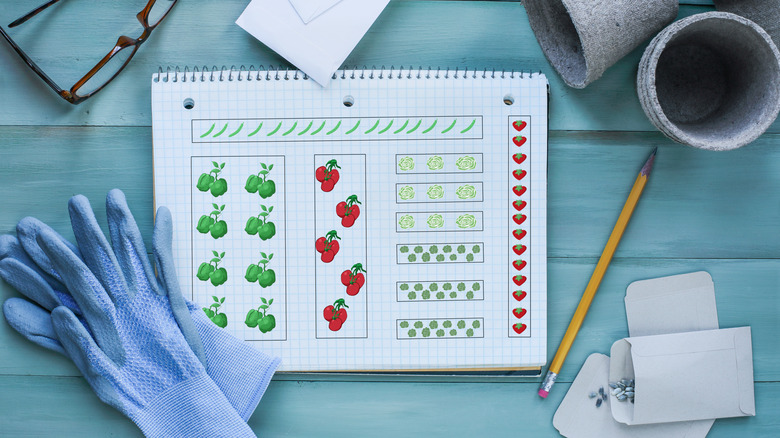
Now, it's time to get nerdy. Create a garden journal or spreadsheet that documents your findings for quick reference. If you want a garden that flourishes from the get-go, you don't want to rely on your memory alone; having the details documented and organized will ensure you have all the data on hand to make your plants thrive.
It's up to you what should go in your data sheet, but we recommend having one section be a quick guide on your garden space, including soil type, nutrients, which part gets which level of sun, how moist the soil stays, etc. Then, add a new section for your potential plants, and document how long each variety takes to germinate from seed (if you're growing from seed), how long they take to mature, mature height, sun requirements, fertilizer needs, how much water they need; basically, anything that can help you plan your garden the right way so that tall plants don't block the shorter ones and that everyone plays nicely together once planted. Mapping out plant placement can be especially helpful when planning for mature sizes (this helps to prevent overcrowding), and for keeping track of bulbs that die back. Nobody wants to accidentally dig up their dormant bluebells!
Figure out which plants flourish from seed, and which do better as seedlings
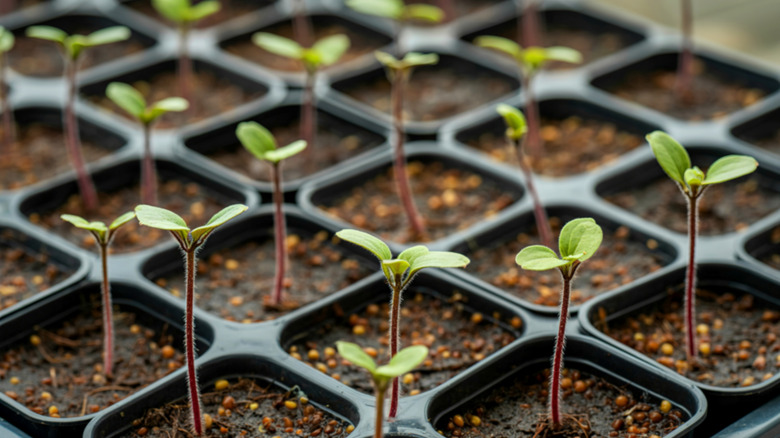
It's so exciting to pick out new plants for a garden, but should you grow everything from seed or buy transplants instead? Some plants are incredibly fussy to grow from seed, while others have long taproots and hate being transplanted as seedlings, so knowing the path of least resistance will ensure your plants flourish easily. Plus, it'll save you a ton of time and money, so win-win.
The time of year you're starting your garden matters in this decision, too. Some plants (like poppies, bee balm, and cone flower) need a period of cold stratification when growing from seed, meaning they require about six weeks of cold weather to germinate first. So, if you're already into spring and don't have weeks of cool weather ahead, it's probably best to buy transplants of them, instead. On the other hand, if you're getting into the late summer or early fall, that's the perfect time to lay down seeds that need cold stratification, as it'll make the winter weather do all the hard work, surprising you in the spring with a newly-flourishing garden. Additionally, the length of your growing season can also be a consideration. If your growing season is short, buying transplants can give you a head start. If it's long, you'll have a lot more time to germinate seeds, whether in trays or sown direct. Besides these specifics, the general rule of thumb is that starting annuals, biannuals, and even fast-growing herbaceous perennials from seeds can save you money. Conversely, buying slower-growing perennial herbs and shrubs as starter plants can save you time. If you want to fast-track your way to a flourishing garden, buying slower growing species as starter plants gives you a head start on the early growth phase.
Automate your watering routine to ensure success
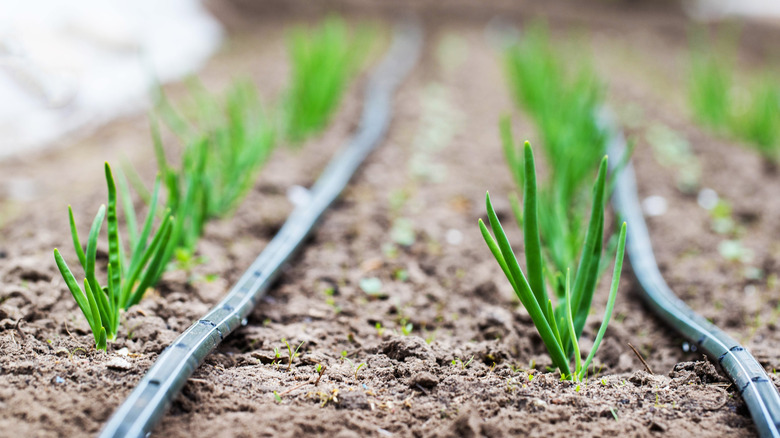
Often, the thing preventing a garden from thriving is the gardener being too tired or busy to get out and water. So, if you want your plants to flourish, cut out the bottleneck and automate your watering. It'll ensure your plants get the water they need and save you the guilt of having to look at a brown, wilted set of transplants.
Drip irrigation systems are one of the easiest ways to automate your garden watering. Irrigation setups that have solar pumps, like the Breeze Touch Solar Drip Irrigation Kit, don't require complicated installation, and let you set a schedule so that you don't need to think of anything. Some setups will let you hook it up to your hose tap while others have parts that let you use a water barrel as your source, which is great for your water bill but will require you to have a water barrel set up and ready to go with water in the tank, so plan ahead.
Create a base layer to block grass or weeds
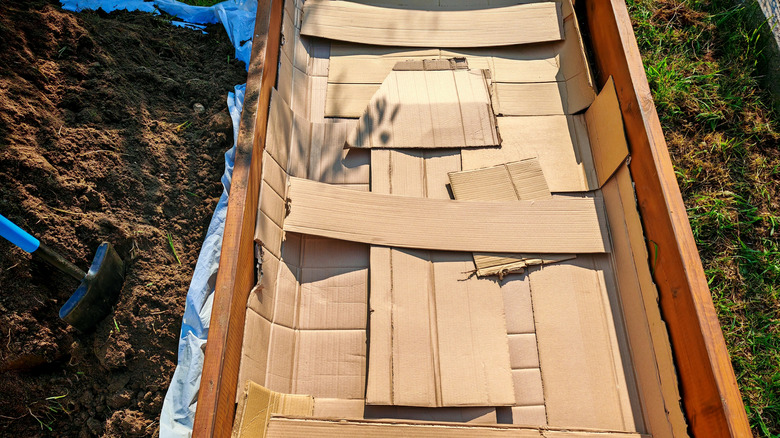
Since you're starting from scratch, we assume you're most likely converting a part of your lawn or a neglected, weedy area into a garden. If yes, you'll need to kill off the grass and weeds. If you don't, they'll compete with the plants you place in that area for nutrients and space. They might smother new plants entirely, or simply prevent them from fully thriving. While you can just dig out the errant weeds and grass, here's a labor-saving hack you can use to kickstart a new garden space. Save those Amazon boxes because they're about to be your garden's best weapon for combatting unwanted plants.
This process is called "sheet mulching" and works much better for the health of your plants than landscape fabric does. Cardboard boxes will start by blocking the grass or weeds from getting sun so that they wilt and die. Then, as the boxes decompose over time, they break down into organic matter that helps enrich the soil. One of the significant benefits of biodegradable mulch versus landscape fabric is that it returns to the earth, whereas landscape fabric can eventually disintegrate into non-biodegradable particles in the soil. Doing sheet mulching also prevents you from having to till the ground ahead of time, saving so much effort.
To sheet mulch an area, start by taking off any plastic tape or shiny labels. Then, lay the cardboard pieces flat on the soil, making sure the edges overlap (so that weeds don't grow through them) and thoroughly wet it. Alternatively, you can soak the pieces in water beforehand. To stop the cardboard from blowing away or shifting, you can either weigh it down with stones or mulch, or pin it to the soil by hammering in stakes. If you want to plant in the area right away, you might want to install drip irrigation before the sheet mulching. If not, simply wait a few months for the cardboard to break down and then plant.
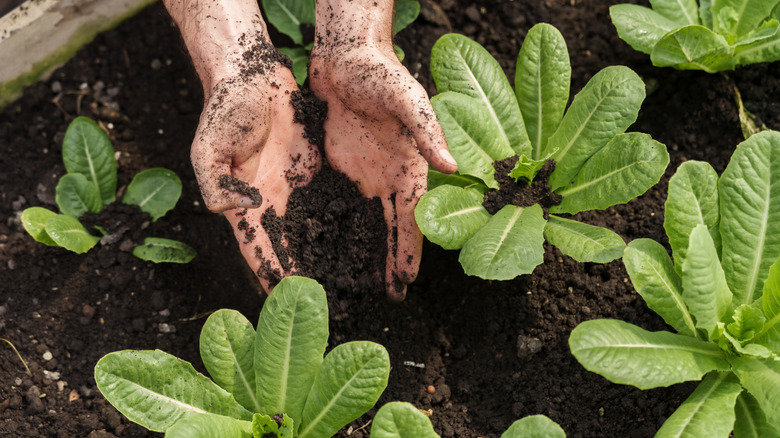
Amend your new garden beds with organic matter
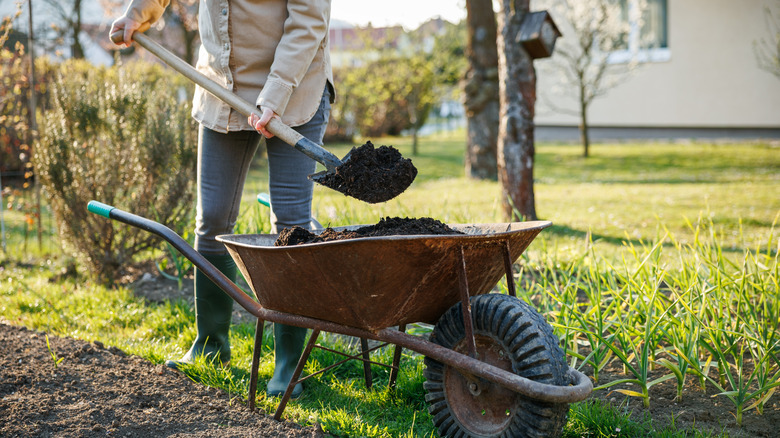
Adding organic matter to the soil is one of the most important steps when starting a garden. Incorporating organic matter improves soil structure by increasing aeration (and subsequently, root development), water retention, and drainage. It can also boost microbial life, and increase nutrient retention in sandy soils. All of these benefits might merely sound like "nice-to-haves," but they are crucial factors in whether plants thrive or not — especially vegetables or high-maintenance ornamentals. Almost all soils benefit from some addition of organic matter, simply for the structural benefits. However, most sources of organic matter also add nutrients.
To amend with organic matter, the quickest method is to apply a 1-4 inch layer of compost and gently work it into the topsoil of your new garden. You can also use things like worm castings, fully-composted manure, leaf mold, etc. Incorporating things like sawdust or woodchips into the soil can add organic matter over time, but initially immobilizes nitrogen – and therefore isn't advisable for beds you wish to plant in right away.
Opt for native plants for a flourishing start
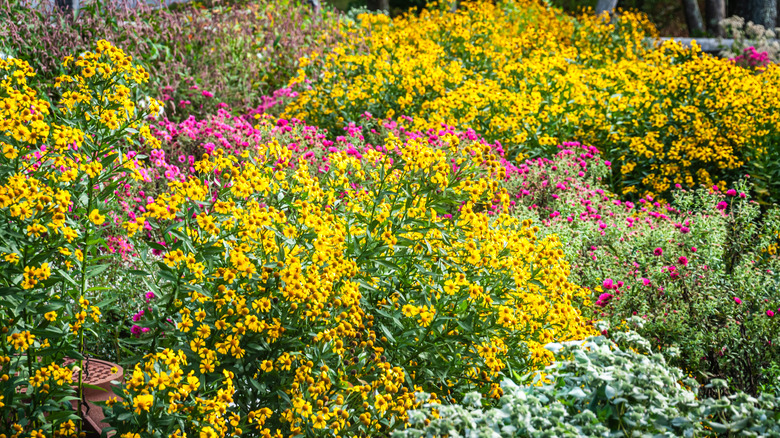
There are so many plants to choose from; How will you know which ones can actually flourish in your garden? Easy: Make things simple and use plants that are native to your area. Native plants are already adapted to your weather, soil types, and tend to use less water that imported plants. It's like a cheat code for a beautiful, vigorous garden that basically grows itself.
Not only are there lots of native plants that can brighten your garden, but native plants are also perfect for bringing birds to your yard. Most native species are a food source for wildlife, including pollinators like butterflies, so you might see new friends hanging out in your yard throughout the year. To find out which plants are native to your area, check your local university's cooperative extension or agricultural department, as their websites often list information on native plants. There are also local gardening groups, in-person or on social media apps like Facebook and Reddit.
Get different fertilizers ready for different plants
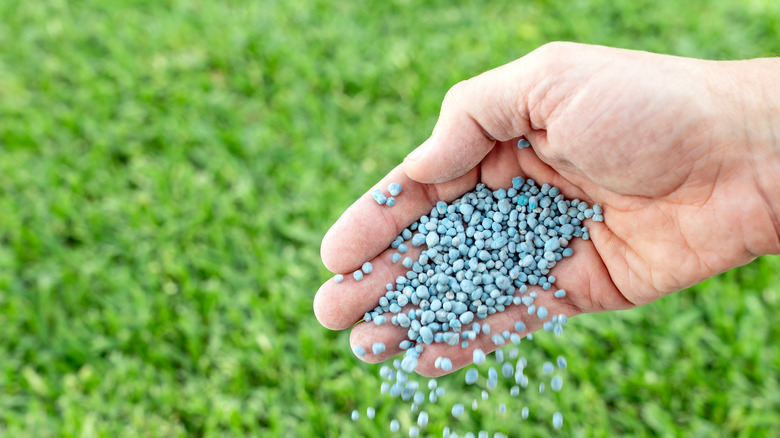
Most native plants don't need fertilizer when planted in native soils. In garden beds, their fertilizer needs are also minimal. But showy ornamentals and vegetables usually require a feeding program — and often one that's tailored to their needs. For instance, corn is a nitrogen-heavy feeder. Phosphorous-heavy fertilizers work great for roses, but are too much for cornflowers. Whether you're planning to grow flowers, herbs, veggies, or a mix, then you're going to want different fertilizers for different plants to keep them flourishing.
Fertilizers typically have their nutrient levels listed in ratios, like 30-10-10, which means the fertilizer is guaranteed to contain 30% nitrogen, 10% phosphorous, and 10% potassium. Your seed packets or plant tags should list fertilizer needs, but a quick Google search can help you find the best fertilizers to use if those are M.I.A. You can try the fertilizers that are one-size-fits-all, but this does open up the risk of giving your plants too much of things they don't need and not enough of the things they do.
Make sure you don't group plants that will compete for resources
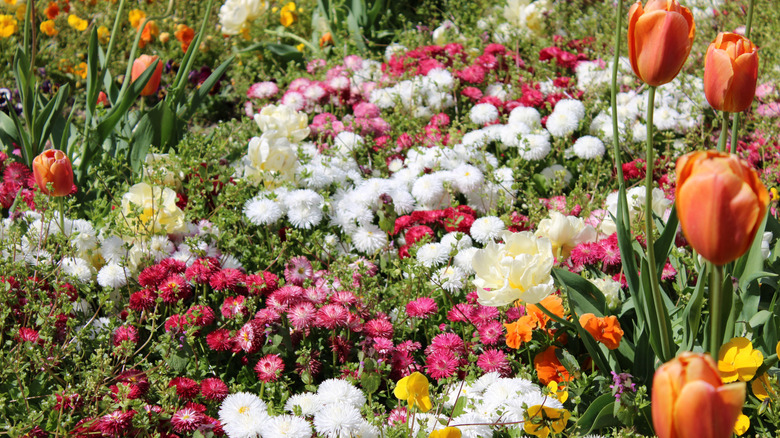
Those cottagecore wildflower gardens are definitely something to behold, for sure. But these gardenscapes can take seasoned planning, and many vegetables and flowers are generally happier with a little bit of breathing room. Plants that are smushed together have to compete for resources in a cramped space, so help your garden flourish by giving everything a little bit of space.
Ideally, you should plant your transplants according to their mature size and thin seedlings, if you're growing from seed, once they begin to sprout. We know it might feel wrong to sacrifice seedlings, but thinning out your baby plants gives them more room to grow, so that you'll have lush, healthy specimens instead of weak-stemmed clusters. For transplants, the tag should list the mature size, and you can just fill in the gaps with mulch to make it look less sparse. Mulch will also help conserve water and keep weeds down, so that's a bonus.
Give everything a thorough watering once planted
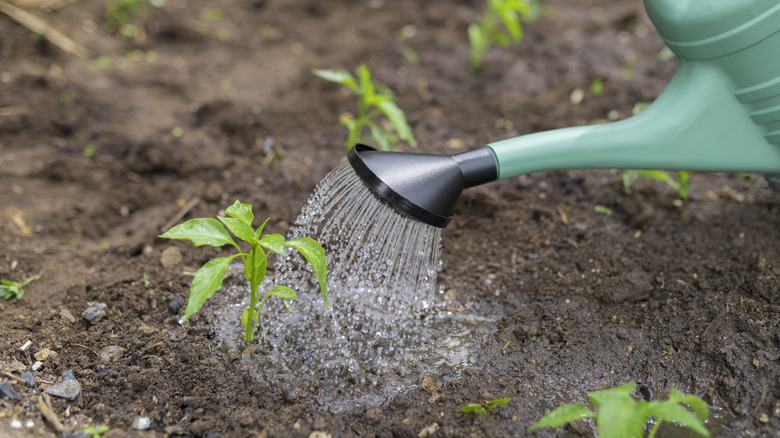
Once you've planted your seeds or transplants into your new garden space, give them a deep watering as a way to welcome them into their new home. It'll help the plants settle into the soil and grow healthy, strong roots to flourish quickly. Plus, they've either been dormant or in grow pots for a while now and are probably pretty thirsty.
The first two weeks are critical for watering as your plant's roots begin to spread out — even in container gardens. You'll want to monitor your drip irrigation during this time and supplement its schedule. Your goal is to have enough water to keep the first 6 inches of soil moist during those two weeks, but not saturated. Dip your finger into the soil to the middle knuckle and pull it out. If your finger comes out clean, the soil is too dry and needs a drink. But if it comes back with soil particles, there's enough moisture for the soil to stick to your finger, so your plants should have enough to thrive.
Document what you notice
Now that everything is planted and growing, it's time to break that garden journal or spreadsheet back out and document what you're noticing. This will help your garden flourish because it allows you to keep track of what's doing well and what might need a little help. It's also great for keeping a record of changes happening to your garden, like new pests showing up.
A well-kept garden journal will also fast-track your success next year when it's time to plant again. For example, if you noticed the lavender you planted didn't do that well because its soil stayed too moist, you'll know next time to plant something that looks similar, but does better in that area of your garden, like lupine. Or if you found that as the sun angle got higher, your tender lettuces got a bit fried in the midday sun, you can plan some protection for them next year.