Use Old Milk Jugs To Create Budget-Friendly Pavers With This Clever DIY
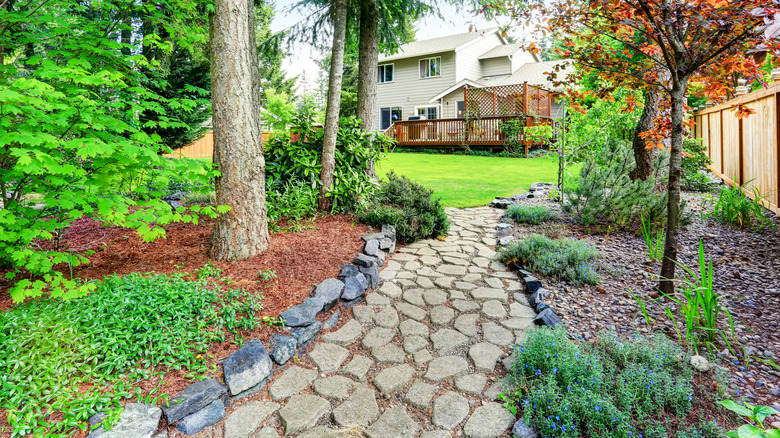
Do you appreciate the rustic look of flagstone paving and want to create a path in your backyard to resemble this type of aesthetic? Although there are plenty of budget-friendly DIY garden path ideas, making your own paving stones isn't difficult, especially if you use quick-drying concrete. While it's possible to purchase prefabricated flagstone molds, many do come with somewhat hefty price tags, which is why using old milk jugs, just like TikToker @krystleconfusesherself has done, is such a great budget alternative.
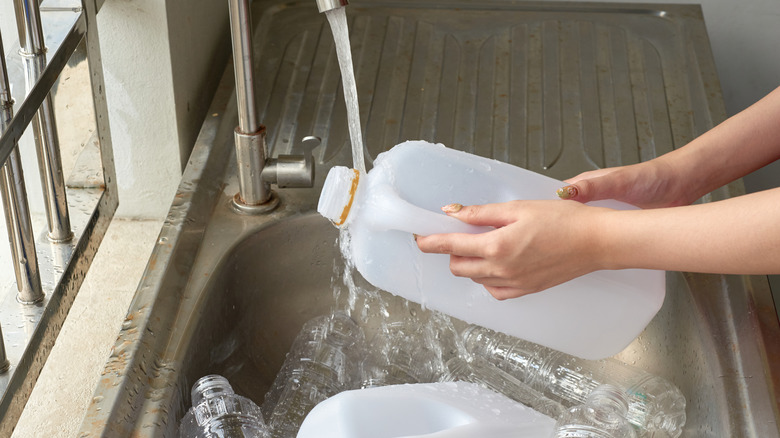
By repurposing milk jugs, you're utilizing something that you would just throw away, so what could be cheaper or more budget-friendly than free? For this method to make your own pavers, all you need is at least two empty milk jugs, such as a 1-gallon and a 1.5-gallon jug for varied sizes of molds that you can use to get the haphazard shapes typical of the cobblestone look. You'll also need a sharp pair of scissors to cut your milk jugs into the individual molds, and then once these are done, some cement and a large bucket to mix it up in. Don't forget your flat concreting trowel, which you'll use to fill the molds and smooth over the top of the cement. Finally, you'll need sand to make your concrete mix and to place between the pavers once the cement is dry.
Making your flagstone molds from old milk jugs
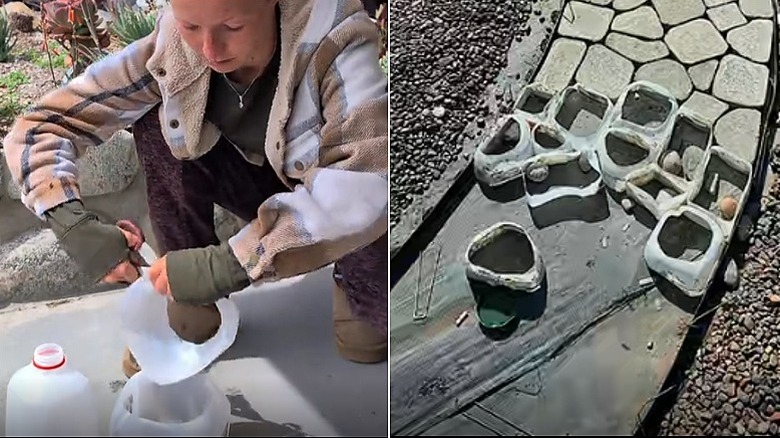
With your scissors, first cut off the handles and the tops and bottoms of the jugs, so that you end up with open-ended cylinders. Now take your scissors and cut each jug into three or four cylindrical pieces. Try to make the height of each one about the same so that when you place them down, their tops are fairly level. Once you have all your molds cut to size, you can practice laying out the pieces so that they fit together but produce irregular shapes. This is going to be the beginning layout of your path, and you'll continue to build on it.
@krystleconfusesherself Replying to @j779295 how to make plastic milk jug molds for a faux stone pathway
If your household doesn't buy milk jugs, you could use empty plastic juice jugs or even large soft drink bottles. To create various shapes, consider mixing those options with things like old ice cream or yogurt containers. Basically, any soft plastic containers that you can cut into cylinders can be used to make these cheap molds.
When making your pavers, you can take it a step further and add a fun personal touch to the stepping stones as you go. For example, you could consider putting a foot or hand print on some of the pavers before the cement is fully dry. Or, you could use leaves or other natural materials to make imprints in your pavers. For a more beachy vibe, you might like to embed a few shells in some of the pavers.
Laying your new cobblestone path
Before you start laying your path, you want to ensure that the ground is as level as possible. You can use sand to lay a nice, solid base for your pavers. It's a good idea to ensure the base doesn't have roots or rubble and is at least 2 inches thick. When you're ready, position your milk jug molds, make your first batch of cement, and then fill the molds using the trowel. Make sure your cement is not too dry or too wet, so it fills the mold easily without being too sloppy. The ideal consistency of the mix should resemble thick oatmeal. To ensure that the concrete stays within the mold rather than oozing out, you want to be able to spoon it in with the trowel rather than pouring it. For further customization, don't forget that you could also add some tint to the water before using it to mix your concrete, or color some of the pavers with glow in the dark paint once they're dry.
You'll want to wait for the cement to dry enough that it holds its shape when you lift each mold up and reposition it to continue on with the path. An additional tip is to spray the insides of your molds with vegetable oil before filling them so that they're easier to remove. In general, a curing time of around 24 hours would be ideal before you remove the molds. This approach means that you'll be making your path in stages, which will also allow you to observe your design and ensure that you're getting the look you're after. Remember to fill the gaps in between the stones with sand once you've created all the pavers and the cement is dry.