Say Goodbye To Bathroom Clutter With The Help Of A Plastic Container And Lid
Yes, vanity trays are an easy way to keep your bathroom clutter-free. However, you may want to rethink those bathroom countertop organizers, no matter how chic they are, especially if your bathroom is small. A better space-saving idea is to utilize the vertical space above or beside your sink to store items like toothbrushes and toothpaste. By doing so, you'll also keep your vanity dry and puddle-free, as splashes will not have solid surfaces to pool under. Fortunately, you can help keep your bathroom clutter-free by simply upcycling a plastic container and lid into a wall-hanging organizer.
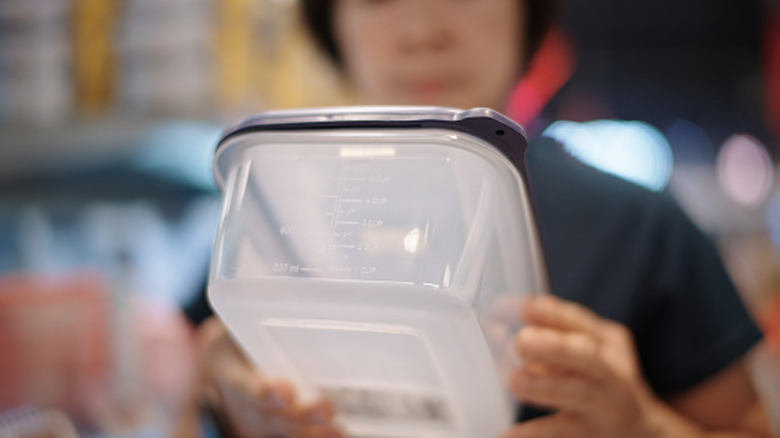
The beauty of this DIY bathroom storage hack is that you'll use items you likely already have at home. All you need is a reusable rectangular plastic takeout container with its lid and decorative paper, while the basic tools required are a craft blade, marker, ruler, scissors, hot glue, and double-sided tape. With these, you'll make a storage solution that's both a compact toothbrush holder and a small towel rack.
How to turn a plastic container and lid into a bathroom organizer
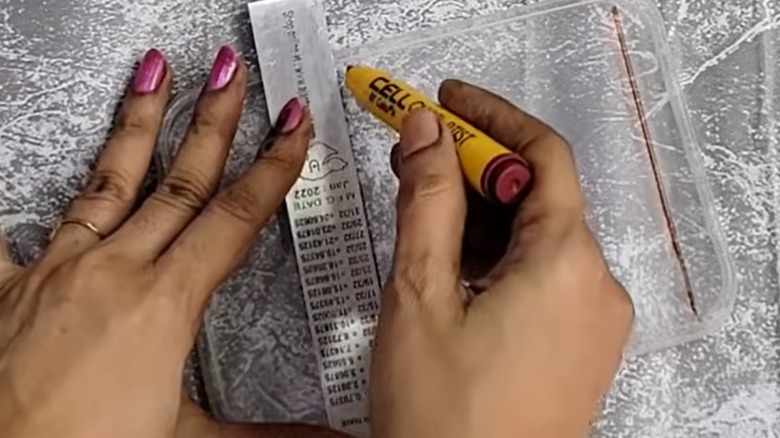
First, trim the lid to create the organizer's fancy towel hanger. To do so, place the plastic lid on a flat surface. Now, use your ruler and marker to measure and mark a line about ½ inch off one edge of the shorter sides of the lid. Then mark another line at least 2 inches from the other shorter side of the lid. The space in between the lines will remain intact, while the area on the edges is what you should cut out. So lightly run a flame along the sharp edge of your craft blade, then use it to cut off the ½ inch of plastic on one end of the lid. For the 2-inch end, cut out a window-like shape, leaving the curved edge intact.
Next, slide the lid back onto the plastic container, but only up to the point where the little window begins. The lid should only cover about half of the container. So go ahead and cut off the uncovered part of the container using your craft blade or scissors. Now, if you hold up the half container with the lid covering it and the window facing down, you'll see that you have a rectangular cup as the toothbrush holder with a rack below for a mini towel. Hot glue the lid onto the container so they stay attached to each other.
Decorating and mounting your easy DIY bathroom organizer
Before we mount this simple DIY bathroom organizer, let's decorate it with cute decorative paper. This can be a piece cut from your leftover wallpaper or just any beautifully patterned paper you have lying around. Cut it to fit the part of the lid covering the plastic container. Next, apply glue on the lid's surface, then attach your decorative paper. Smooth it out to remove any unsightly creases.
In case you'd like other ways of beautifying your DIY bathroom storage solution, try spray-painting the entire thing with your preferred color or to match your bathroom color palette. You can also use adhesive embellishments like rhinestones or little craft flowers to make your wall-mounted holder pop.
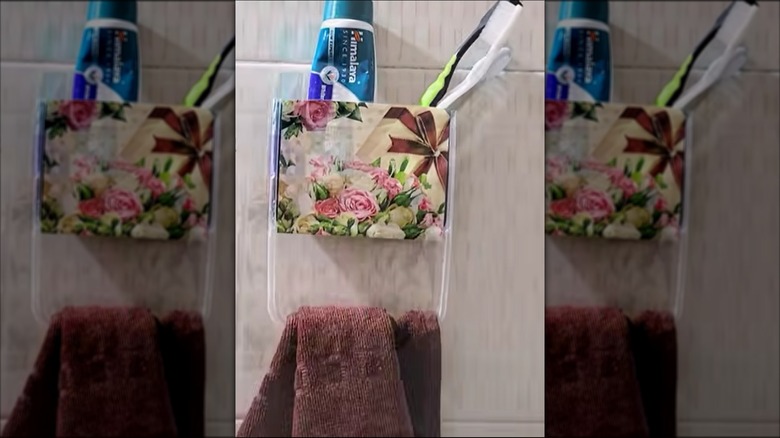
Now we can mount the two-in-one toothbrush holder and towel rack on the wall. First, identify an ideal spot, preferably next to the bathroom sink but far from the toilet (you don't want your toothbrushes getting contaminated with the microscopic spray from every toilet flush). Next, apply double-sided tape on the back side of the plastic container and use that to stick it on the wall. Alternatively, use hot glue instead of tape. You can also make a few tiny holes at the bottom of the toothbrush holder to drain water — a very useful hygiene hack for toothbrush storage to prevent pooling and bacteria growth. Keep in mind that your towel will likely catch the dripping water. Finally, place your toothbrushes and toothpaste in the holder, hang your small towel on the mini-rack below it, and enjoy keeping your bathroom vanity clutter-free.