Don't Throw Away A Plastic Container Lid: Use It For A Cute DIY Wire Basket
We may receive a commission on purchases made from links.
If you're the kind of person who always hesitates before throwing old packaging into the trash, you're going to love this hack. It's a clever DIY for people who always see potential where others see trash. With a simple plastic lid that would otherwise be destined for the recycling bin, you can create a cute DIY wire basket. So next time, don't toss out that takeout container, ice cream bin, or cookie box.
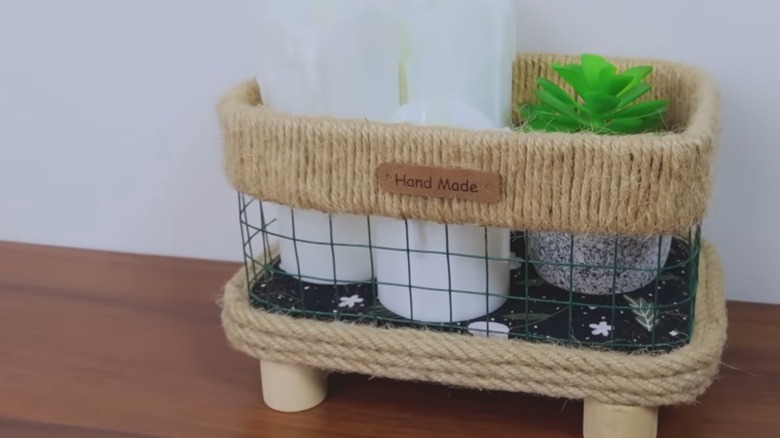
The idea comes from YouTube creator Camelia DIY: Transform a rectangular plastic lid from an old box of wafer sticks into a cute wire basket. For this, they use a piece of hard garden net or chicken wire to create the sides of the basket. With a bit of jute rope and a few wooden pieces as legs, the basket is perfect for decorations like small plants or LED candles (real ones would create a fire hazard so close to the jute cord, best to avoid). It can be used as a cute kitchen countertop storage bin, a makeup organizer, or an entryway catch-all for keys and clutter.
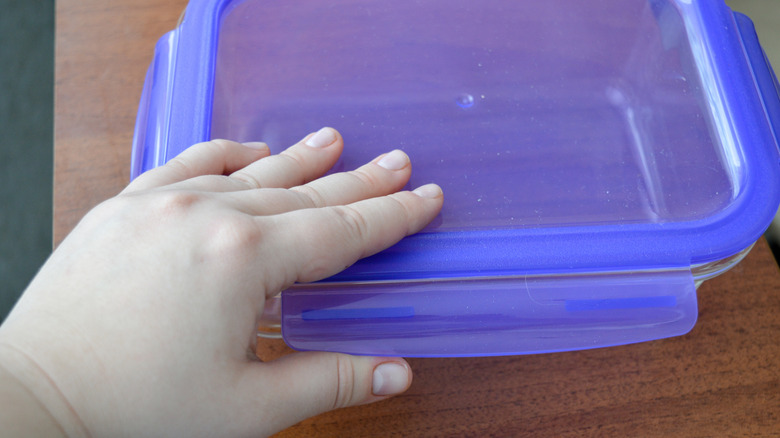
For this DIY, you'll need a lid that has a ridge around the edges, used to snap onto the box it came with. You can use ice cream lids, biscuit boxes, or old Tupperware lids, whether they're round, rectangular, or square. You'll also need some cardboard pieces, fabric, and jute rope. For the wire sides, look for metallic chicken wire, like this AggFencer black hardware cloth. Finally, get 1-inch wooden blocks to act as legs. As for tools, you'll need a hot glue gun and pliers.
How to turn a plastic lid into a basket
To make the lid more sturdy and padded, the original creator of this DIY cuts two pieces of cardboard and covers them in fabric to attach them on either side of the plastic lid. You can do the same or skip this step: Leave the bottom of the lid bare, and cover the top (which is visible) with some fabric. This is an easier method, though it looks less elaborate.
The key step for this hack is turning chicken wire into the sides of the basket. Here, cut a piece of wire that's about 8 inches wide and as long as the lid's circumference. If it's slightly too long, no worries, you can cut off the excess when assembling. The goal is to insert the wire netting into the lid's ridge and secure it in place with hot glue. Once done, wrap the bottom of the basket with jute cord, working your way upwards horizontally to create a 1-inch section. At the top of the basket, wrap the chicken wire in jute cord, going vertically this time and using hot glue throughout to keep it in place. The goal is to elevate the look of this DIY and hide the fact that you're repurposing chicken wire into decor. If you'd like to add legs, use hot glue and place them on all four corners of the lid. However, you can skip that final step and place the basket directly on the counter, too.
You can adapt this DIY in many ways. For example, cover the entire wire with jute cord instead of leaving it visible. On the contrary, you can leave the chicken wire fully exposed and skip the decorations.