Not Racks, Not Benches: The Antique That Makes Shoe Storage Beautiful

If you feel like every time you go to the thrift shop or antique store you come up empty handed, you might need to gain a new perspective. There's a method to making thrifted antiques work in your home. You must look past a piece's flaws, dated design, and original intended use. Sometimes it's necessary to play an active hand in ushering these pieces into the modern era. With a keen eye and some TLC, you can transform a dusty relic into the crowning jewel of your home. If you stumble across a vintage wardrobe, consider taking it home and turning it into the most beautiful shoe storage solution.
Using a wardrobe to store shoes isn't just practical, it adds impactful visual interest to your home as well. Instead of opting for a typical shoe bench or shoe rack, you can cultivate extra storage with stylish flare. This project offers a great way to gain precious extra storage while keeping vintage and antique decor alive in your home. Each wardrobe will be slightly different, some featuring drawers and cubbies with others just having an empty closet-like cavity with a hanger rod. In order to use your antique piece to store shoes efficiently, you'll need to create shelving within the wardrobe. To pull this off, you'll need a tape measure, custom cut wood shelves, a level, a power drill, and shelf supports. If you're hoping to revamp the overall look of your wardrobe, you'll also need sandpaper, varnish stripper, paint or stain, and, potentially, new hardware.
Transform an antique wardrobe into shoe storage
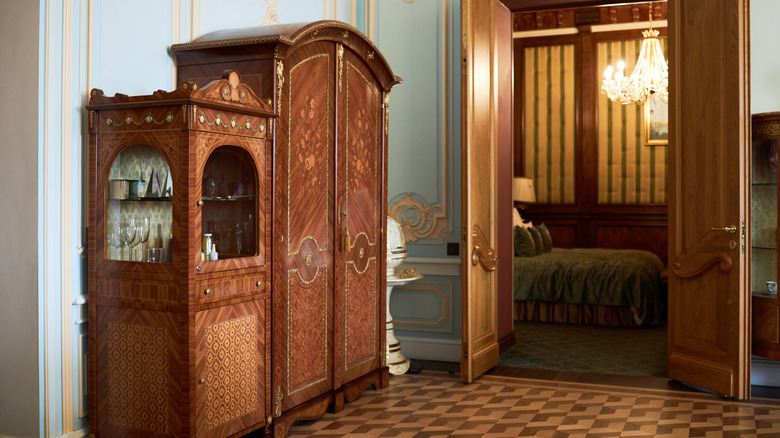
Choose your antique wardrobe wisely. Solid wood wardrobes offer the most versatility and best structural support. Other materials can work too as long as they are thick enough to support the weight of shelves and shoes. It will be easiest to transform your wardrobe if it primarily features a closet space without any existing shelves. But you can still work with a piece if it has additional built-in storage. Once you select a wardrobe, decide if you would like to change the exterior style or leave it as is. If you do decide to restore the wardrobe, take care of this first. Thoroughly clean the piece before stripping, sanding, staining, and resealing it. Take this opportunity to change out hardware as well.
Now it's time to craft your bespoke shoe storage solution. To figure out how many shelves you need, measure the height of the inside of your wardrobe. It's a safe bet to leave between 8 and 9 inches of space between shelves for shoe storage. Divide the total height of your wardrobe by the desired shelf spacing. Say you have a wardrobe space that's 48 inches tall and you want 8 inches between each shelf. You would divide 48 by 8 to get 6. In this scenario, you would have room for six vertical spaces. Since the bottom of the wardrobe acts as one of those spaces, you'll need five shelves to create these six spaces. A simple formula to calculate how many shelves you need is (wardrobe height ÷ shelf spacing) – 1.
Putting the finishing touches on your wardrobe shoe storage
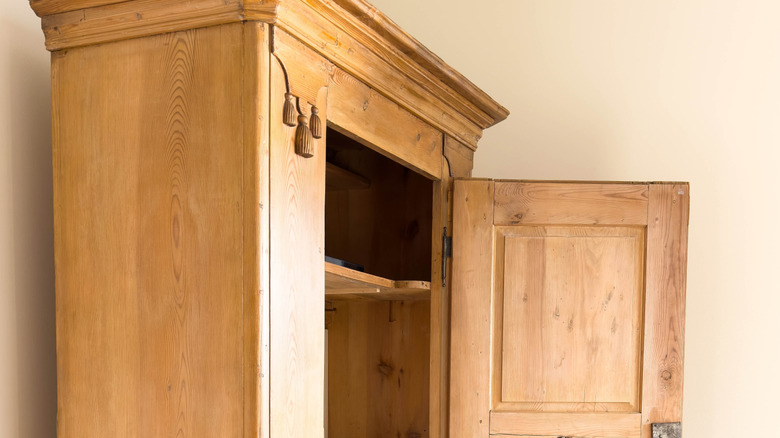
Once you deduce how many shelves you have space for, you need to figure out how big each shelf should be. To do so, measure the width and depth of your closet cavity. If you have the tools and the know-how, you can cut wooden panels yourself, but you can also outsource this to your local lumber supplier if necessary. If you want your shelves to match the exterior of your wardrobe, stain or paint them now. Before moving on to installation, be sure to remove any hanger rods or extraneous wardrobe accessories that will get in the way of your shelves.
When you're ready to start installing your shelves, measure out the appropriate gaps between each shelf and mark it. Use a level to draw a horizontal guideline for where your shelves will go. You can also use a laser level if you have one. Now it's time to install your shelf supports. If you're using brackets, screw them into the wall, careful to install them level to one another. If you have access to wood cutting tools, you can also create custom cleat shelf supports using 1 inch by 2 inch trim pieces. You'll need one back cleat and two side cleats for each shelf. They should sit snuggly against the inner walls of the wardrobe, so the shelf is completely supported. Paint or stain them to match your shelves. Screw them in level to one another. Once your supports are in place, slide your shelves onto position, and screw or staple gun them in place accordingly. And just like that, you've created your own custom shoe storage out of an antique wardrobe!