Reuse An Old Jar Lid To Create A Cute Mini Planter
Most of us are aware of the many different clever ways to reuse old glass jars around the house. They can be repurposed into unique decor pieces or used for storage. But what about the lids? It's easy to dismiss those jar caps, assuming the shallow design means they're less versatile. But guess what? Similar to the jars, there are equally many clever ways to reuse old mason jar lids, as well as the lids of other types of jars. You can even upcycle an old jar lid into a pretty mini planter, believe it or not.
For this creative DIY, the jar lid serves as the base, then toothpicks and twine are placed all around it to create the depth needed to transform it into a planter. Arm yourself also with a few tools like a pair of scissors, a glue gun, and glue sticks. Besides that, you might also want some decorative supplies such as burlap fabric or wooden beads to style your mini planter.
How to assemble the mini planter
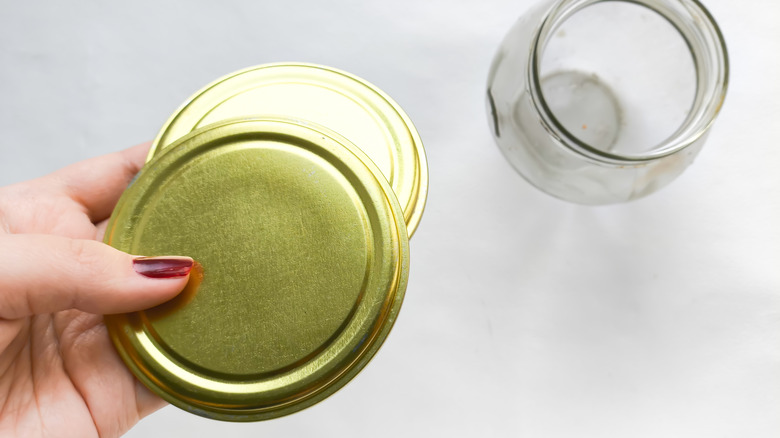
If the jar lid you have is the two-piece kind, first glue them together to make them one unit. Then, with your glue gun, begin attaching the toothpicks to the sides of the lid. Space them out about ¼ inch from one toothpick to the next. In the absence of toothpicks, you could use wooden matchsticks or wooden skewers cut in half to make them a bit shorter.
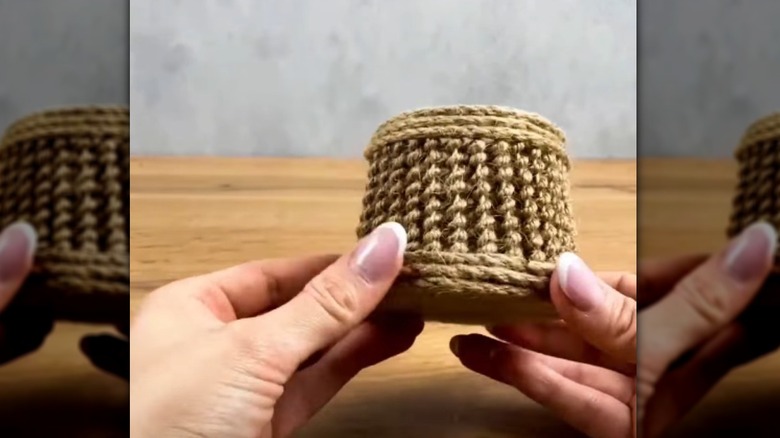
Next, take the burlap material and glue it to the flat outer surface of the lid. Let the fabric come up slightly along the sides, then secure it in place with the glue. You can now start wrapping twine around the planter and using the glue to secure it. Wind the twine around the lower section in about three to four rows. Next, start weaving the twine around the toothpicks. Get creative here: you can use different weaving techniques to produce different designs (pretty similar to weaving the sides of a basket). You could twist the twine around each toothpick before moving to the next. You can also experiment with an "in-and-out" weave to produce a different design, or try a double-twining weaving technique with two colors of twine to get a colorful pattern.
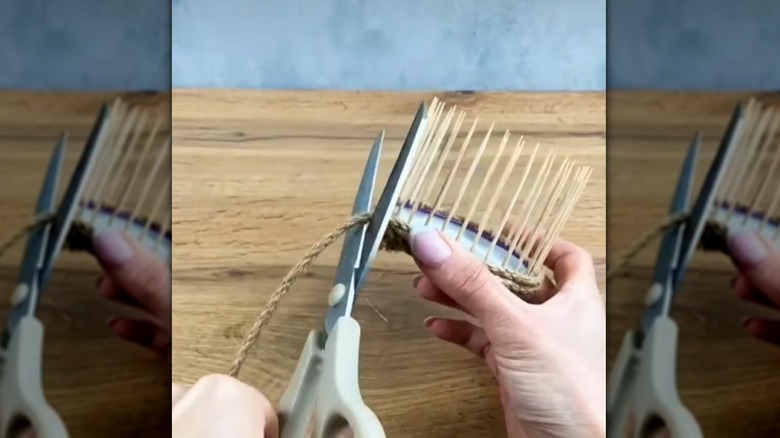
Keep pushing the thread loops together as you work so that no part of the toothpicks is visible. Continue until all the toothpicks are covered in twine, leaving a little space at the very top. Now, glue twine around the exposed toothpick ends or grab your beads and insert one at the free end of each toothpick, securing it in place with the glue. Lastly, glue four beads to the bottom of the planter to serve as stands if desired.
Ways to use your new planter
This planter doesn't have drain holes at the bottom like most regular ones do. That means you can't use it in the same way you use a regular grow pot. So you have two options. The first choice is to only use it to display artificial plants or flowers since those don't need watering. For that, get some beautiful mini faux plants like these QUOZUO Mini Fake Succulents Plants on Amazon.
However, if your goal is to have real plants, then the question is: can you plant in a pot that doesn't have any drainage holes? And the answer is yes, if you use the pot or planter as a cachepot. A cachepot is a planter or pot without drainage holes that serves a decorative role. Your live plant stays in its grow pot (with drainage holes), and you place it in the cachepot, which is prettier. If you use your DIY mini planter as a cachepot, whenever you water the plant, remove the grow pot for a while afterward to let the excess water drain before returning it to its much cuter home. The plants you'll display in this DIY mini planter are small ones that grow comfortably in tiny pots. Cactus, succulents, African violets, and air plants are some examples that will do well in this mini planter.