Turn A Pile Of Clothespins Into Storage Baskets That Look So Stunning
Baskets are great at minimizing visual clutter. You can easily double your storage space with a basket solution that's better than drawers, corral the random items on your nightstand and entryway drop zone, or just turn it into a catch-all for almost every room in your home. When choosing baskets, natural materials like seagrass, wood, or rattan are popular for good reason. They are biodegradable, durable, practical, and stylish. Unfortunately, they're often not as affordable as their plastic counterparts. Here's the good news: You can make one yourself with a simple clothespins hack. And not only a basket, but a matching lid as well.
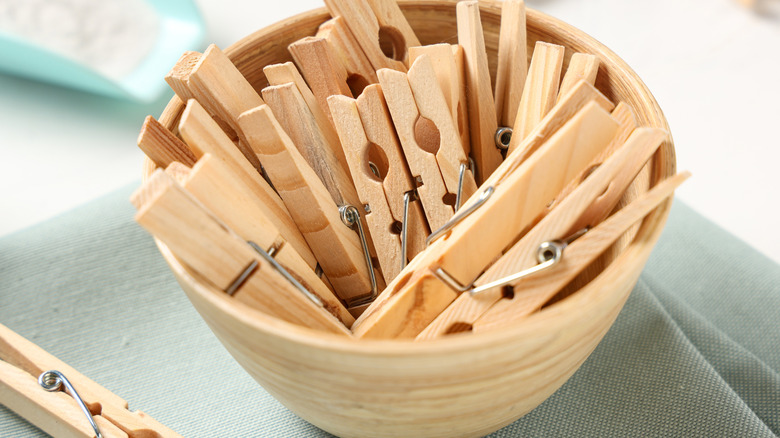
Clothespins are easy to find and ideal for this popular TikTok storage hack. They're also very affordable. A 24-piece pack of Crafter's Square Wooden Clothespins goes for only $1.25 at Dollar Tree. You'll also need the 50-pack of Crafter's Square Mini Clothespins. The other supplies needed for this DIY are cardboard, burlap fabric, a hot glue gun and glue sticks (or heavy-duty craft glue and a brush), jute twine, and scissors.
How to DIY a clothespin storage basket lid
We're going to make the lid first since it'll help us size the basket afterward. First, pull apart all the clothespins — both regular and mini — by removing the metal spring in the middle. Each clothespin should now be separated into two wooden pieces.
Once all the pegs have been dismantled, take one of the pieces, apply glue to its exterior edge (the smoother side), then attach it to the smooth side of another piece. This creates a reversed version of the original peg shape. Repeat this process till you have a bunch of these pairs. About two dozen pairs of both the regular-sized and the mini-sized pegs will do.
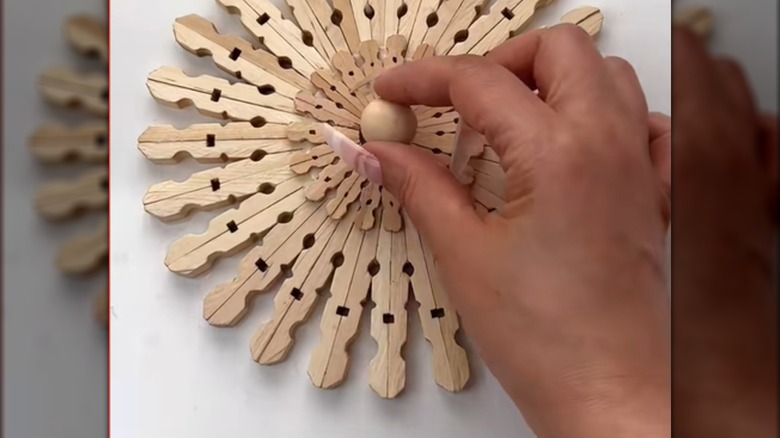
Now arrange the larger glued pairs in a circle on a flat surface to create a wheel-like shape. Glue them together at the bottom ends where they touch to keep them secure. Repeat this process using the mini clothespin pairs until you form another full circle (just smaller). Glue the small circle of pegs to the center of the large circle, then glue one large wooden bead or a cute knob at the very center to act as a handle. Your stylish DIY basket lid is ready.
How to DIY the storage basket using clothespins (& customize it)
We'll begin by making the basket's base. Cut out two circles from the cardboard. Use the lid you just made to ensure the basket's diameter is slightly smaller so the lid overlaps properly. Next, cut a circle of the same size from the burlap fabric and glue it on top of one of the cardboards, then glue the two cardboards together. The burlap should face the inside of the basket.
@tuta_cute_art DIY wooden storage basket #diy #craft #tutacuteart #handmade #diyideas
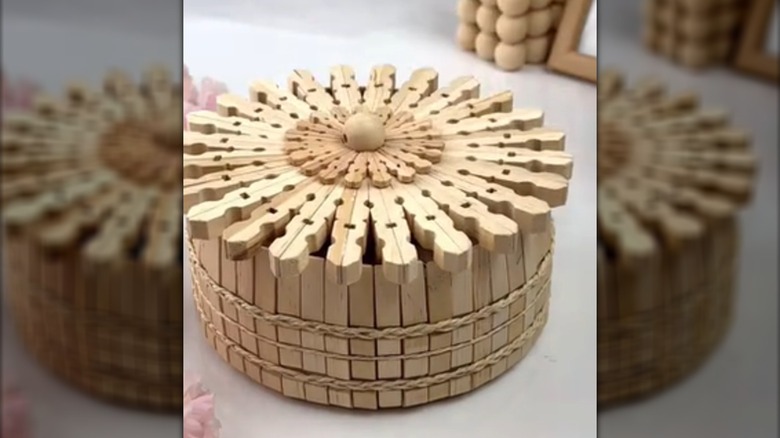
The next step is to build the walls using the remaining single pieces of clothespins. Glue each piece to the edge of the cardboard base in an upright position. The smoother side of each piece should face inwards. Continue placing the wooden pieces side by side until you form a full wall around the base. Now give your DIY basket a stylish finish by wrapping braided twine around the basket's exterior, placing the twine in the indented grooves of the wooden pegs. Once finished, you can fill the basket and cover it with the matching lid.
To make it your own, you can dye the clothespins with food coloring before assembling the basket to match your preferred palette. You can also experiment with spray paint for a final customization after making it. Alternatively, this could be one of the creative ways to use decoupage in your home. Simply cover the clothespin pieces with decorative napkins and glue them in place using Mod Podge. However you choose to customize it, this simple clothespin DIY turns everyday materials into a functional storage piece that looks far more expensive than it actually is.