Man Uses Old Oven Racks To Create A Functional Shelf Unit On A Budget
When decluttering your home, specifically your kitchen, there are some items you probably don't even consider keeping. Stained towels, broken appliances, and rusty pieces of metal are going right to the trash. However, no matter how random the item, there is someone online who has transformed it into something totally new and useful for their home. That's exactly what happened with this DIYer, who, along with his children, took the racks from his dead Whirlpool oven and turned them into a wire shelf for their home. They could've easily tossed these in the trash, but instead, this family used the racks and plenty of creativity to create a brand new shelf to hold pots and pans.
YouTube channel @RMSpeltzFarm is no stranger to up-cycling various kitchen items into new products. Before this project, they had even turned the dead oven itself into new, unique planter boxes. However, they didn't want to get rid of the old oven racks just yet. After a good wash, the racks themselves were in great condition, and this man and his kids decided to combine them with leftover pieces of rebar to create a DIY shelving unit.
If you don't want to make a kitchen shelf, your oven racks can still be utilized in just about any room of your house. We could see these as DIY plant stands, extra garage storage, shoe racks, closet shelves, and more. This is a great lesson in up-cycling, and might just inspire others to do the same.
How to turn oven racks into a shelving unit
You can customize this project based on what you have at home. While this family had two old pieces of rebar in their barn to use, you can also use any type of durable metal or wiring, as long as it is sturdy enough for shelving. You could use an old clothing rack instead of rebar. You could also simply attach the oven racks directly to your wall to create makeshift floating shelves. This is your time to be creative.
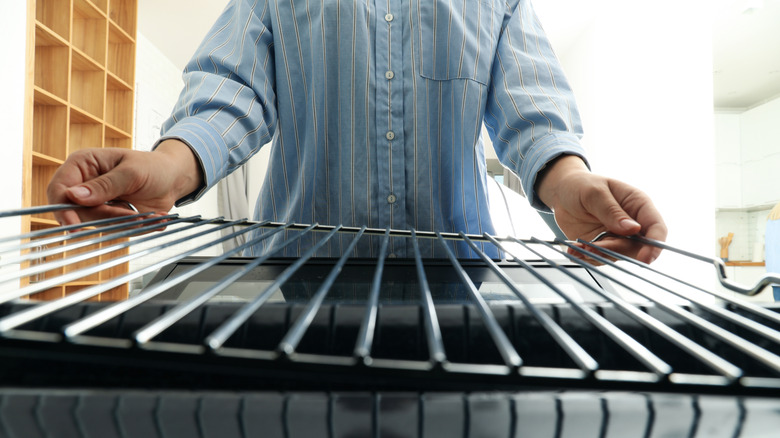
Before you get started with building, make sure to clean any grime or grease from your oven racks. (If you're adding your oven racks directly to your wall as floating shelves, make sure to give them a fresh coat of paint first.)
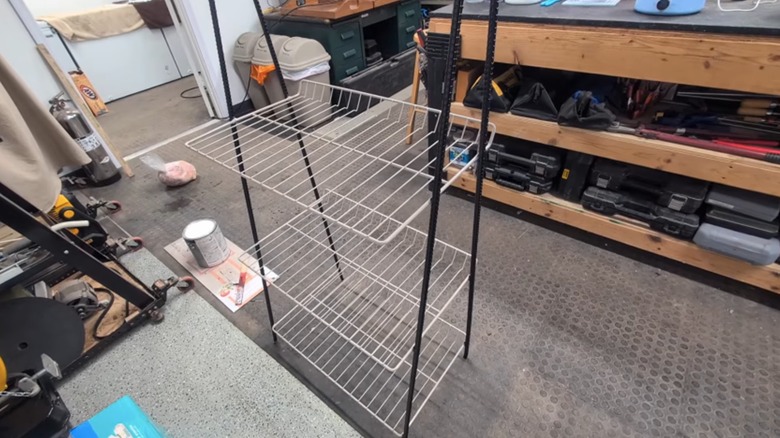
This creator's daughter dove right in with this project by setting up her rebar and placing two-by-fours on the ground to determine where she wanted the bottom oven rack to go. She set the first oven rack onto the two-by-fours, made sure it was level, and then welded the oven rack to the bottom of the rebar. Welding is obviously a much more involved process, so if you're not at the welding level yet, don't worry. You can easily attach the oven racks to your metal base with something as simple as zip ties. Repeat this process for each oven rack, and make sure to level each one out before securing it into place.
Once your oven racks are securely attached, you can repaint the entire shelf to hide any old stains or rust from the racks or base. Now it's time to fill it up with pots, pans, crafting supplies, linens, or any other home items you need to store.