Transform Store-Bought Herbs With One Simple Trick
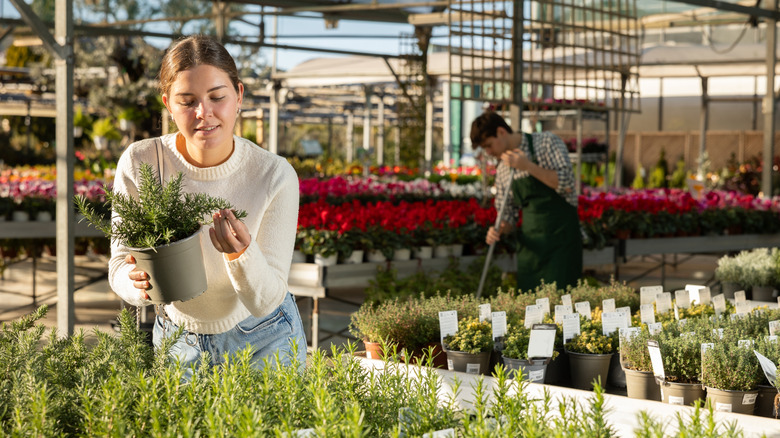
Have you noticed that store-bought herbs don't usually fare well when you bring them home and grow them as indoor plants? They look fine in the store, but they decline quickly — some even die within a few weeks. Mass-produced herbs are grown in crowded conditions, much more so than they would be in your own garden. This can make the plants look more lush temporarily, but the downsides of this overcrowding quickly start to show after purchase. While their growing environment is a significant reason they fade quickly, over-eager plant buyers often share the blame because they overwater, perhaps attempting to revive their plants. That's just one reason to consider a watering method that helps prevent overwatering — bottom watering — for your store-bought herbs.
The scientific explanation for how bottom watering works centers on capillary action, which enables your herbs' dry soil to suck up water until both soil and roots have what they need. That way, water is evenly distributed throughout the pot. This is less likely to occur in top-watered potted plants because water runs down the sides instead of soaking through the middle.
Bottom watering also benefits your herbs by preventing mold (often from overwatering) and deterring fungus gnats that seek out moist soil to lay their eggs. This watering technique comes in handy if you need to revive hydrophobic soil, meaning that water is flowing right through the pot because the soil repels it. Bottom watering is recommended for herb seedlings, as well as for herbs growing in peat moss or other soilless potting mix.
Bottom water your store-bought herbs
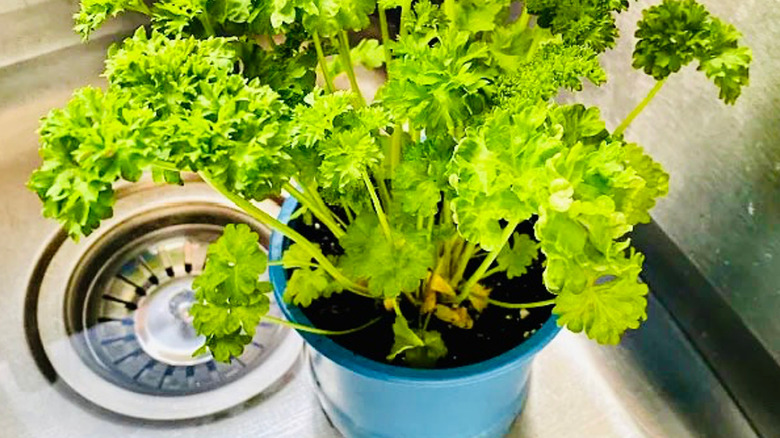
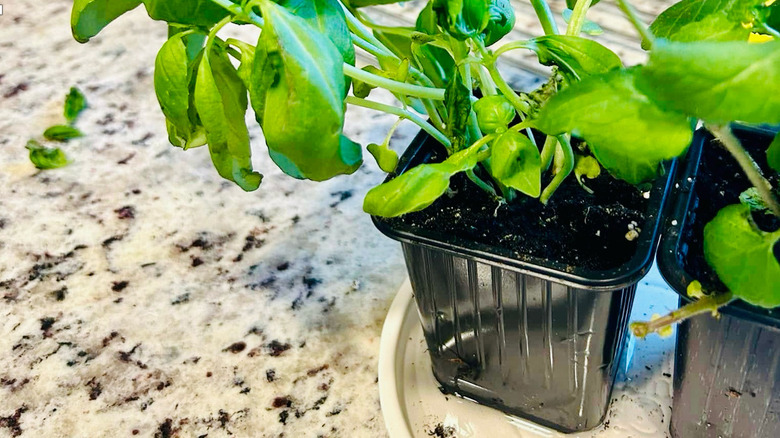
Before you begin your bottom watering practice, be aware that it is not a cure-all for store-bought herb problems; for them to thrive, you'll want to repot them when you get them home and separate large clumps of herbs (especially thyme, basil, and parsley) into smaller ones. Be sure your pots are equipped with drainage holes, or bottom watering won't work. Instead of watering your new herbs on a set schedule, only do so when the top 2 or 3 inches of the soil is dry to the touch.
You'll need a vessel for bottom watering. For one or two plants, you could use a plate or saucer. For more plants, consider a sink or wash basin. For a whole passel of herb plants, the easiest way to bottom water plants is hiding in your bathroom: your bathtub. Add 1 ½ to 2 inches of water to the vessel; the amount can vary depending on the number and size of pots. Allow pots to soak for 15 minutes. Then remove them from the water and allow the pots to drain any excess.
Understand the moisture needs of your herbs
The fact that plants are in the herb category doesn't mean they all have the same needs. It's important to learn about water requirements for all your herbs so you know how they'll respond to bottom watering. Mint, parsley, basil, and lemon balm have the highest water needs. The herbs classified as Mediterranean (rosemary, cilantro, thyme, oregano, sage, chives, dill, and lavender), however, benefit from a wet-dry cycle in which their soil is dry between waterings. These variations are why the finger test for moisture is so important; your herbs may not all need bottom watering at the same time.
A couple of tips and caveats are in order for bottom-watering herbs. Consider terracotta pots for your herbs. Their porosity means they will absorb some of the water during bottom watering. Terracotta pots have been critical to one gardener who turned a store-bought basil plant into a towering work of art. She consistently keeps her basil plants in filled saucers, as terracotta pots wick excess moisture from the soil and allow for air circulation.
Secondly, when you're consistently bottom watering, you may eventually see crusty, white salt and mineral deposits on your pots. Bottom watering doesn't do much to rinse these out of the soil, so it's a good idea to give your herbs an occasional top watering to flush out the salt and minerals.