Turn A Pile Of Mason Jar Lids Into Stunning Gallery Wall Decor
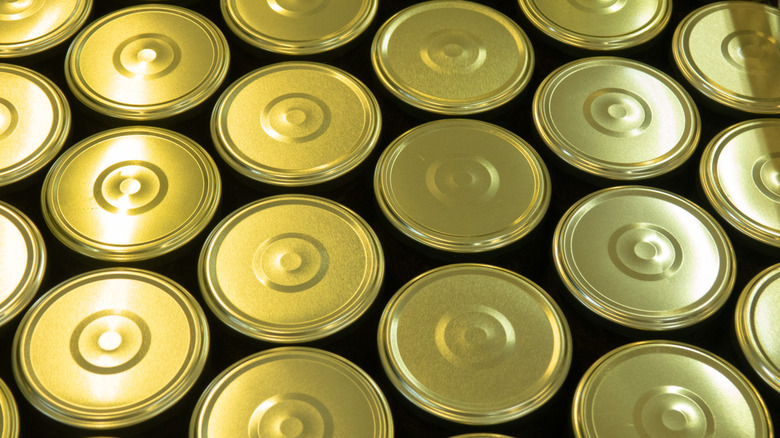
You've saved your leftover Mason jars to turn into cute and kitchy drinking glasses, but what do you do with all of those lids? What about a clever alternative to a boring gallery wall? If you're in the market for some quirky wall art, Instagrammer @dando.ideas has a dimensional DIY that puts those lids to use. For this project, you'll need a sturdy piece of cardboard, craft adhesive, a set of graphic stationary, and chrome effect spray paint. Also grab your crafting scissors, foam mounting tape, and dimensional modgepodge or craft resin. If you'd like to hang your gallery, you'll need twine or rope. And, of course, you need your collection of lids. Aim for 15-20 lids, ideally in varying sizes to add visual interest to your display.
The final product is a cottagecore-style and collage-inspired piece of wall art that's guaranteed to make you smile. It features "pop-out" images and lacquered backgrounds, framed by jar lids on a chrome matte. This DIYer hangs their gallery on a rope weaved with ribbons and faux greenery.
Creating Your Jar Lid Gallery Wall
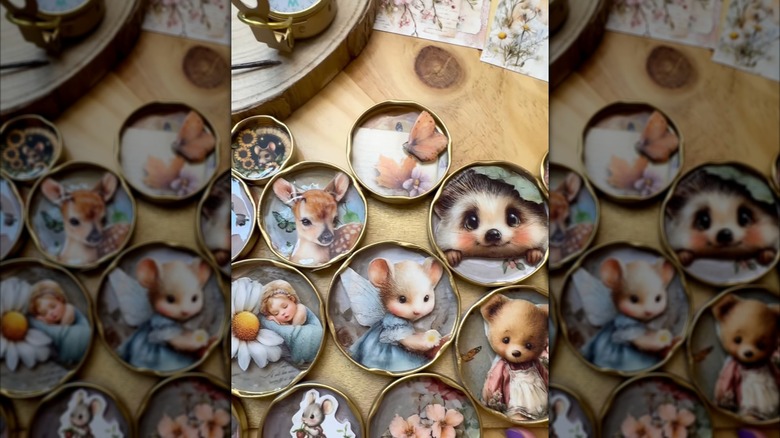
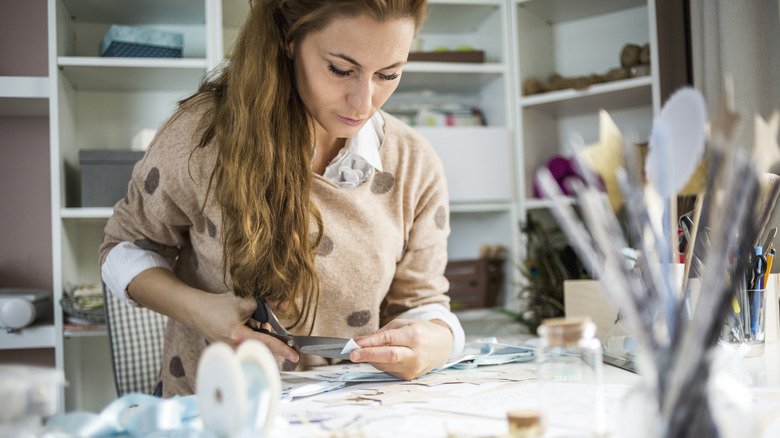
To create this charming wall art, start by tracing your jar lids onto stationary. The circles you draw will be your "backgrounds," so choose the part of the stationary that doesn't have a prominent graphic. Cut out a circle for each jar lid, then set the circles aside. Next, arrange the jar lids on the cardboard. Once you've found a pleasing arrangement, glue the lids — rim-side facing outward — to the cardboard. Spray the entire piece with spray paint.
When the spray paint has dried, glue each "background" circle into it's corresponding lid. Then attach your foam mounting tape. Here's the fun part: Cut out your favorite graphics from the stationary and adhere them to the mounting tape so that they "pop out" of the jar lid frame. Adhere them to the background circles, and finally, pour dimensional modgepodge only onto the background section, spreading it smooth with a toothpick and allowing it to dry. If you'd like to hang your gallery, punch or pierce holes in the back of the cardboard and thread twine or rope through the holes. (Be sure to follow these hacks that make hanging photos a breeze.)
Variations And Ideas For Your Gallery
There are endless ways to customize this DIY to suit your home's aesthetic. If you prefer photos over graphics, this is a fun way to display cut-out snapshots of your family and friends. You'll still need to source a background, though this can be as tame as a plain, conventional photo matte if you prefer. If you're feeling more whimsical, choose black-and-white photos and display them over a colorful patterned background.
This would be a darling way to frame annual school pictures, especially if you use your kids' art as the background. If you're up for the task, you can make a gallery wall for each season, using seasonal stationary as your inspiration. Or, opt out of graphics altogether and use each jar-lid frame to feature pressed flowers, fabric scraps, and meaningful trinkets. After all, there are tons of things you could be framing that aren't pictures for unique home decor.