Turn Cardboard And Toilet Paper Into The Cutest Strawberry Shelves For Your Wall
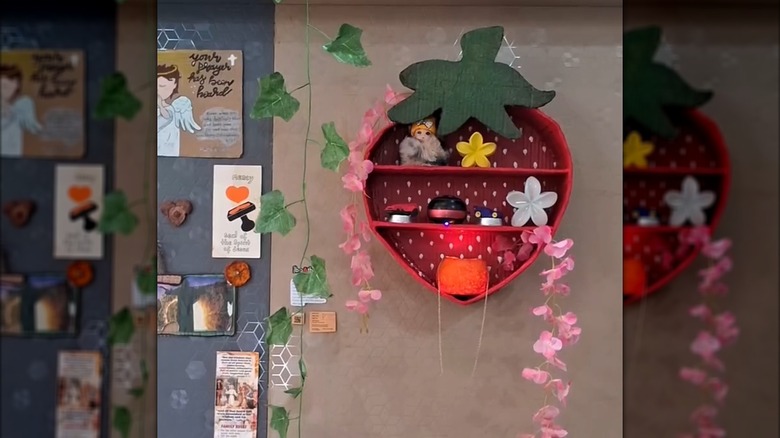
If you have a brown thumb, growing strawberries might not be for you. But if you have dreamt of having the vivid red and luscious goodies add a little color to your home, you don't have to bid it goodbye. Get some cardboard and a small roll of toilet paper to DIY adorable strawberry shelves for your wall. These cute shelves will be decorative and quite dainty. They are best for small, lightweight items, such as plush toys, keys, or LED tea candles. Plus, they complement other whimsical decor like this DIY Anthropology strawberry lamp.
For a budget-friendly craft, see if you have leftover cardboard from previous projects. This DIY is also a great way to repurpose cardboard moving boxes or use any delivery and packaging scraps you have on hand; they should be in good condition and large when flattened. Otherwise, your shelf will look absurdly small. Besides the cardboard, you'll need a sharp pair of scissors, craft glue, a hot glue gun, a pencil, some toilet paper, acrylic paints, a paint brush, and a tape measure. You'll also require some twine to hang your strawberry shelf from a pre-drilled hook or nail. In case you need a renter-friendly solution, try heavy-duty adhesive hooks to mount the shelf. Alternatively, use double-sided mounting tapes, like EZlifego's Nano Adhesive roll, if you'd rather not deal with hooks.
How to DIY a mounted strawberry shelf
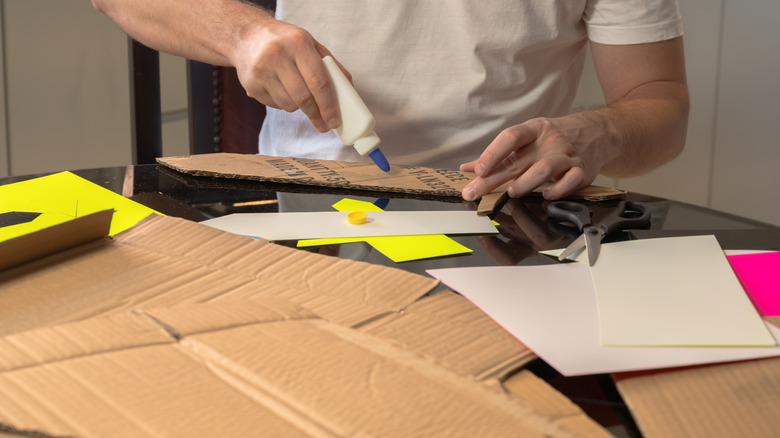
Start by tracing and cutting out a rough outline of a strawberry on a flattened piece of cardboard. Make it as big or as small as you'd like, but keep your wall's proportions in mind. In case you aren't sure of the size, lay your cardboard against the wall to get a rough idea. Based on your strawberry's size, trace and cut its leafy top on another cardboard. Then, measure across the face of the strawberry to determine the length of your shelves. Using these dimensions, trim two or three cardboard dividers for your shelf, roughly 2 inches wide. Also, cut out a long strip the same depth as your shelves and curve it along its length using your fingers. This will serve as the outer border for the strawberry. Next, hot glue the shelves, leaf top, and border to the strawberry.
Now, in a small dish, mix craft glue with a little water. Tear off small strips of toilet paper, dunk them in the mixture, and adhere them to the shelves and border. This will create a little texture, hide the cardboard beneath, and strengthen it. Once it's dry, paint the body and compartments red and the leaves green so it mimics a real strawberry. You can also add a few dabs of white all over to paint the seeds and add a little dimension. To go the extra mile, outline your strawberry with colored glitter glue. Or, get strawberry napkins, trim out the fruits, and decoupage them over your shelves. Strawberry liners or wallpaper will have a similar effect. Now you have a cute way to add a whimsical accent to your home.