Don't Throw Away Plastic Nursery Pots: Use Them To Attract More Butterflies
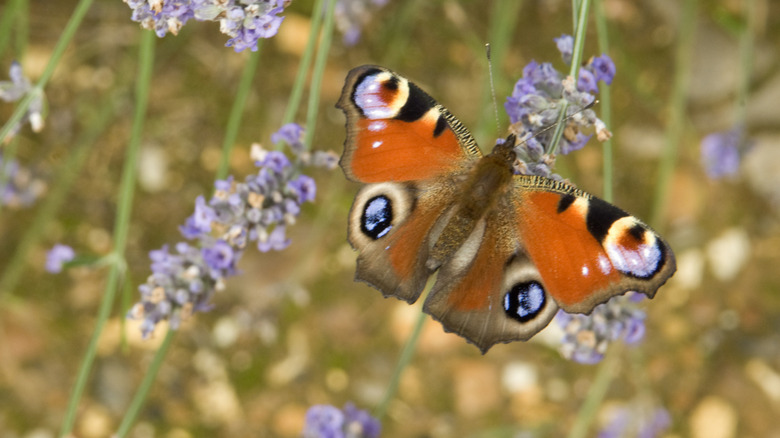
Butterflies are invaluable parts of the ecosystem; they play roles as pollinators, decomposers, and pest controllers. Recognizing this right now is especially important, since butterfly populations across the U.S. have declined at an alarming rate in the last 25 years. These delicate creatures need all the support they can get, and one way to attract them to our garden is by providing extra shelter. Grab a plastic nursery pot from that stack in the garage, and use it to make a butterfly house. Outfitted with a slatted front made of wood or plastic and hung from a vertical support, butterflies can slide into these cozy spots for some necessary rest.
Make your own in minutes with just a handful of supplies. Along with a nursery pot, grab a jigsaw or rotary tool with a saw blade, a pencil, a hot glue gun, a ruler, sandpaper, and a thin board that hasn't been chemically treated, and that is larger than the mouth of the pot. To cut the slatted entrances in the wood face, use a rotary tool or a drill fitted with a ½-inch drill bit. If you're short on tools and have a plastic lid that matches the nursery pot's size or is slightly larger, grab that instead. Also, find a few twigs or a bit of bark for the residents to perch on when they're inside the butterfly house. A twist of wire through the pot's drainage holes will do duty as a hanger.
Assemble a nursery pot butterfly home
Of all the creative ways to reuse plastic nursery pots, this is one of the most beneficial to pollinators. Start with clean building materials. Clean the pot with soap and water along with the plastic lid (if you're using one). For the plastic lid variation, you may luck out with one that fits the pot perfectly. However, in the likelihood that it doesn't, follow the same directions for preparing it as for wood.
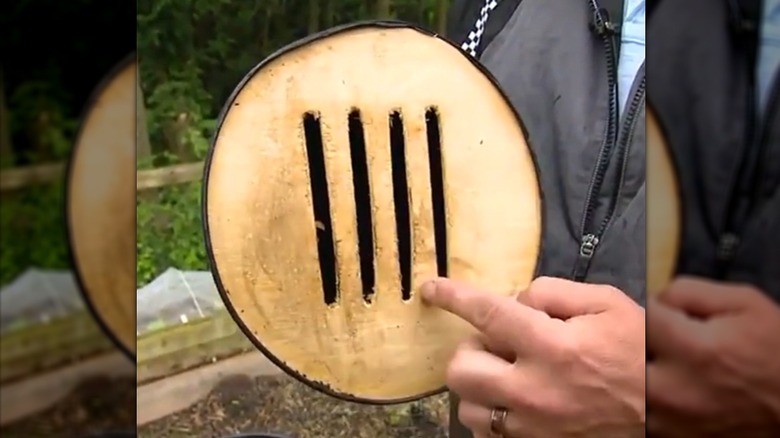
Trace the mouth of the pot onto the facing material, and cut out the circle. Play with measurements to see how many 3 inch-by-½ inch entrance slits you can fit in the available space before picking up the tools. Measure and draw the slits on the material, and cut them out. For wood faces, a rotary saw blade or drilling a series of ½-inch holes along the 3-inch line will work. For plastic, a utility blade will work. Smooth down any rough edges on the slits — wood or plastic — with sandpaper.
String the piece of wire through a couple of the pot's drainage holes, and twist it into a hanging loop. Place the twig(s) or bark inside the pot. Finding non-toxic glues can be a challenge for wildlife-centric projects. Hot glue reportedly poses no threat of toxins once it's dried, so fire up that gun to attach the face to the mouth of the pot. Up your chances of fluttering guests by surrounding your creation with some of these plants that will fill your garden with a variety of butterflies.