Turn Wicker Baskets Into Planters That Look Like Terracotta With A Creative DIY
You can make your own terracotta pot without a kiln or potter's wheel. No, it's not actually clay, but a few easy steps can take a tired or even broken wicker basket from woven and weary to wonderful and timeless. All you need is a bit of papier-mâché and terracotta craft paint. Baskets that are overused and worn out — or underused and wasting space — are the ideal candidates for a crafty faux-terracotta upgrade using just paper, paste, and paint.
Grab an eligible basket, a measuring cup, a spoon, a bowl, flour, and a pile of used paper (This is a great way to reuse junk mail or old receipts that usually aren't recyclable or compostable.) Old newspapers are a good choice, since the material tends to absorb glue more quickly than office paper. You may want a box or another container to hold your ripped up paper pieces. As for paint, go with something like Delta Creative Ceramcoat Acrylic Paint in terracotta. There are plenty of other terracotta paint shades available if this one doesn't appeal to you. You may also want a sealant like clear gesso or Mod Podge. Lastly, since papier-mâché surfaces can be a bit lumpy, a coating of joint compound applied with a rubber scraper can give your basket a more convincing clay look.
A papier-mâché makeover won't be waterproof, so this project is best for holding a removable pot or an artificial plant. However, some crafters suggest using wood glue rather than a mixture of flour and water; since this adhesive is considered waterproof, it could be a good option for making a moisture-resistant pot.
Preparing the paper and paste
Cover a large work surface; a cut-open repurposed pet food bag makes a good table protector. Tear the paper into pieces that are about 1 to 1 ½ inch wide and 3 to 4 inches long — larger pieces can be harder to work with and may tear easily. If you're using junk mail, use paper that's not coated or glossy, since the coating prevents the paper from absorbing the glue. The amount of paper you'll need depends on the size of your basket and how thick you want the coating to be. Prepare enough paper to cover the basket's interior and base, too.
@danielle.churchill Wicker to terracotta transformation 🧡 #wallplanter #diy #diyhome
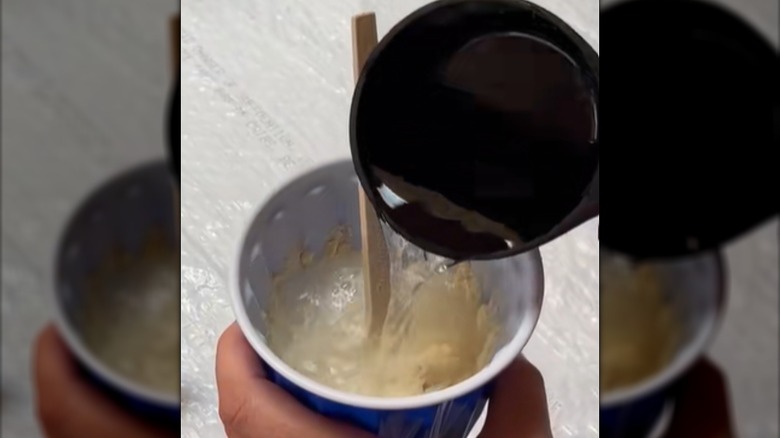
Time to mix up the paste! Typical papier-mâché glue consists of just flour and water, mixed to a 1-to-2 ratio. Some recipes recommend adding 1 tablespoon of salt to 3 cups of mixture to protect against moisture. If you're using wood glue, you'll also dilute it with water. If you want your best shot at making a water resistant pot, check out this high-quality wood glue to make your DIY project last longer. It's recommended to mix ¼ cup of water with 4 ounces of school glue. Just in case, you may want to add water a bit at a time, mixing well as you go, to see if this ratio feels the same for wood glue. As you place paper strips in the glue, let them soak up the liquid for several seconds before working with them.
Layering paper, paint, and optional coatings on the basket
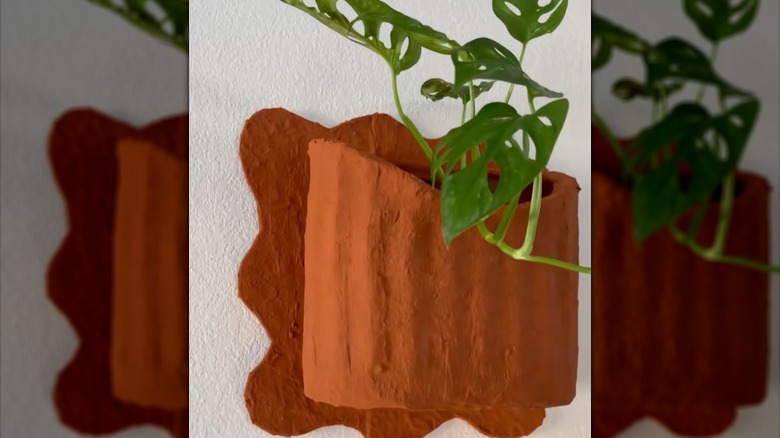
Begin laying soaked paper strips over the basket, covering all surfaces with a single layer of paper strips before adding more layers. The more layers you add, the thicker the planter will be. But, you may be able to manipulate one or two paper layers so that a bit of the basket's woven texture is still visible. To try this, gently press the paper into the weave with your fingers and/or a cotton swab. Continue covering the basket in even layers until you achieve the thickness you want. Let the paper dry fully before adding any sealant or paint. How long this takes depends on the thickness of your paper layers and humidity levels in your area. You may want to wait as long as 24 hours before adding paint, gesso, or joint compound.
If you're using gesso or joint compound, apply this before painting, and let it dry. Gesso goes on well with a paint brush, and a rubber scraper is good for applying joint compound. You can sand the joint compound after it dries for a smooth, clay-like surface. As you paint, keep the coats consistent, and let them dry before applying additional coats. If you're using Mod Podge as a sealant, apply it after the last layer of paint is dry. Slide a potted plant inside when you're finished. Since the paper material won't hold up against moisture, be sure to take the inner pot out when you water the plant and display it indoors or a sheltered spot outdoors.