21 Painting Tips For Stunning Tile Floors That Stand The Test Of Time
We may receive a commission on purchases made from links.
Having pristine ceramic tiles that glisten when cleaned and remain scratch-free is every homeowner's dream (and a trend that's bringing personality to homes). It's no secret that tile flooring requires constant maintenance and care, and sometimes, even with all the attention you give it, it may still end up looking dull and grimy. This is especially true if you have been using the same floors for years. However, replacing tiles is a long, highly disruptive, and costly process that requires demolishing existing flooring, hiring professionals, and buying new flooring materials. If that seems impossible on your current budget, but you still want to try to revitalize your existing tiles, painting your tile floors is a viable alternative.
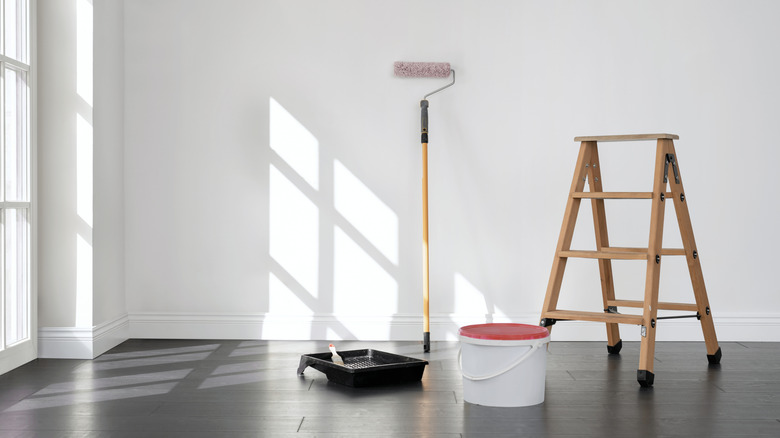
Tile painting is much easier than you think and is budget-friendly. It's also time-efficient; the whole process might take around a week. You don't need any power tools or complicated machinery, and you have the creative freedom to apply any patterns and use colors that best fit your home decor. All you will need to begin your project is a degreaser, sandpaper, a high-quality primer, painter's tape, and a paintbrush or a foam roller. You may also want to purchase decorative stencil paper or a stencil brush to create patterns.
Despite how straightforward this may sound, there are some important things you need to know before painting your floors to ensure the finish lasts and looks as vibrant as possible.
Avoid painting high moisture areas
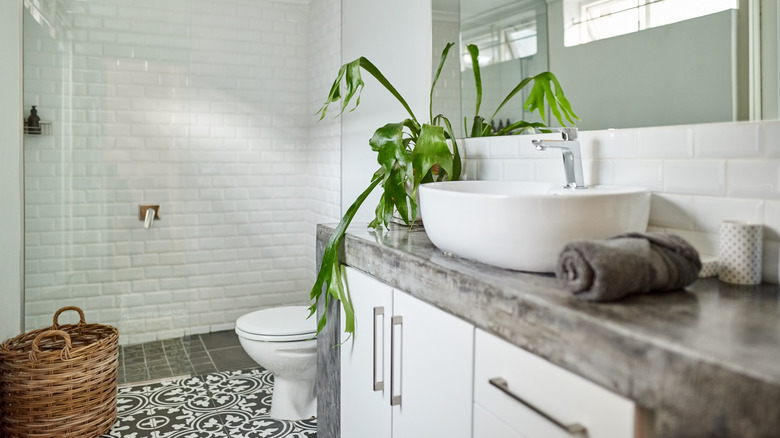
You might be tempted to paint your bathroom floors or that wall above your kitchen sink. However, flooring is one of the things you should never paint in your bathroom. This is because high humidity can ruin paint, cause peeling, expose the tiles underneath, or fade the patterns and colors you spent hours making. That's why if you're thinking about painting your bathroom, kitchen, or any other spot around your house that gets a high amount of moisture, you need to ensure that it has low foot traffic and that you're using paints specially made for bathrooms.
Choose the right paint for your tile type
Standard wall paint will not withstand foot traffic. Generally speaking, you need to select a high-performance floor paint or epoxy-based formula designed for durability and moisture resistance. Two-part epoxy paints, floor enamel paints, and silicone-based paint often perform best in these circumstances because they are easier to clean and provide good adhesion. What's great about these types of flooring paint is that you can find them in high or low sheen finishes that resemble real ceramic and other tile flooring.
Sand your tiles before painting for a better surface grip
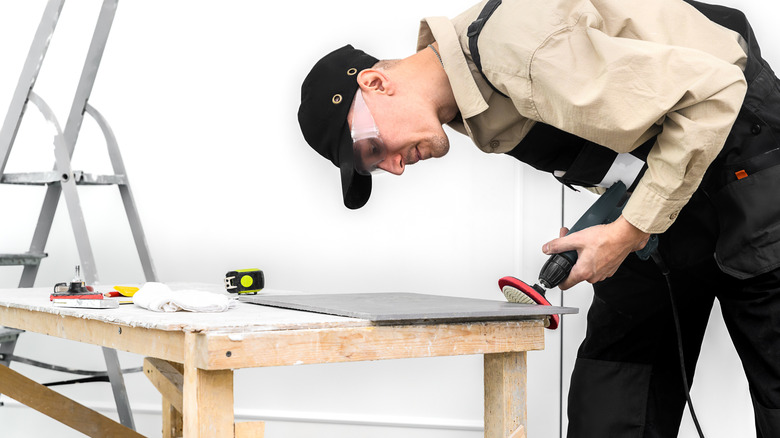
Ceramic tiles are naturally smooth and often glossy, which makes adhesion difficult. Lightly sanding the surface removes shine and creates a rough texture for the primer to grip onto. Use fine-grit sandpaper or an electric sander and work evenly across the entire floor to ensure that all surfaces are well-sanded. After sanding, vacuum and wipe away all dust. You can also use water to clean the tiles, but wait until the floor is entirely dry before applying the primer or any other fillers.
Fill in the cracks in both the tiles and grout lines
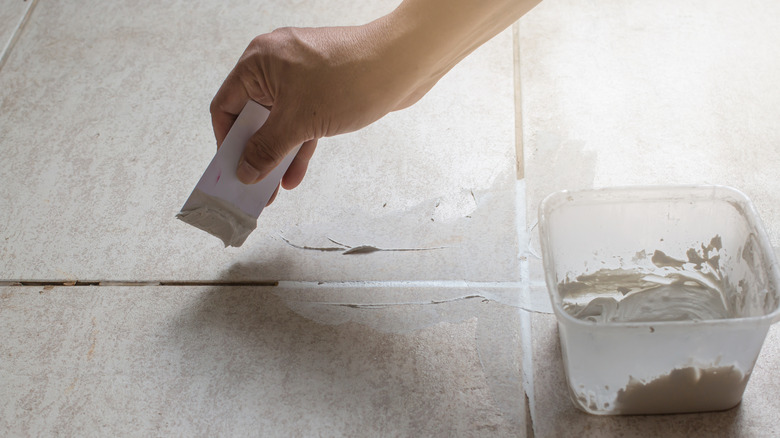
It's important to note that painting will not hide structural flaws, so you might need to fix or hide those flaws before you paint your tiles. Look for cracks, loose tiles, or crumbling grout, and repair them. You can use an epoxy filler or a heavy-duty tile adhesive for the cracked tiles. You may also use grout sealant for the grout lines. Allow all repairs to cure fully according to the manufacturer's instructions before you clean the floor once more.
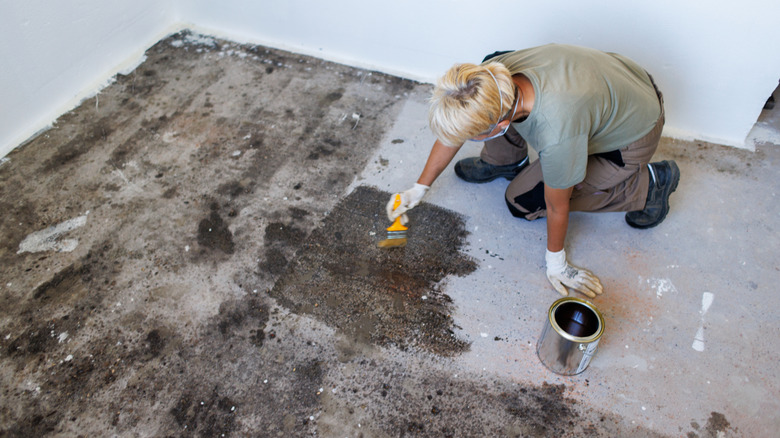
Clean the floor tiles with a degreaser
If you want the paint to stick properly to the tiles, you need to ensure that there is no grease, grime, soap residue, or dirt on the tiles. Proper cleanliness ensures that the primer and paint can bond securely and reduces the risk of peeling later. Even invisible buildup can prevent proper adhesion. Use a strong degreasing cleaner and scrub thoroughly while paying close attention to grout lines. Then, rinse thoroughly and allow the floor to dry completely before you proceed with applying a primer.
Keep the room well-ventilated while working

Since you're most likely going to be dealing with materials that release volatile organic compounds (VOCs), keeping your working area well-ventilated is crucial for both your health and for faster and cleaner curing of your primer and paint. Open windows or use fans whenever possible. If you're going to use epoxy flooring, ensure that you have the proper gear for your project. You'd need to wear goggles, gloves, and a respirator specially made for epoxy fumes.
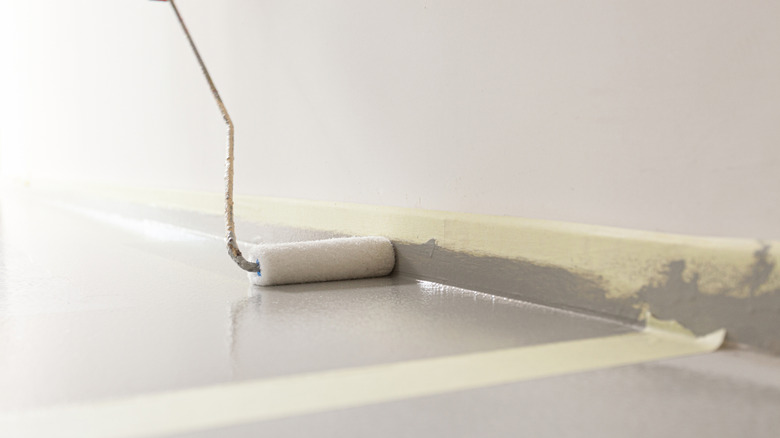
Protect baseboards before painting
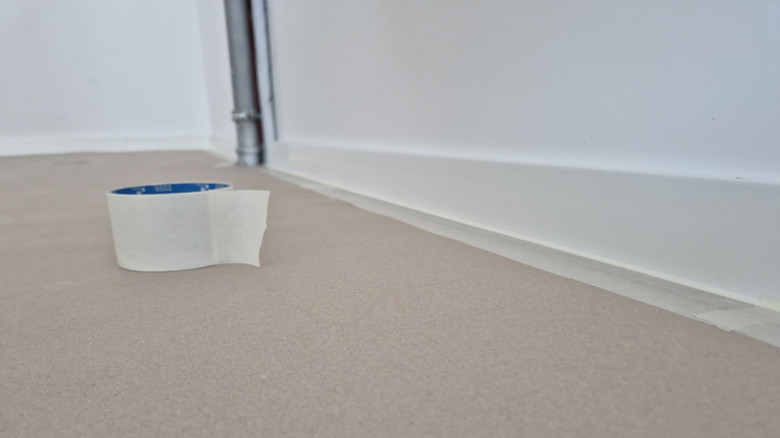
Before painting, cover baseboards, cabinets, and nearby walls with painter's tape and protective plastic sheeting. This prevents accidental splatters and keeps edges looking crisp and professional. Press the tape down firmly so paint cannot seep underneath, especially around corners and uneven grout lines. Taking a few extra minutes to protect surrounding surfaces will save hours of cleanup later. It also helps create cleaner borders and sharper lines, which makes the finished floor appear far more polished and intentional.
Use a gripping paint primer
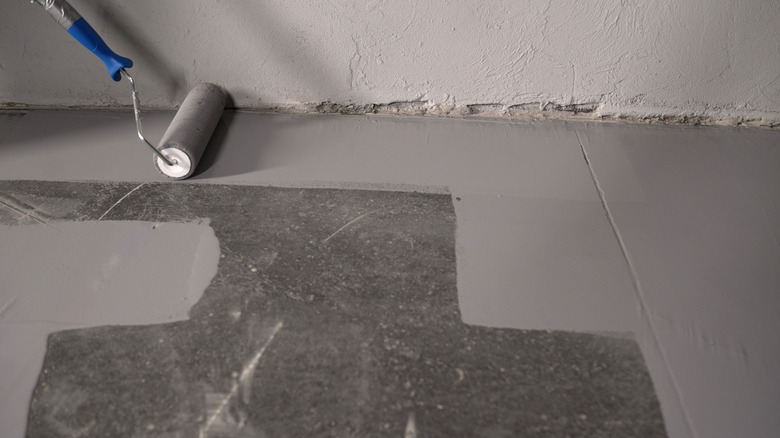
A high-adhesion primer is one of the most important parts of painting tile floors successfully. Tiles are naturally slick, and, even after proper sanding and cleaning, paint alone may struggle to bond properly without a suitable primer underneath. Choose a bonding primer specifically designed for glossy or non-porous surfaces. Apply it evenly using a foam roller and allow it to dry completely before painting. A strong primer improves durability, prevents peeling, and creates a smoother final appearance. Skipping primer often leads to uneven coverage and paint failure much sooner than expected.
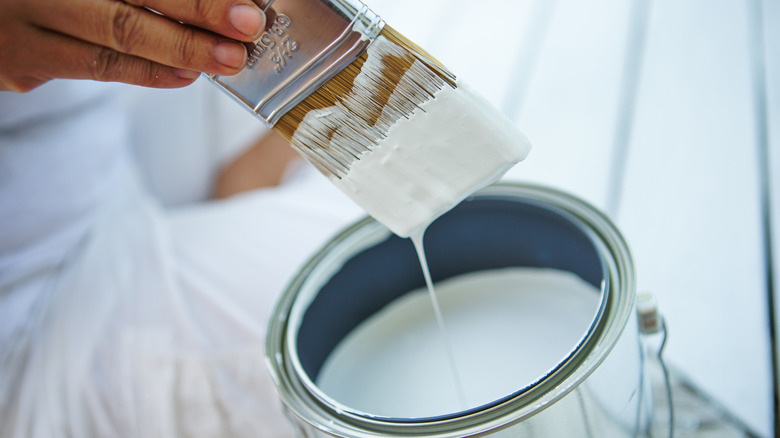
Never use cheap tools and paint brushes
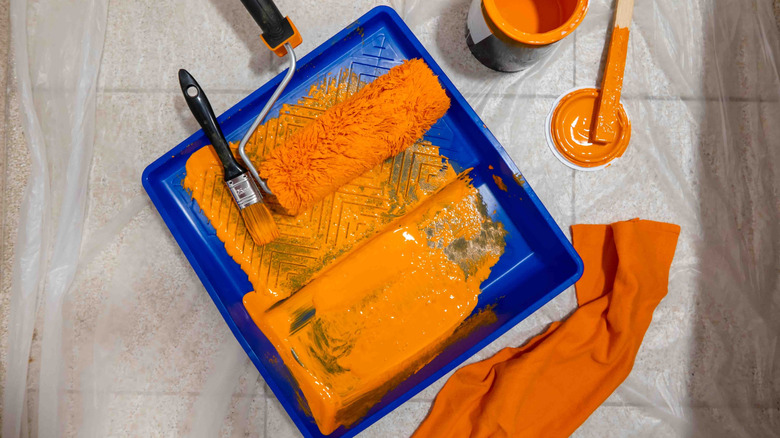
We often think about how budget-friendly some tools are when beginning a DIY project. However, when it comes to a good paint job, investing in some durable materials will go a long way. This is because cheap tools can leave streaks, lint, or uneven paint. This is especially true when it comes to flimsy, low-quality rollers. Investing in a professional roller that is suitable for smooth surfaces and angled brushes for edges and grout lines will ensure that you create consistent coverage and a beautiful, smooth paint layer.
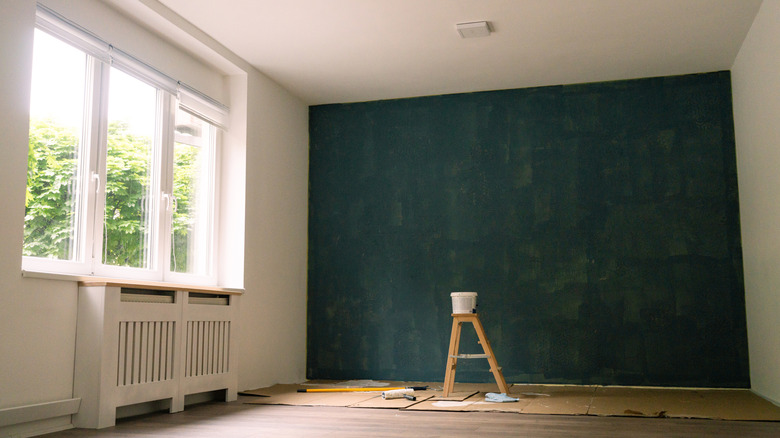
Test color combinations against your furniture before painting
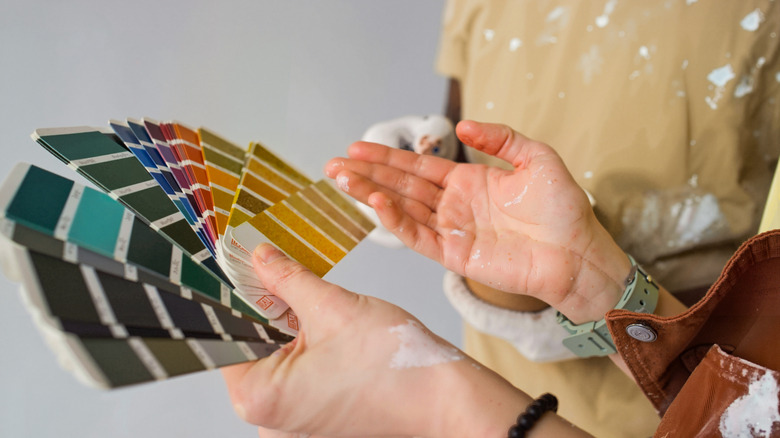
Something we don't often consider is the ability of lighting to dramatically alter how paint appears. Before you paint your floors and discover that the colors don't match your furniture or are a little lighter or darker than they are supposed to be in certain lighting scenarios, test your chosen color on a small, inconspicuous section and observe it at different times of day. You should also swatch a piece of paper and test it against your walls, cabinetry, and decor. This prevents costly regrets and ensures the finished floor complements the entire room.
Paint corners first with a brush
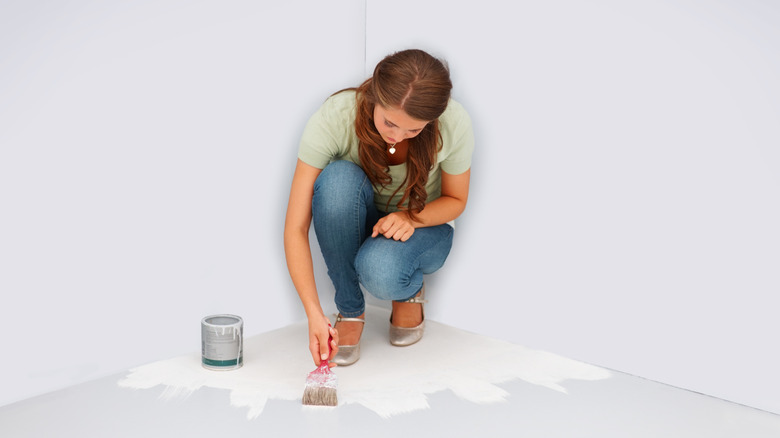
If you want to have a professional finished look, start by painting corners, edges, and hard-to-reach sections first. Use a high-quality angled brush to maintain even coverage and prevent visible overlap marks once the roller is used. Working on the edges first also makes it easy to use a roller for larger areas and allows you to blend everything together more smoothly while the paint is still wet. Pay close attention to grout lines and tight corners where paint tends to collect unevenly.
Use acrylic masking tape on grout lines before using a roller
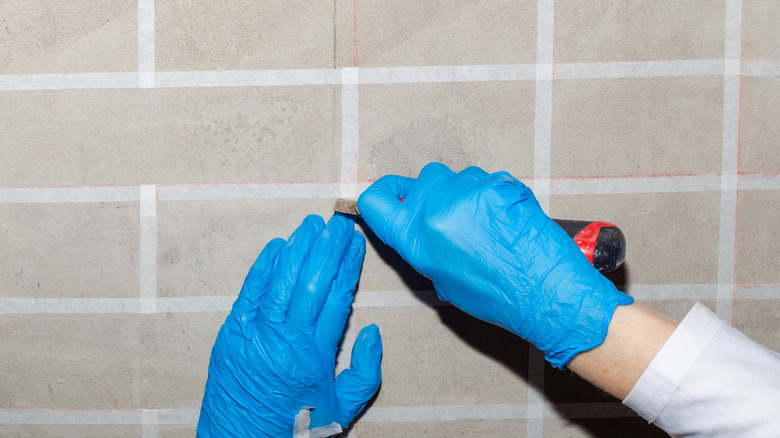
Applying acrylic masking tape over grout lines can help create cleaner paint separation and sharper patterns, especially when working with multiple colors or stencil designs. The tape prevents paint from spreading unevenly into recessed grout areas and helps maintain crisp edges throughout the floor. Press the tape firmly into place before painting, and remove it carefully while the paint is still slightly wet to avoid peeling.
Consider using stencil patterns to reduce dirt visibility
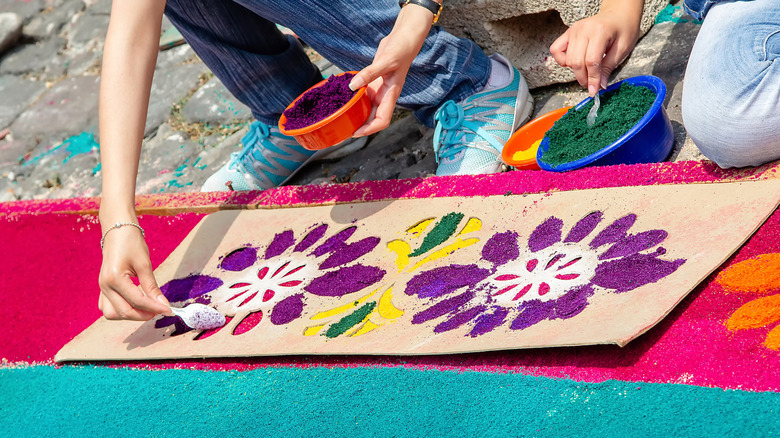
Decorative stencil patterns are some of the best options for painting tile floors. Not only are they visually appealing, but they can also help disguise dust, scratches, and minor imperfections over time. Patterns created in darker shades naturally hide dirt better than solid colors, especially in high-traffic areas like kitchens, hallways, and entryways. And the best part? You can make your own stencil patterns at home if you have a printer. You'll need thin transparency sheets for durability and a craft knife or a paper cutter. You can use Photoshop to find or create interesting geometrical patterns or print some from online sources, then hollow the patterns out using the cutter.
Plan stencil patterns carefully before applying them
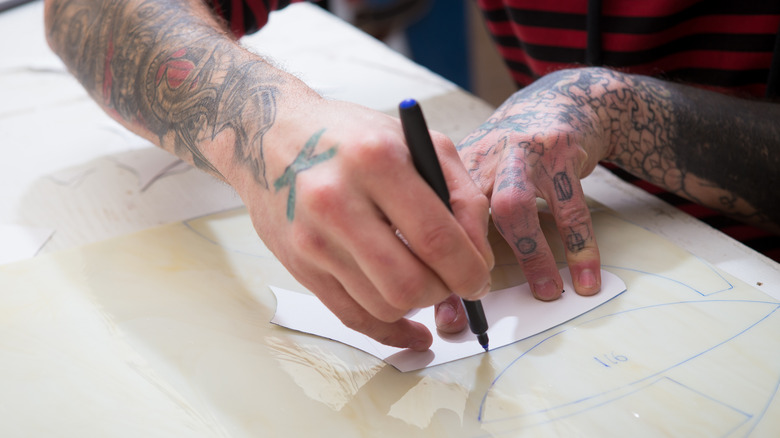
If you are adding stencils or geometric designs, measure and map everything before painting. You should mark guidelines with painter's tape to maintain symmetry. This is especially helpful because corners can be challenging when applying stencil patterns. You can trim stencil edges carefully using a precision knife so the design fits neatly on the corners, and continue your floor pattern planning accordingly. It's important to secure the stencil firmly with tape when you're transferring the pattern to prevent movement during application. It also helps to use minimal paint on the stencil brush or sponge to avoid bleeding around the edges.
Use paint thinner for better spread
In some cases, adding a small amount of paint thinner recommended by the manufacturer can improve paint flow and help create smoother coverage across tile surfaces. This can be especially useful when working with thicker enamel or epoxy paints that tend to dry quickly. However, avoid over-thinning the paint, as this can weaken durability and reduce opacity. Always follow product instructions carefully and test the mixture on a small section first.
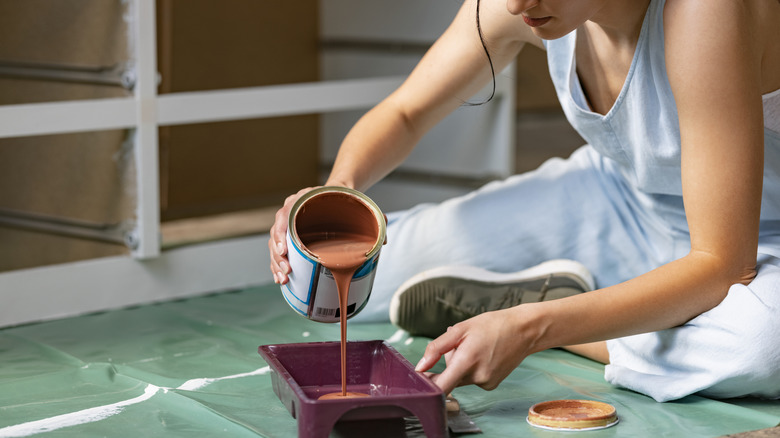
Apply thin base layer and then leave it to dry
When you start painting the floor, you may feel tempted to apply thick layers of paint to give the illusion of raised tiles. Even though this may seem efficient, it makes the paint more prone to bubbling and peeling. That's why it's best to apply multiple thin coats and leave them to dry instead. Thin coats cure more evenly and create a stronger bond.
Apply clear layers of sealer between coats
Another great tip to ensure that your paint remains smooth and to create more durable layers is to apply sealer between coats. A clear polyurethane or floor-specific sealer also protects against scratches, moisture, and fading. You can choose a water-based option to avoid yellowing. If you decide to use a sealer, remember to apply it evenly and allow it to cure completely before adding a second layer of paint.
Dip only once for every five to ten tiles to prevent bleeding
When using stencils, avoid repeatedly dipping the brush or sponge into large amounts of paint after every tile. Reloading too often can oversaturate the stencil and cause paint bleeding around the edges. Instead, use small amounts of paint and reapply only every five to ten tiles as needed. This also makes it easier to fix small mistakes as you go. You can keep a damp cloth, cotton swabs, or a small detail brush nearby to quickly clean smudges and fix patterns.
Never rush the drying time
Always allow paint to dry completely before applying more layers or using the floor. Rushing the drying process compromises durability. If you're unsure how long a certain paint or sealer takes to dry, follow the manufacturer's guidelines for the drying and curing times. It's also best to completely avoid foot traffic until the surface is fully cured. This can take up to three days, so ensure that the space is properly sealed off during that time.
Use grout pens for a final touch up
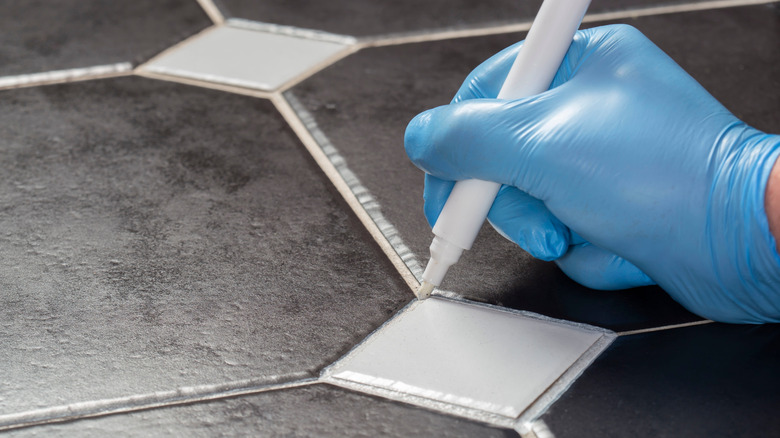
After the paint has fully cured, grout pens can help refresh faded grout lines and sharpen the contrast between tiles. They are especially useful if paint accidentally dulled the grout color during application. Carefully tracing over grout lines creates a cleaner and more finished appearance without requiring a full regrouting job. White grout pens brighten older floors, while darker shades can create a more modern look. You can find affordable colored water-based grout pens on Amazon.
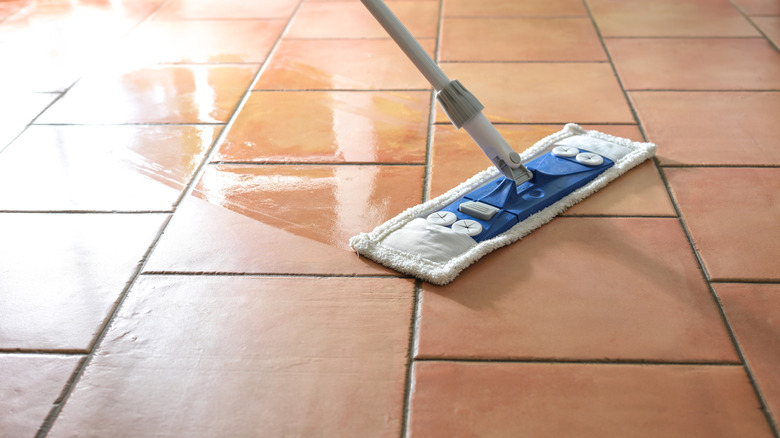
Avoid using steam mops and abrasive cleaners when done
After curing, clean with mild, non-abrasive products. Harsh chemicals can degrade the finish over time. Proper maintenance preserves the look and longevity of your painted tile. You should avoid cleaning your painted floors using steam mops because excessive heat and moisture can weaken the paint and sealer layers, especially around grout lines and edges. Instead, use a soft microfiber mop and gentle floor cleaner for routine maintenance. Consistent care will help your painted tiles remain vibrant, smooth, and resistant to peeling for much longer.