12 Lesser-Known Gardening Hacks For Growing Healthy Tomatoes
I'm a master gardener who specializes in permaculture and organic growing, and I adore homegrown tomatoes. There's nothing quite like them. No grocery store tomato can achieve the same level of flavor as one you grew yourself. There's just so much joy and satisfaction in walking outside or into the greenhouse, picking a beautifully ripe tomato that's still warm from the sun, and eating it like an apple.
I've spent decades growing tomatoes, so I've tried pretty much every old wives' tale, natural remedy, and weird hack that sounded even remotely practical, however quirky. The standard tips like stake them early, water them at the base, and rotate your crop placement are good, but they only get you so far. The really interesting stuff like planting your tomatoes sideways, burying fish scraps beneath them, and even using diluted milk to fight disease, is how you get stronger plants and bigger harvests reliably and without chemicals.
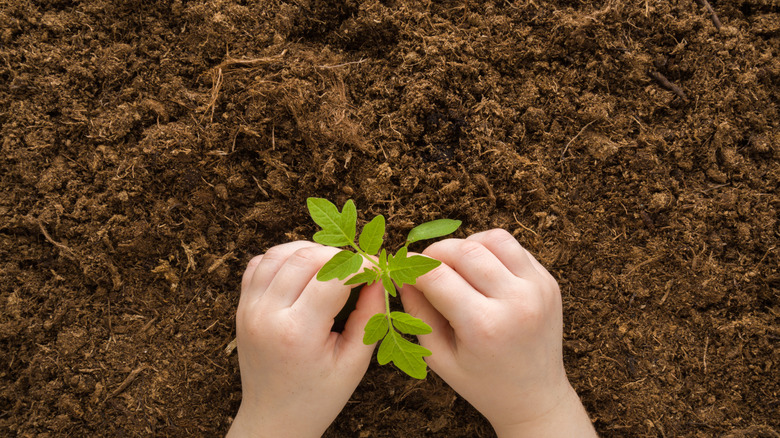
Lay transplants sideways in a trench
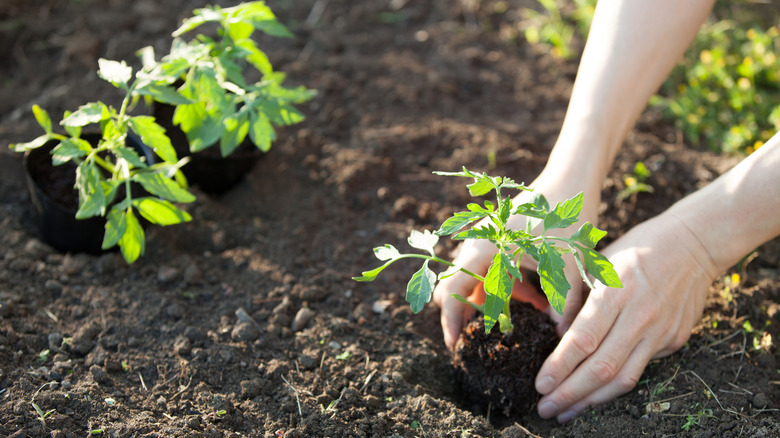
The vast majority of people treat their tomatoes just like their other seedling transplants. They dig a hole, drop the tomato plant in, and fill the hole. You can do better. If you've ever looked at a mature tomato, you have probably seen bumps or little white tendrils growing along some portions of the stem, particularly if the plant is stressed or a branch is touching the ground. This is the first stage of new root growth and is a phenomenon known as adventitious root primordia. Tomatoes are one of the few vegetables that can actually sprout new roots along their stems. Planting them sideways means that they'll develop a longer, more robust root system that keeps them anchored well in the ground and allows them to take nutrients from a larger area. This increases drought resilience so your tomato plants aren't as reliant on you watering and feeding them every few days.
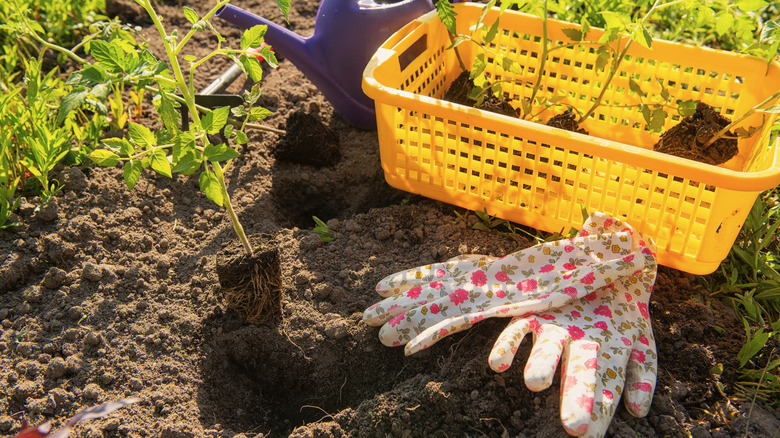
Alternatively, you can opt to bury tomato plants deeply (this is a tried-and-tested planting technique for tomatoes), but I prefer the sideways method. Instead of a deep hole, you dig a shallow trench that's around 4-6 inches deep. I remove the lower leaves from the plant, stripping away about half of them. Lay the plant on its side in the trench, gently resting the portion that still has its leaves on the edge so that it's sticking above the soil line. Then fill the trench, water well, and let the plant get established. Yes, it will look a little bit wonky for the first couple of days, but after that, it will straighten itself up and start reaching for the sky.
Bury fish scraps deep under each planting hole
Burying fish scraps in your garden sounds weird and gross, but it's a brilliant DIY tomato fertilizer. I tend to use salmon heads and carcasses because they are super cheap near me, but you can use any raw fish scraps. Bonus points if you know a fishing enthusiast who will give you their scraps for free. Using fish heads and scraps to boost plant health is an ancient practice. Even though it's fallen out of favor in recent years, there are still plenty of old-timers, history geeks, and permaculture enthusiasts who get fantastic results with this for tomatoes, peppers, eggplant, roses, and many other fruiting or ornamental heavy feeders.
Basically, as the fish scraps break down throughout the season, they slowly release nitrogen, phosphorus, potassium, and calcium right at the root zone. It's essentially a highly targeted, completely organic, slow-release fertilizer. Once you've got your stinky fish scraps, bury them 12 to 18 inches below where you plan to plant the tomato, then fill the hole partially with soil, add the tomato plant, and finish filling it in. You bury the fish deeply so that predators and your dogs and cats aren't tempted to go digging for it, and also so that the plant slowly grows into the fertilized zone when the roots are already mature, rather than risking burning tender roots. If you don't want to use actual fish, you can use fish emulsion or fish meal instead.
Spray plants with dissolved aspirin to prime disease defenses
Giving aspirin to your plants sounds odd, like you're trying to cure your tomato's headache or lower its blood pressure. What you're actually doing is triggering an immune response called systemic acquired resistance. This basically puts your tomato plant into a state of immune readiness, which makes it harder for fungal, bacterial, and viral diseases to establish. It's a strong method of preventative care for tomato plants, and many other leafy plants that are prone to diseases like powdery mildew, damping off, or gray mold. The active compound in aspirin is salicylic acid, and that's the thing that helps your plants resist infection. You can dissolve a standard 325 milligram aspirin tablet in a gallon of water and apply it as a foliar spray every 10 to 14 days, depending on the conditions and the likelihood of disease.
In place of aspirin, you can also try the same trick with willow bark powder or fresh willow branches. Willow bark is naturally high in salicylates, and I have been using this trick on my tomatoes for years. I harvest young first-year willow stems, as these have the most salicylic acid, and soak them in about a gallon of water for roughly 48 hours. Then I strain it and use that straw-colored liquid as a foliar spray. You can also dissolve a teaspoon of white willow bark powder in water. While I primarily use this for seedlings, I also use it during warm, humid spells, as this is when the risk of fungal disease is highest.
Dust seedling soil with cinnamon to fight damping off

Damping off is one of several fungal pathogens that kill seedlings. These fungi live in the soil and attack seedling stems, making them collapse. There's no salvaging infected seedlings as they simply die. Cinnamon, however, is my go-to method for preventing damping off in my greenhouses and polytunnels.
You just sprinkle a very fine layer of ground cinnamon over the top of your trays or pots. Not too thick, though. Too much cinnamon sitting on the surface can dry it out and make it crusty, which causes different problems. If necessary, you can reapply after a heavy watering, but if you're watering from the bottom up or with a capillary mat, then this shouldn't be an issue. Applying cinnamon also doesn't replace basic preventive measures like good hygiene and using a quality potting mix, and it won't cure an existing infection.
Pet your seedlings daily to build stronger stems
If you started your tomatoes off in the greenhouse or a polytunnel, the young plants will be a little spoiled by the optimum conditions. Having experienced no wind or physical stress, they're soft and delicate. If the transplants are going to thrive outside, they need to develop structural strength so they can cope with adversity.
One of the most effective methods to condition them for life outdoors and build strength is to run your fingers gently along the tops of the seedlings every day. You can also use a small solar fan and switch that on for short periods to simulate wind. This triggers something called thigmomorphogenesis, which is the plant's mechanism for adapting to mechanical stress. It makes the plant produce shorter, thicker, sturdier stems. These seedlings go on to anchor more securely in the ground when you transplant them. They recover from transplant shock and wind, and are less likely to drop fruit or fall over when they get heavy.
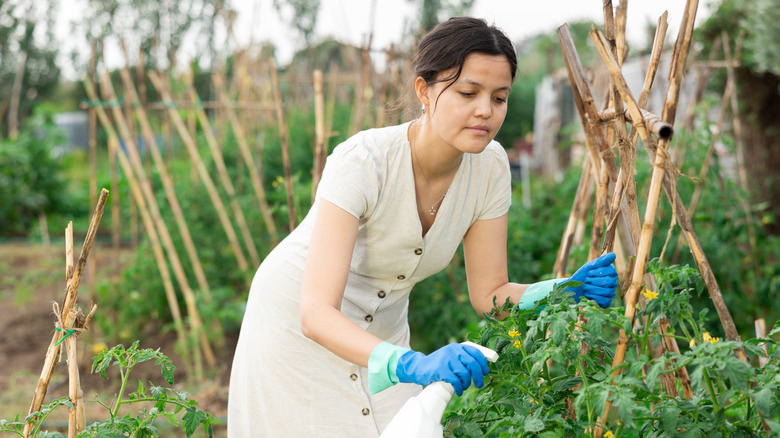
Spray diluted milk to keep blight and mildew at bay
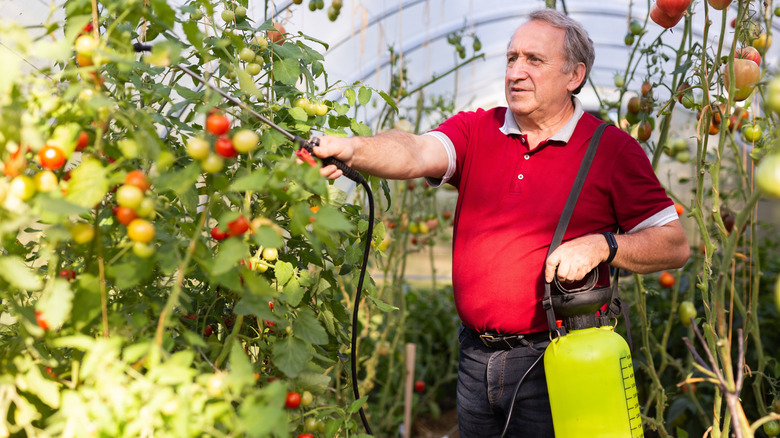
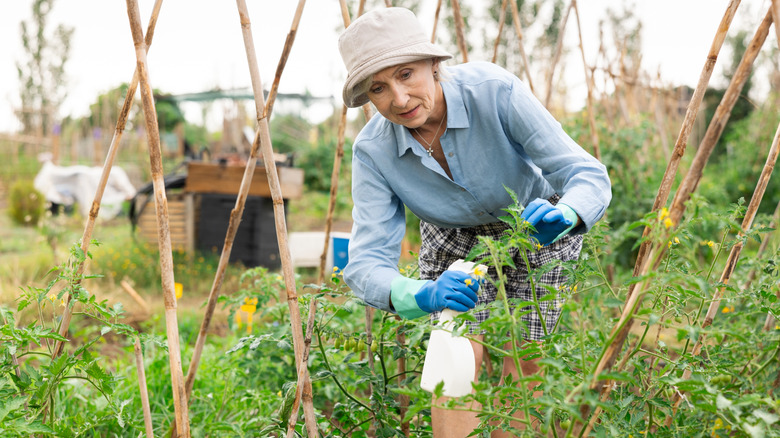
Diluted milk spray can help to prevent powdery mildew and blight on tomatoes and other plants. I can remember my grandparents doing this when I was little. It's an old and enduring, if slightly quirky, trick for growing fabulous tomatoes. In some studies, a foliar spray of diluted milk was found to be as effective as chemical controls. Everyone has their own ratio or recipe for this, but I use roughly 40% whole milk to 60% water. I spray the foliage around every 10 days during humid weather.
This is believed to work because the proteins in the milk interact with the sunlight to produce an antiseptic effect that is hostile to fungal spore germination. Diluted milk also works as a kind of light foliar feed and also offers efficacy against other viruses. Spray in the morning on a sunny day so the leaves can dry quickly, and remember to coat the underside as well as the upper side of the leaf surfaces. This is another preventative, though, and won't cure a plant that's already visibly affected.
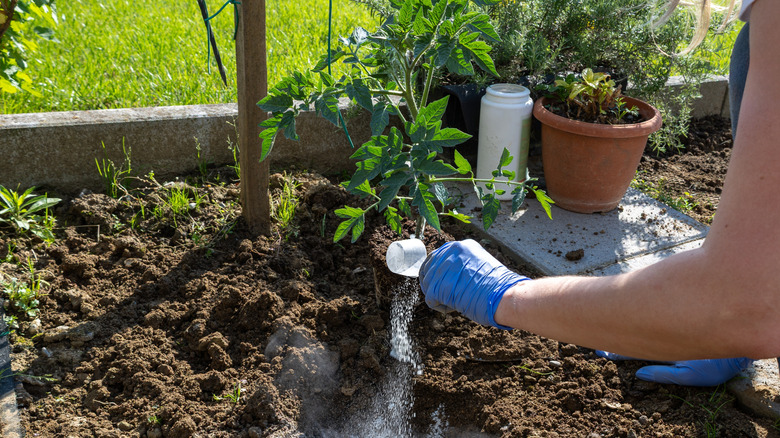
Add powdered milk to the planting hole to prevent blossom end rot
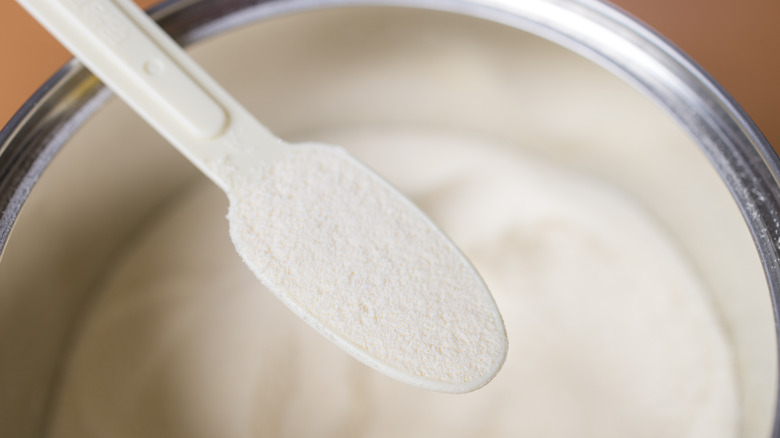
Milk in powdered form is also useful for tomato plants. One of the most common problems with tomatoes is blossom end rot: When this happens, the bottom, where the flower was attached, ends up brown and leathery. It's caused by a calcium deficiency, which can be due to a lack of calcium in the soil or to inhibited calcium uptake. A lot of tips online recommend using powdered eggshell in the bottom of the planting hole, but it takes a very long time to break down. I like using powdered eggshell, but I use it as a wider soil amendment, not as a quick fix for tomato problems. Instead, use dried milk powder.
When I'm transplanting tomatoes out into the garden, I add a generous scoop of powdered milk to the bottom of each shallow trench, and then put a little compost over the top. The advantage of powdered milk over eggshells is that the milk starts releasing calcium to the root zone pretty much right away, providing a steady supply for the developing plant right from the start, whereas powdered eggshells can take a season or two to even start breaking down. Combine this with watering spikes or ollas to give tomatoes an ample, steady supply of moisture, and you shouldn't have any problems with blossom end rot.
Strip the lower leaves before plants hit their stride
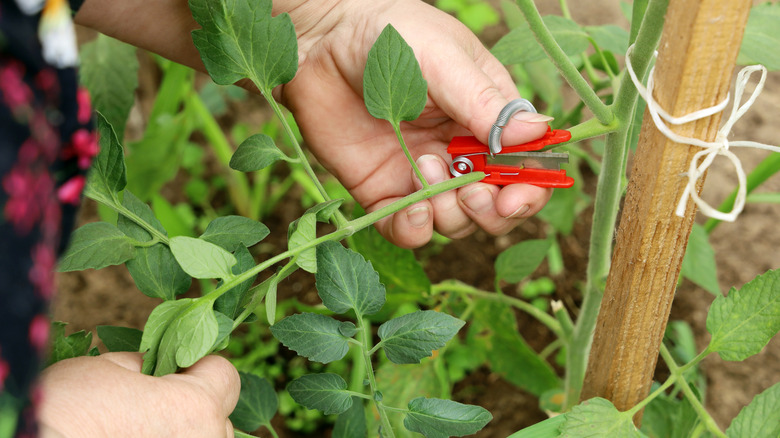
Many tomato diseases overwinter in the soil and then infect plants when rain or overhead watering splashes onto the soil, picks up spores, and carries those spores in their splashes onto the lower leaves. Early blight and Septoria leaf spot are both prime examples of this. They establish themselves on the lower canopy first, and then work their way up through the plant. I remove the first two or three layers of leaves from the bottom of the plant once it's established, as this reduces the chances of disease transmission.
You can also add a layer of mulch, such as clean straw or shredded leaves (if they are free of disease), or even homemade compost, at the base of each plant as long as the mulch doesn't touch the stem. This creates a secondary physical barrier between the soil-borne spores and the plant's foliage. Combined with the bare stem, this limits the risk of pathogen exposure. Stripping the leaves from the bottom portion also greatly increases airflow at the soil level, which further discourages fungal pathogens that need humid conditions to survive. Just make sure that you snip or nip the leaves off rather than tearing at them, as you don't want to unnecessarily wound the plant.
Brew comfrey leaves into a free, high-potassium feed
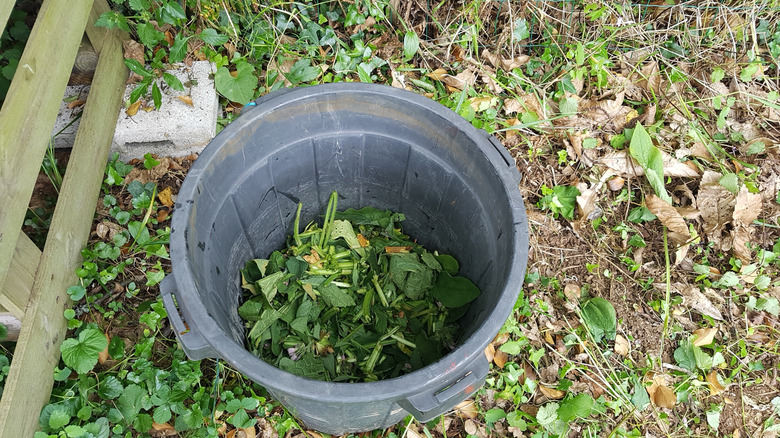
I love comfrey. Many people see it as a weed, but I think this plant is fantastic, and I actively grow it. Comfrey is a dynamic accumulator. This means it draws up a range of minerals and nutrients from the soil and sequesters them in its leaves. Therefore, those leaves are super valuable in the garden. Comfrey is high in potassium, as well as nitrogen and phosphorus, and a range of trace minerals. Potassium is what helps boost flower set and fruit development in tomatoes.
You can create a comfrey tea, which is my favorite DIY fertilizer tea, by stewing the leaves in a bucket of water for a couple of weeks, or bury the leaves. I shred comfrey leaves and bury them in the soil at the start of the growing season. I also make a tea which genuinely smells so horrific that I cannot describe how awful it is. But it's worth the stink. Pick your comfrey leaves and add them to a bucket of water. I weigh the leaves down with a rock, cover the bucket, give it a stir once a week, and leave it for 3 to 4 weeks. After this, you'll have a dark brown, grotesquely smelly liquid that your tomatoes will adore. Don't pour it straight on, though, as you need to dilute it first, about 10 parts water to 1 part comfrey tea, so that the potent feed doesn't burn the foliage. Apply it to the base of your plants, being careful not to get it on the stems or foliage. I like to apply the first feed once I see the initial flowers start to set, then around every 2 weeks through to harvesting.
Mix up a baking soda spray as an antifungal preventative
For those who don't like the idea of using milk as an antifungal for your tomato plants, baking soda can be an effective alternative. Baking soda, when mixed with oil and water, creates an alkaline film on leaf surfaces that makes it difficult for fungal spores to germinate. Again, it's a preventative. Baking soda is not a cure for already established diseases. You also need to be careful not to overdo it, because high concentrations of baking soda can alter soil pH over time.
To protect your tomato plants, take a teaspoon of baking soda and a tablespoon of horticultural oil and dilute them in one gallon of water. Shake well, then use this mix as a spray on foliage. Apply it in the morning so it can dry off, and spray no more than once every two weeks so that you don't risk residue build-up in the soil. If conditions are particularly wet and humid, I'd recommend combining this with some aspirin or white willow bark powder on alternating weeks so that you are as fully covered as you can be.
Bury banana peels at the base for a slow potassium hit

There is not much that goes to waste in my house — even my banana peels have a job. Once tomatoes start to flower, they need more potassium. It regulates the opening and closing of the stomata and helps with fruit set, growth, and ripening by aiding sugar transport into the fruit. Even if you deliberately choose tomato varieties known for big harvests, if they don't have adequate nutrition, the results will be disappointing.
Now, if you've been working on soil health, then you should have a good balance of nutrients, with enough potassium for general plant growth. You'll still get some tomatoes, but they are notoriously heavy feeders. If you want to maximize your fruit yield, one of the easiest ways to do that, even if you've already put fish underneath your planting hole or you are planning on using comfrey leaf tea, is banana peels. I like to chop the peels up rather than put them in whole, as it helps the soil lifeforms break them down faster so that the potassium is more readily available to the tomatoes. The peels also contain smaller amounts of phosphorus and calcium, and they make a nice little potassium supplement for the hungry weeks when the tomato is putting all of its energy into producing fruit. Chop them up and bury them in the top few inches of soil around the tomato plant. You can also use kelp or kelp meal as an eco-friendly potassium-boosting tomato plant fertilizer.
Add mycorrhizal fungi to the planting hole
Mycorrhizal fungi are really interesting. They form a symbiotic relationship with plant roots, which extends the reach for heavy feeders like tomatoes. This means that the plants can access more water and nutrients from a much wider area, which helps them stay self-sufficient and healthy right through the season. I am a big fan of any natural technique that can make plants like tomatoes more low-maintenance. The relationship between the fungi and the tomato plants is mutually beneficial, as the plants get expanded access to water and micronutrients, and the fungi get carbohydrates from the plant.
It's super-easy to inoculate tomatoes with arbuscular mycorrhizae. All you need to do is sprinkle the inoculant powder onto the root ball of each tomato plant right before you put it in the ground. You can also sprinkle it into the base of the planting hole so the roots immediately come into contact with the powder when you plant. Just make sure you don't apply any high-phosphorus fertilizers after inoculation, as the phosphorus actually suppresses the fungal colonization.
Root your pruned suckers into free replacement plants
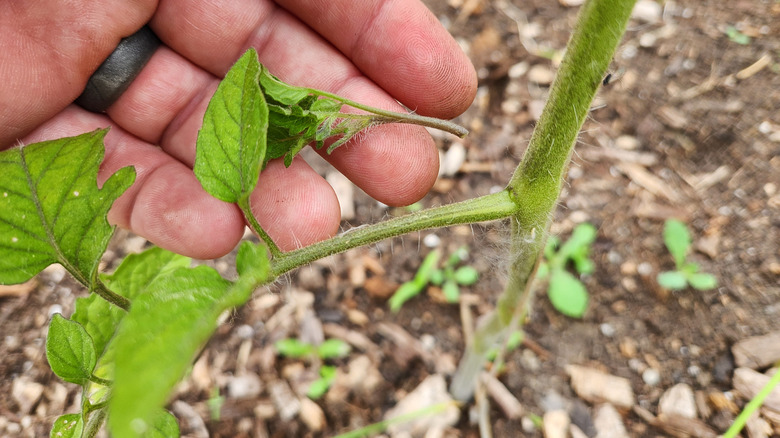
Most advice just tells you to prune out your tomato suckers, but it doesn't tell you what to do with them beyond that, so most people just compost them. Because tomatoes have that amazing ability to root anywhere along their stem, you can create new plants if you've cleanly removed a sucker, particularly early in the season. Pop it into a jar of water on a bright windowsill, but make sure the leaves aren't submerged. You should see roots appear within ten days. Change the water every other day so that it doesn't get stale and grow algae.
Once the roots are formed, you have a genetic clone of the parent plant that you can pot up. This is a good way of extending your growing season: If you keep these suckers growing in pots and then plant them out, you'll get a fresh flush of fruit as the original plants are winding down. In milder climates, plants rooted from suckers can give you tomatoes right up until the first frost.