Create Epic Garage Shoe Storage With A Clever IKEA Hack
We may receive a commission on purchases made from links.
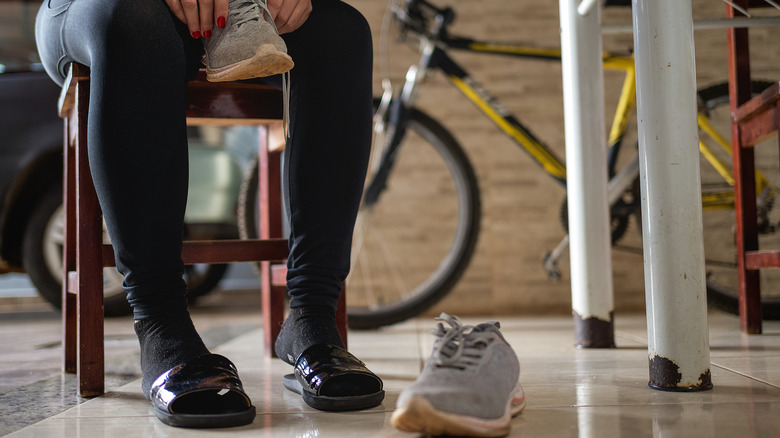
As families grow, so does the number of shoes they need to find somewhere to store. If you're one of those households that take your shoes off before coming indoors, it might feel like footwear is taking over your garage. Or perhaps the space is filled with outdoor wear — think hiking boots, running shoes, garden clogs, and rain boots. According to professional organizers, shoe storage solutions that are worth trying include purpose-made shoe cabinets and containers that slide under the bed to the original shoe boxes with photos stuck on them. If none of those ideas work in your garage, there's a nifty storage hack you might want to try instead. You can make use of extra garage space with a mudroom DIY — that is, you'll bundle a few IKEA BRUSALI 3-compartment Shoe Cabinets near the internal door to corral your rogue footwear.
As mentioned, you'll need exactly three BRUSALI cabinets, which you'll push together. You'll also need some wood planks, wood screws, and wall anchors — you'll use these to create a base and top panel for the cabinets, joining them into one large piece of furniture. Finally, you'll need some paint in a hue of your choice. You likely don't want to draw too much attention to your shoe cabinet, no matter how proud you are of its construction. Cream or beige paint looks clean and helps the fixture blend into its surroundings. Ideally, look for a washable or scrubbable paint that resists marks, like Benjamin Moore's Scuff-X Interior or Jovira Pinturas Ultramatte Washable Wall Paint in Opaque White.
Crafting the ultimate garage shoe storage using IKEA BRUSALI cabinets
First, spend a little time choosing the best place for your new shoe cabinet and measure the area to make sure three IKEA BRUSALI cabinets will fit in the space. Screw together two 72-inch planks and two 11¾-inch planks to form a rectangular base for the three cabinets. Add two smaller planks across the base, separating it into thirds for added stability. Make sure the base is flat — use a Prexiso Digital Level or a similar tool — before placing the cabinets on top of it. Secure each cabinet to the base using screws with wall anchors. Once your cabinets are secure, remove the top from each cabinet and screw in one long wooden plank — it should measure approximately 74 inches by 13 inches. It's okay if the board extends past the edges of the cabinets, so long as it's tightly screwed into place.
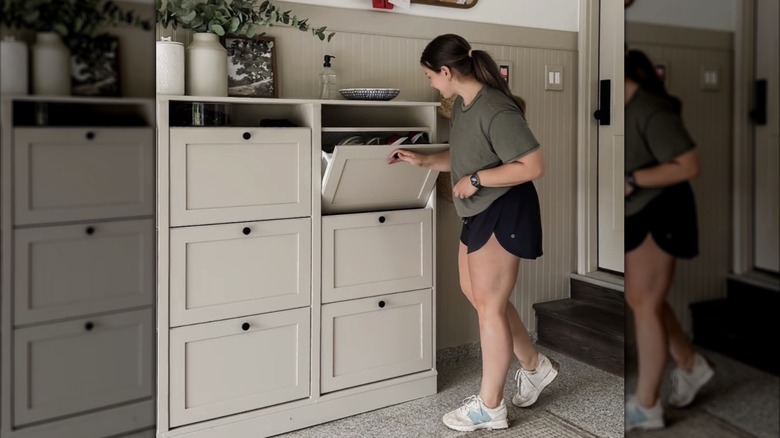
@phlippingourhome Shoe storage optimized 👌🏼 #ikeahack #ikeahacks #ikeahacksdiy #garagemudroom #garagemakeover #diyproject #diy
Now that you've crafted your enormous shoe cabinet, it's time to paint the piece in whatever color you choose. While the paint may dry to the touch in one to eight hours, depending on the type of paint used, you may want to allow additional curing time before using the cabinet to avoid marring the surface — at least 24 hours. If you prefer more creative furniture, add embellishments to the cabinet using Vaplun Large Reusable Tropical Palm and Fern Leaf Stencils or removable vinyl wall stickers. Dedicate cabinets to different family members or each season using labels. Plus, the drop-downs inside the cabinets pop out for easy cleaning. Consider also using this IKEA shoe storage solution to transform your crowded entryway if it suits your space.