

Turn An Old Shoe Rack Into An Entryway Bench Using A Few Scrap Pieces
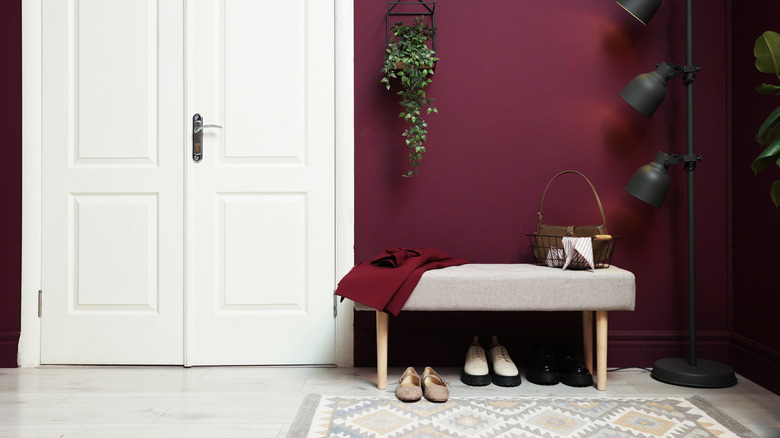
The ultimate hack when it comes to DIY projects is turning an item that once seemed too old, unusable, or irreparable into something beautiful and particularly useful. Besides helping reduce waste, this kind of transformation can be quite fulfilling, not to mention cost-effective. Take, for example, turning an old shoe rack into a unique entryway bench — all it takes is a dose of creativity, some wood scraps, a few common supplies, and some TLC. That's exactly what @rachlvalente did on TikTok. And if you want to add function and flair to your entryway, then this is the DIY you need.
So grab that old shoe rack that's been gathering dust in your garage or head to a garage sale, flea market, or your favorite thrift store for a good find. To follow along with this particular DIY, go for a shoe rack with two shelves that's at a similar height to a regular bench. This will keep your modifications fairly minimal and uncomplicated. You will also need a few leftover pieces of wood, including a pine board that's longer than the shoe rack length, and wood trim. Additionally, get some wood stain and a wood stain brush or rag, wood glue, twine, and a woodworking clamp. Finally, grab an old sheet to cover your work surface while you work.
Making a DIY entryway bench from an old shoe rack
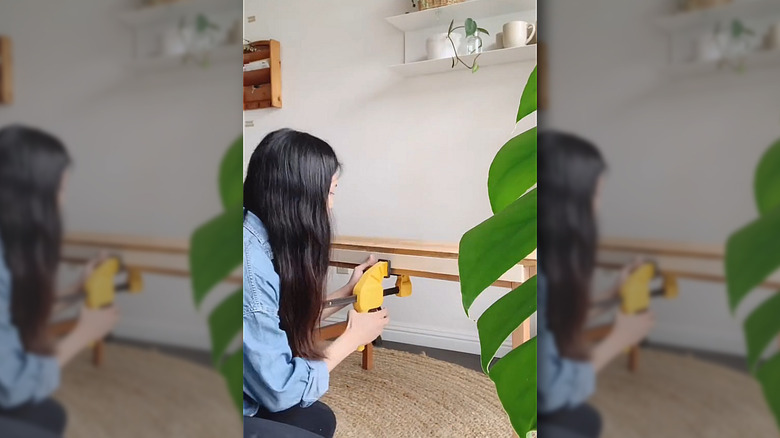
We'll begin by removing the bottom shelf of the shoe rack. Unscrew the screws using an Allen wrench or a drill with a screw extractor bit. Proceed to also remove the stretchers (the short wood pieces connecting the legs along the width of the rack), then reattach them, but at the very bottom of the legs. Next, using wood glue, attach the wood trim on the top front edge of the shoe rack to form the bench's front rail. Use a clamp to hold it in place for a while to ensure proper adherence.
Now place the pine board on top of the shoe rack and adhere it to the surface using wood glue. With that, your bench is technically ready. All that's left to do is give the wood a facelift and add any modifications you like.
Start by applying wood stain evenly across the bench. If you're wondering whether a brush or a rag is better for staining wood, a good rule of thumb is to use a rag for water-based stain, while a brush works well for oil-based stain. The goal is to ensure a smooth finish without visible brush strokes once the stain dries. Alternatively, you can paint your DIY bench instead of staining it, which gives you more color options to complement the rest of the room decor.
Finishing touches on your DIY bench
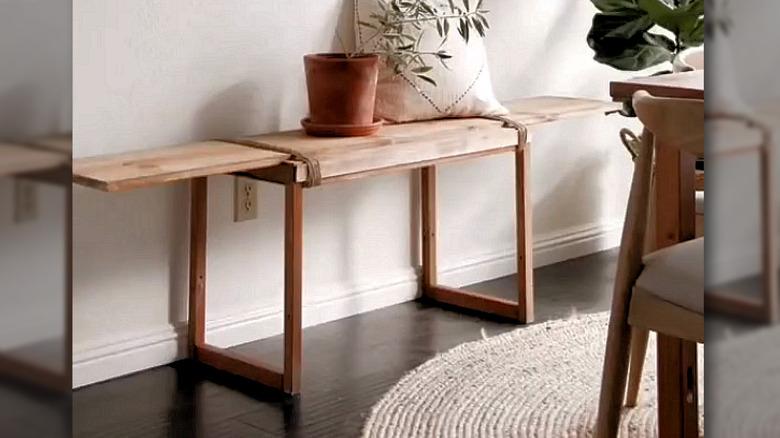
Once you're done staining or painting your bench and it's completely dry, you can add a finishing touch by tying twine rope on the two ends of the bench. This will help reinforce the top pine board while also adding a chic rustic detail to the furniture. If you painted the wood instead of staining, this is your opportunity to mix and match colors for a unique final product. For example, on a completely black bench, you can add a pop of color using brightly colored jute twine like white, orange, or blue, or go for black twine on a white bench.
Finally, you can now position your bench in the entryway and style it. This part is easy, fun, and largely dependent on your needs. For example, if you need extra storage, place a couple of storage baskets under the bench to corral any random items and avoid clutter on the bench. You can also install a mirror on the wall above the bench to make the doorway feel a bit more spacious, or add your personal touch to the space by putting up a few art pieces or family photos on that wall. And apart from the entryway, this same DIY bench can make your mudroom more practical and stylish, so feel free to move it there.