Don't Toss Old Nursery Pots: Give It A Budget-Friendly Upgrade With This DIY
We may receive a commission on purchases made from links.
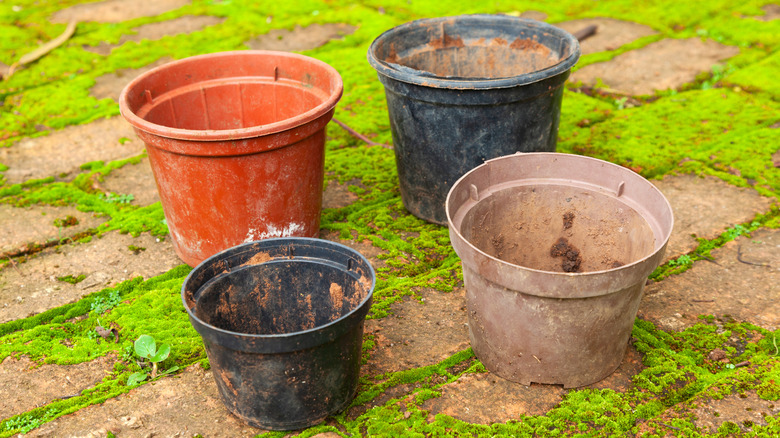
If you're a plant-lovin' crafter, having a plain ol' planter sitting around gathering dust is like having an itch that needs to be scratched. You know the value of a good pot, so you hesitate to toss it. The saved penny is the earned penny, and revamping the planter keeps plenty of coin in your pocket. Further, a DIY like this gives you an easy way to salvage both the pot and some of the scraps from your craft room. Basically, you're going to give the container a face lift by covering it with fabric that you embellish with paint: The DIY takes your planters from boring to beautiful in just a few steps.
Any pot works for this, provided that it has no major cracks in it. You'll also need something to cover the pot with — burlap fabric, old denim, or beat-up linen all offer promising end results. The more texture the material has, the more interesting the end result will be. To complete the pot's upgrade, you'll need some indoor/outdoor paint in the hue of your choice, as well as some thick craft glue like Mod Podge Gloss Sealer, Glue & Finish.
The upgrade additionally calls for paint brushes. You'll be spreading glue with one of them, so keep that in mind if you're worried about ruining the bristles. You'll also need a pair of sturdy scissors and some plastic clips, like some Toresano Heavy-Duty Spring Clamps.
Revamping the planter's exterior
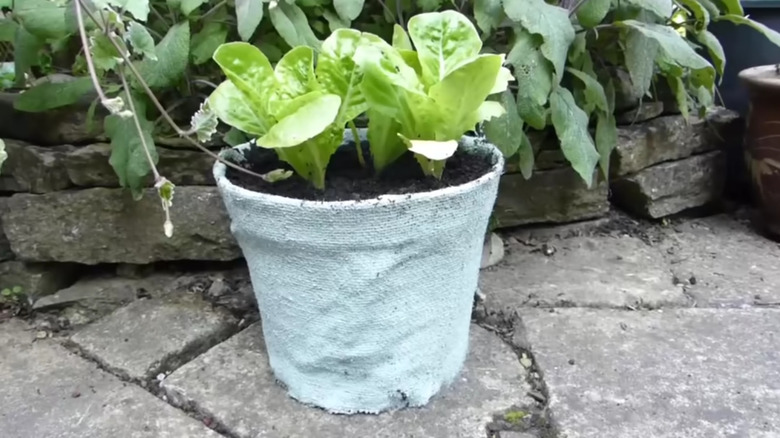
A stunning DIY planter pot project starts with clean raw materials. As such, scrub the container down with soap and water if there's still dirt and garden debris clinging to it. Once that's done, use the pot to create the measurements for the fabric you'll wrap around the planter. The finished material tucks under the bottom of the container a bit and extends over the lip. Therefore, you should cut the fabric so that it's slightly longer than the top and the bottom of the container. The amount you'll need will vary, based on the size of the planter you're working with.
Next, coat the outside of the planter with the glue. Wrap the fabric around it until it's completely covered. However, while the fabric will cover some of the bottom of the planter, make sure that it doesn't cover the drainage holes. You may have to trim the material in to ensure that water can flow freely in those spots. Once that's done, clip clamps around the top of the pot until the adhesive dries.
Finally, give the material a coat of paint. Acrylic or chalk varieties are good options. The color will hold up nicely in either case, and acrylic, being water-resistant, will hold up when it comes time to water your plants. You may need to add several coats of paint to the fabric, due to the medium seeping through the pores. Finally, feel free to experiment with the design. Dress it up with some garden-themed stencils, like Adachffy Garden Floral Stencils. Or make a two-toned pot by painting the top half one color and the bottom half another.