Use Old Milk Jugs To Create A Budget-Friendly Succulent Garden
We may receive a commission on purchases made from links.
Succulents are resilient plants with thick, fleshy leaves that thrive in almost anything with the right soil and light conditions. They're also super easy to grow from leaf or stem cuttings, making them irresistible to divide up or give as gifts. If you've gotten the bug for propagating succulents, you'll probably also be aware of how much buying new pots starts to add up. Especially if you just tossed the plastic nursery containers that were cluttering your storage space.
But you'll be happy to know that the key to budget-friendly succulent planters might be sitting in your fridge at this very moment. The next time you finish a container of milk, give it a rinse and set it aside, as it can become a functional planter (with a drip tray included!) with just a bit of reimagining. This DIY requires a plastic jug with a side-oriented handle. There are endless ways to repurpose old milk jugs in your home, so why not also use them to house a mini succulent garden?
For this project, you'll need a box cutter, a cactus-slash-succulent soil mix, and a rock or small pebbles to prevent dirt from going through the jug's pour spout. Depending on the materials you already have at home (succulents included), it could cost anywhere from a few dollars for just the milk jug up to approximately $15 (for box cutter, soil mix, and pebbles). Although this will vary depending on which retailers you purchase from.
Divide the milk jug to create the planter and the drip tray
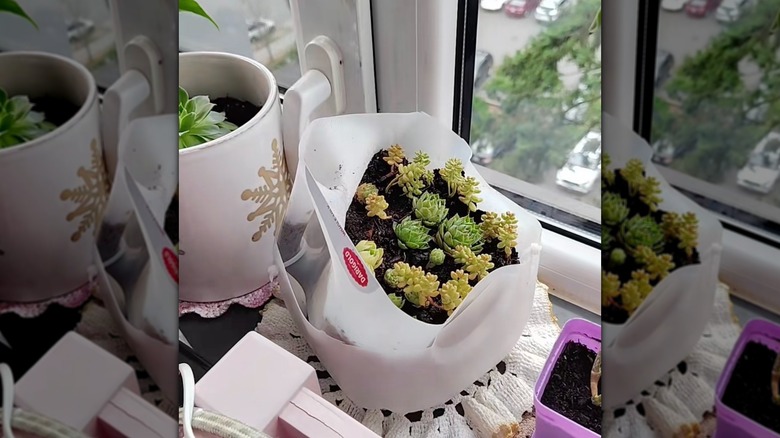
To start, rinse an empty milk jug to make sure there isn't any milk residue left. Taking your time, use a box cutter to slice across the jug, beneath the handle portion. If you're worried about cutting it evenly, trace it with a ruler and marker first to guide the cut angle. You can also use standard scissors, but a box cutter or utility knife is best since they create a clean cut free of jagged edges. Once you have two separated pieces, remove the jug's cap before placing the top upside down inside the bottom half of the container. Put pebbles into the cap opening so water can still get through, but not the soil — succulents hate water-logged conditions.
@dumpsterbunny DIY MILK JUG SUCCULENT GARDEN! What you'll need... • An empty milk jug with no cap • 1 or 2 zip ties • Scissors • A sharpie (optional) • A handful of pebbles • Dirt to fill the container • Plant(s) #urbanjungle #pottedplants #succulents #houseplants #indoorgarden
Before you start planting it up, you might need to lock everything in place — the last thing you need is a wobbly plant pot falling over and taking all your succulents with it. @dumpsterbunny on TikTok has a solution to keep the upturned half of the milk jug securely in place. All you need to do is make sure that the container's handle is lined up with a corner edge of the bottom half of the jug. Next, cut a couple of holes in the bottom half (the drip tray) that line up with the jug's handle, and run zip ties through them and around the handle and tighten them. Filling the jug with soil will also help stabilize it. From there, you can add succulent cuttings, leaves, or mature plants and mist them with water.
Elevate its appearance with thoughtful decorations
Look for crafty ways to upgrade the milk-jug-turned-succulent-pot to ensure it fits seamlessly in with your home decor. The most obvious way is to spray paint or hand-paint this DIY planter. Opt for an acrylic paint to make sure it will adhere to the plastic. For a natural, earthy vibe, opt for a terracotta-inspired shade, or choose a bold hue that matches your color palette. Once you've let the base coat dry, you can leave it a solid-color or create a fun pattern using different color paint. Use another shade for the drip tray for a neat contrast.
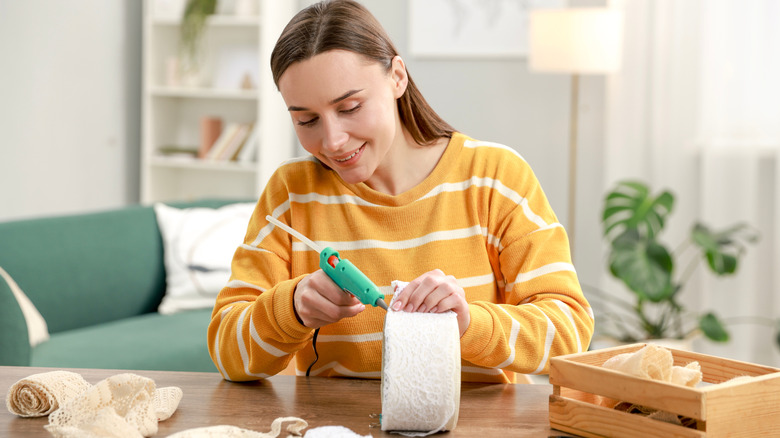
For textured interest, hot glue colorful beads, marbles, or shells on all sides of the milk jug planter. Another cute way to give it more personality is by tying a bow with ribbon around it. Use hot glue to secure it in place. Create a DIY jute basket planter by lining it with rope. Start on the underside of the drip tray and work your way up in a circular motion, hot-gluing as you go. If you're not into hot glue crafts, decorate the reimagined milk jug with stickers — how cute would plant-themed ones be? You can get rolls of succulent stickers on Amazon. Set the completed project in a sunny window and admire your creativity.