Forget Basic Fabric Bins: There's A Stylish DIY For Anthropologie-Inspired Storage

We may receive a commission on purchases made from links.
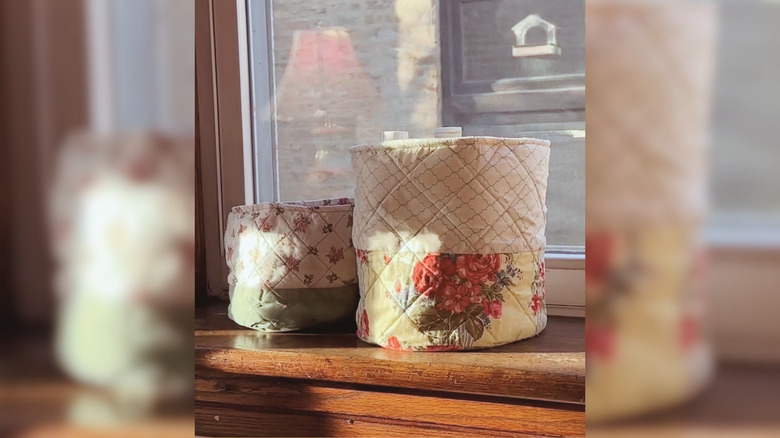
If you're obsessed with bohemian interiors or love perusing ultimate guides to cottagecore decor, then you are likely no stranger to Anthropologie's home living product catalog. You may wonder, however, if it's really worth it to buy furniture from Anthropologie, especially when most items boast relatively high price tags. You can save yourself a trip to the store — and $48 — for one of Anthropologie's Quilted Block Print Baskets and make your own quilted fabric bin per an inspired tutorial by yourgirlkath on Instagram. All you need is a sewing machine — and the basic know-how to use it — and some pretty cotton fabric just waiting to be used on the perfect project. You'll cut the blocks of fabric out, assemble them into a bag shape, and line everything to finish it.
To start, pick out some cotton fabric in two different yet complementary patterns for the bands around the rim and bottom of your DIY fabric bin. Don't be afraid to experiment with different color combinations and quirky pattern matching. Playing around with decorative fabrics is your chance to really make the bins fit your existing interior aesthetic or design palette. You'll also need some lining fabric, like Homiest White Pure Cotton Fabric, Pin Forest Mid-Weight Natural Cotton Quilt Batting, and Plantional White Medium-Weight Non-Woven Iron-On Fusible Interfacing to create a sturdy container. If you don't have these in your sewing room already, expect to pay somewhere between $20 to $30, depending on where you buy it from. Apart from your sewing machine and thread, make sure you have some fabric scissors, sewing pins, fabric chalk or a washable marker, and a quilting ruler on hand.
How to sew your own quilted fabric bins
You'll need to cut your cotton fabric pieces for the bin's exterior: a 26¼-inch by 6-inch strip for the rim, a 26¼-inch by 5-inch strip for the bottom, and a 9-inch diameter circle for the base. Next, cut up your lining: a 26¼-inch by 10-inch strip, a 26¼-inch by six-inch strip, and a 9-inch diameter circle. Finally, cut a 9-inch diameter circle and a 25-inch by 9-inch strip from both your batting and interfacing. Once all your pieces are cut, iron the interfacing onto the lining fabric. Then, pin the right sides of both top and bottom cotton and lining fabrics and stitch them together with a ½-inch seam allowance. Next, use a quilting ruler to draw a set of crossing 45-degree diagonal lines 1 to 2 inches apart to create a diamond stitching pattern.
Together with the fleece batting, sew along the lines you made to quilt the fabric, then stitch both ends of the fabric together to form a tube. Attach the 9-inch circular base to the tube with a ½-inch seam. Flip the cotton fabric inside-out, then stitch both lining fabric onto it. Flip it again to finish the fabric bin by sewing a ½-inch hem along the rim. Once you've mastered this tutorial, you can DIY literally endless budget-friendly methods to keep your home organized. Play around with different sizes for specific items — smaller bins could hold hair accessories or serve as an entryway catch-all, while larger bins can hold kids' toys and blankets in the living room. If you're a good sewer, add personal touches like labels or carry handles.