This Easy DIY Hack Turns A Boring IKEA Table Into Living Decor
We may receive a commission on purchases made from links.
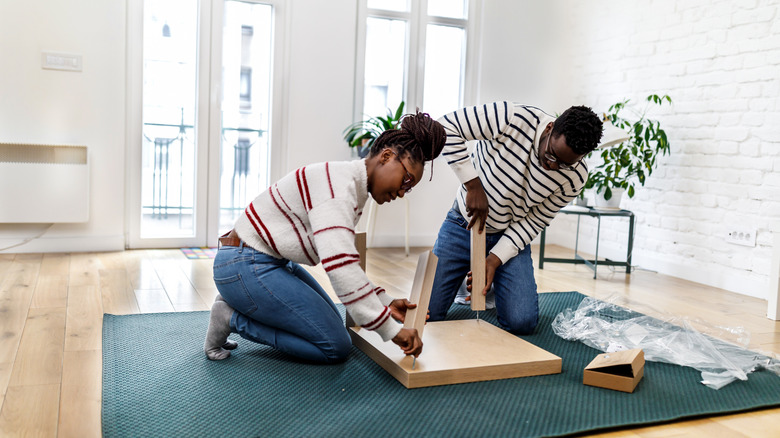
IKEA's low prices make it okay to take DIY risks with many of its products. For $16.99, their LACK Side Table costs less than many fast-casual lunches, and is perfect for morphing into a tabletop succulent planter. You can make an even smaller commitment with a similar, smaller LACK model at a mere $9.99. The prices alone are a selling point, but the tables also have secret potential. The tabletops are made of a thin particleboard or wood veneer frame, filled with recycled paper honeycombing — a method that adds strength and affordably, without extra weight. The cool thing is that you can carve a built-in planter into the tabletop, just right for houseplants that don't need drainage or much water and that don't need much space for roots.
The crafters behind the YouTube channel Homedit showed us how to do this in a few easy steps. They hollowed out a section at the center of a white LACK tabletop and lined it with plastic, stones, and soil to support a family of healthy succulents. The cutaway section of Homedit's final product ends up looking a little unfinished, so our version includes thin wood trim to hide jagged edges. We'll also add an upcycled plastic container atop their plastic wrap liner. A clear tray-like lid from a bakery item or a takeout box is ideal. Along with the LACK table, grab a ruler, pencil, painters tape, and utility knife with fresh blades. You'll also want a shallow plastic container, plastic wrap, wood trim, wood glue, succulent soil, vase filler stones, paint and sandpaper (optional), and several succulents.
Planning and hollowing out the planter area
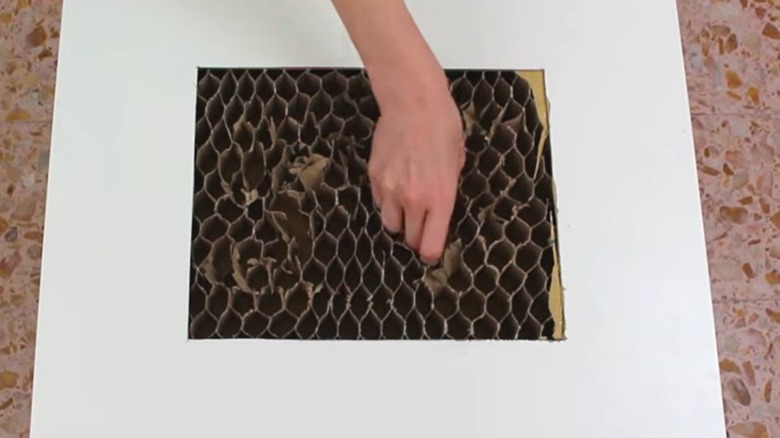
First, eyeball your succulent collection to decide how large you'd like your tabletop opening. Also consider the amount of usable surface area you want to keep for things like coasters, remotes, and so on. The DIYers from Homedit cut away a 12-inch-by-9-inch rectangle from a larger LACK side table, providing plenty of room for eight small plants. You can also base the opening on the size of your upcycled plastic tray, customizing the fit. You'll just need to cut the opening slightly larger than the lid. Measure and trace your desired dimensions onto the tabletop in pencil. Tape the ruler down for a firm, straight edge for your blade to follow. Cut along all four lines, then pry the center piece from the table. Use the utility blade to cut away the paper honeycomb core. It's going to take some slicing and hand-picking to clear away enough material to fit the plastic tray.
You'll probably see a bit of chipping on the paint finish along the cut edges, so adding some trim is an easy way to hide those imperfections. Conventional 1-inch-thick wood trim is an obvious choice, but there are plenty of Dollar Tree wooden craft supplies that can stand in for traditional trim. Measure, cut, and glue your trim around the opening. Give the glue 24 hours to dry and cure before handling the table too much. If you want to paint the trim to match the table, do that before gluing it in place. If you plan on repainting the whole table, sand it, attach the trim, then paint the unit.
Finishing touches on your planter table
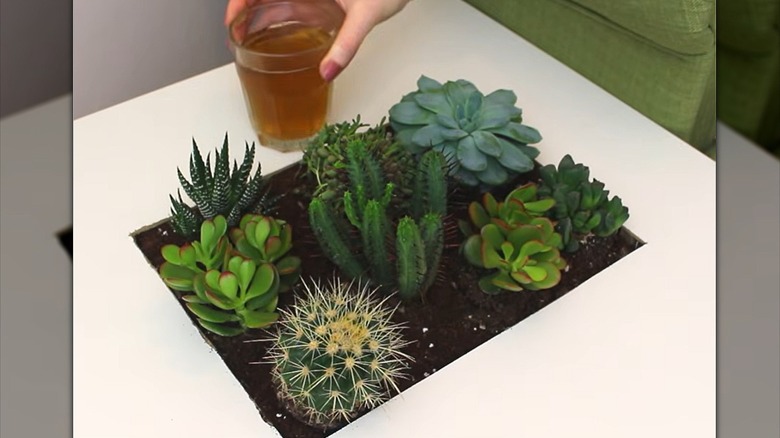
Once the paint is dry to the touch, now comes the best part of this project: adding plants! Before placing the plastic lid inside the opening, line the area with heavy duty plastic sheeting (a plastic drop cloth or tarp could be a good source) to catch drips and protect the table's unfinished interior and the remaining cardboard filler. Set the lid-turned-tray atop this, and cover its base with one layer of stones or beads used to fill vases. Top this layer with succulent soil, and tuck the plants into their new home.
Keep in mind that the plants' sunlight needs will dictate where you place the table. The best place for it is near a window that receives sunlight all day. The next best option is the brightest window in your home. This will prevent plants from growing leggy as they reach for the sun. If your home isn't bright enough for indoor succulents, you can substitute artificial succulents or other artificial plants. In this case, also use a plastic lid inside the table opening to hold real soil for a more convincing look.
If it's got to be live succulents or nothing, consider investing in an attractive grow light arranged above the plants. Set near a plug, outfitting your LACK table-turned-planter with something like this sleek, modern Aokrean Grow Light will give you the best results.