Use Old Milk Jugs To Create Adorable Face Planters With A Clever DIY
We may receive a commission on purchases made from links.
If you'd like to add a trendy, whimsical accent to your home, you may not need to look farther than the recycling bin. With a little creativity (and paint) you can turn a gallon milk jug into a hanging planter with a playful painted face, featuring a comically long handle-turned-nose and a narrow, bottleneck chin. This would be a fun project for a kid's room, a patio, or anywhere that could use some enchantment!
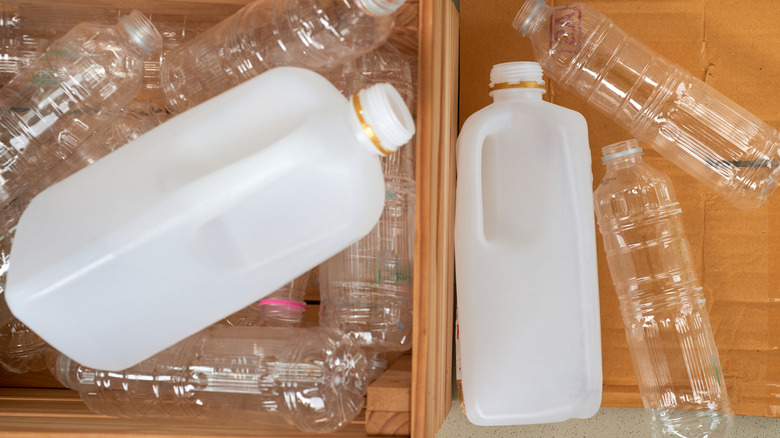
To complete this project, you'll need a plastic milk jug, and a few tools and supplies that every DIYer needs to own. Grab a marker, a craft knife, scissors, sandpaper, spray paint that bonds to plastic (like Krylon Fusion All-In-One Satin Spray Paint), acrylic craft paint, an awl or screwdriver, paracord (or another water-resistant synthetic cord), and, of course, a plant! If you'd like to suspend your hanging planter, you can grab an S-hook or screw-in plant hook. If the plant you plan to use is heavier, you may also want to reinforce the holes that the cord will attach to. You can use duct tape to do this, or for a more polished look, opt for rubber washers.
How to make a face planter
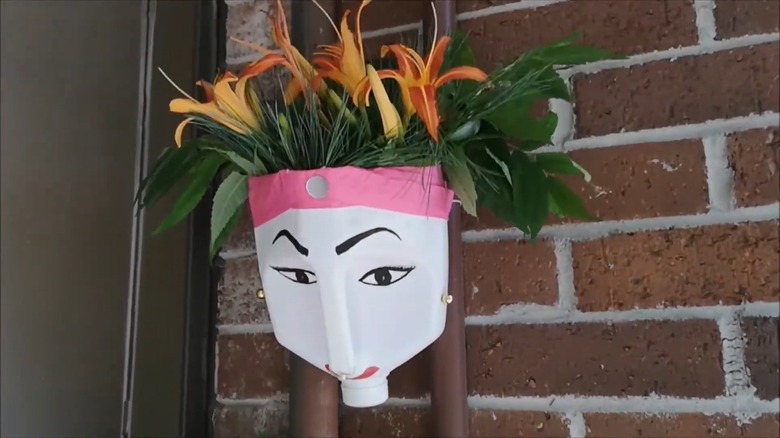
Start by cutting off the bottom of your milk carton a couple of inches below the base of the handle. To do this, wash and dry the carton thoroughly, then draw a cutting line all the way around the jug. Use a craft knife to poke a hole along the line, then use sharp scissors to cut all the way around. Voila! You have your "head." Next, use spray paint to tint the jug the color you would like the face to be. Once the spray paint has dried, it's time to use acrylics to paint the face. Bear in mind that the cut-off part of the jug is the top of the head, the capped bottleneck is the chin, and the handle is the nose.
Once all of the paint has dried, use an awl or screwdriver to poke four evenly-spaced holes around the top perimeter of the jug. If you'd like to reinforce the holes with duct tape, place the tape before poking the holes. Then, poke even lengths of paracord through each hole, tying a sturdy knot on the inside of each one. If you're using rubber washers, place those on the cord — inside the jug — before tying the knot. Then you can tie the four cords together at the top, either leaving them in a sturdy knot or attaching a hook first. That's it! Your hanging face planter is ready to house its own plant. It's a genius way to reuse milk jugs in your garden.
Choosing a plant and styling the planter
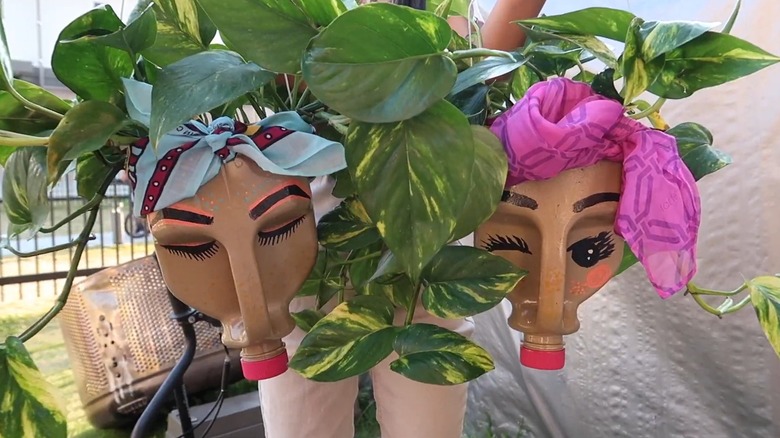
You can treat this project sort of like a DIY Chia Pet, using the plant you choose for your milk jug head as "hair." If you plan to source a plant especially for this project, look for something that has a trailing, tendril-like quality and does well in a hanging set-up. Think pothos, spider plant, string of pearls, or English ivy. Or, mimic coiled, curly hair with a Boston fern or sheet moss. You could even go for punky spiked hair with grasses. Make your jug extra cute by adding accessories, like a scarf, headband, or even a flower crown.
If you plan to keep your fun face planter hanging for a while, there are a few practical things to consider — namely: plant drainage. While you can remove the cap of the bottle to drain excess water from your plant, you also risk losing soil through such a large hole. To remedy this, you can poke several holes in the bottom of the face before installing your plant. Or, place a coffee filter or landscape fabric over the bottleneck to help retain soil. It's also well-worth giving your planter a little help with the weather. A UV- and moisture-resistant coating, like the Krylon Clear Coatings Aerosol, can help it withstand the elements.