Reuse An Old Pot Lid To Create A Rustic Bird Feeder On A Budget
We may receive a commission on purchases made from links.
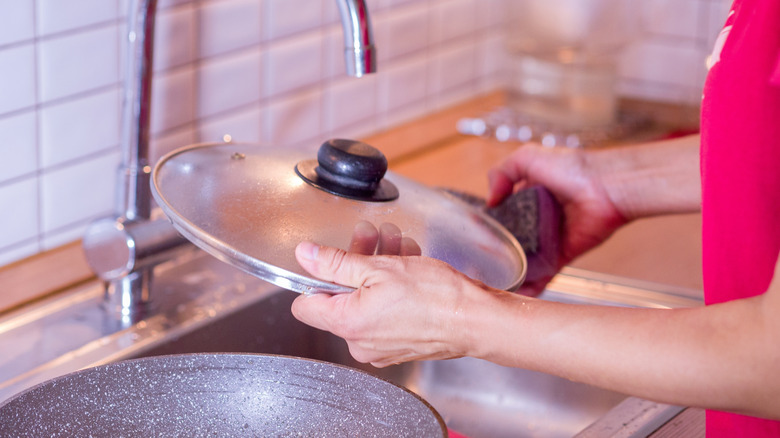
There's nothing worse than forgetting that you have something cooking in a pot on the stove. If you leave it too long, the liquid inside dries up and the pot is ruined. There might be nothing you can do to rescue a burned pot for cooking, but it's not worth throwing it in the trash can just yet. Drill a few drainage holes in the pot and use it to grow plants. And what about that perfectly nice, un-burned lid? Once again, it's far too nice for the trash can. There are plenty of clever hacks to repurpose old pot and pan lids. One of the best, in our humble opinion, is to turn them into a rustic bird feeder that'll cost you nothing except a little time and ingenuity.
Probably the quickest and easiest way to turn this ordinary kitchen essential into a cute yard feature birds will love is to remove the knob, leaving a hole where it used to be. Thread one end of a length of rope or strong twine through the hole. Then thread the same length of rope through a large wooden bead (or anything else small with a hole through the center) and tie a really secure knot. You don't want the rope slipping back through the hole. Now, tie a loop at the other end — the pot lid should be upside down at this point — and hang your rustic new bird feeder from a nearby tree. Add some birdseed and watch the birds eat it. You could even glue on a couple of small twigs around the outside for makeshift perches. Make it sturdier by switching out the rope for chain, like those used for hanging flower baskets.
Got two pot lids? Create a covered feeder for extra protection against the weather
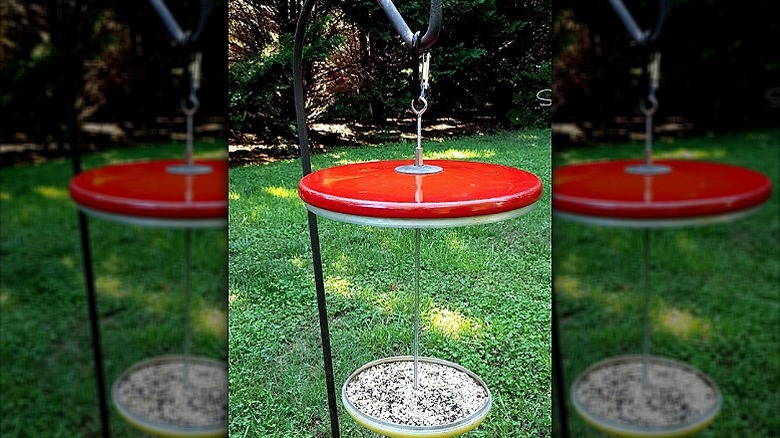
If you have two pot lids, you might want to try your hand at making a covered bird feeder. This slightly more involved DIY will require either a trip to your local hardware store or a quick hunt through your toolshed. What you're looking for is a long threaded metal rod that will fit through the holes in both lids that are left when you remove the knobs. It connects the two lids together, forming the roofed bird feeder. Something like these Ricihene Stainless Steel Threaded Rods with hex nuts would work great, as long as they fit your lids. You'll also need a coupling nut, an eye bolt, and two hex nuts (if your rod doesn't come with them). They all, of course, need to be compatible with one another.
To assemble your new weatherproof bird feeder, remove the knobs and clean both lids with soap and water. Dry them, then decide which lid you'll use for the base or bowl of your feeder — where the seed will go. The other is the roof or cover. Push the threaded rod through the hole in the base lid and screw the knob back on, securing it with a hex nut. Thread the second hex nut about 2 inches down the rod. Screw the roof lid onto the rod, right side up, until it stops at the hex nut. Screw a coupling nut above it, tightening the hex nut underneath to create a strong connection. Finally, screw the eye bolt to the top of the rod, and your bird feeder is complete! Now that you've mastered this DIY, why not turn an old cooking pot into a charming hanging bird feeder and make a set?