

Turn An Old Tray Into An Upcycled Bird Bath In Under 60 Seconds
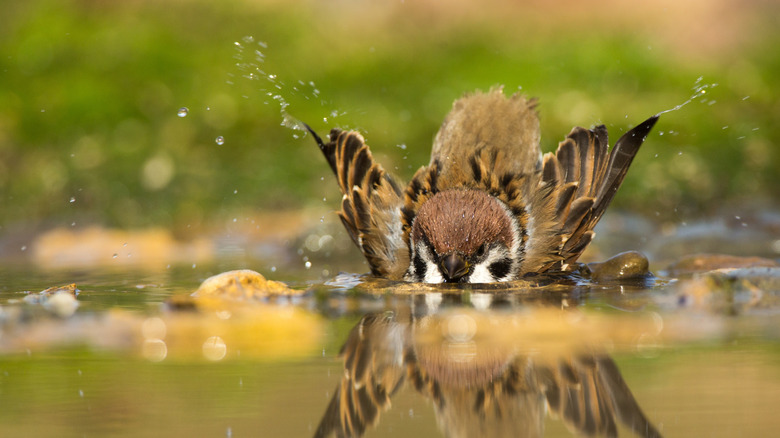
Are you looking for ways to help out the wildlife in your yard beyond a simple hanging bird feeder? Well, one great way to offer some relief to the birds, squirrels, frogs, chipmunks, and other creatures is to set out a bird bath. But you don't necessarily have to grab a pricey, complicated design from a garden store. Instead, just repurpose a simple old tray you likely already have on hand!
This quick and easy trick involves filling a tray with small rocks and some water, then placing it on the ground where it's easily accessible to birds and other animals. Some say a bird bath should be elevated in order to keep your feathered friends safe from predators. With that said, putting one on the ground is actually appealing to them because that's how they are likely to find water in the wild.
To make sure that your ground-level bird bath is safe for your winged visitors, especially with lots of outdoor cats in the area, make sure to put it in an open area. That way, bathing critters are more likely to spot incoming predators and have plenty of time to get to safety. If you're intrigued by the idea of creating a simple, charming DIY bird bath in under a minute, then let's take a look at some of the best tips to make this project easy for you and effective for the avians likely to visit.
Avoid metal and don't fill the tray more than 2 inches deep
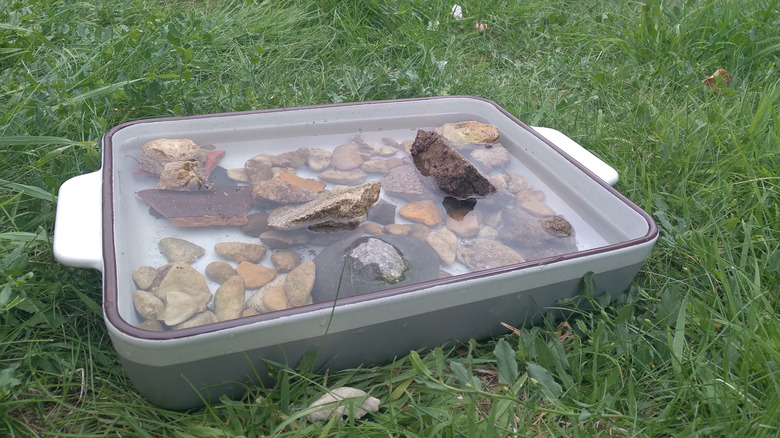
The first step in this DIY is finding the right tray. You want one with an edge for birds to perch on, but make sure not to use a metal tray, as it will heat in the sun and could burn the feet and paws of local wildlife. Remember to also steer clear of platters made from materials that could be toxic to birds, such as copper or zinc. You can also look for an old tray that has a charming design — this is a great way to incorporate art in your yard. If you don't have any that work or that you like the look of, try asking neighbors if they have any they don't use anymore or checking out sites where people give things away for free, such as Facebook Marketplace.
As mentioned, start by placing the tray in an open area where birds can see predators coming. Then, add plenty of rocks and small pebbles to the inside of the container. This will give the animals some more places to perch and allow creatures that fall in to easily get out, especially if your tray is made of a slippery material like ceramic or glass. Then, fill the tray with clean tap water — about 2 inches deep at most to allow adolescent birds to access the water with relative ease. After that, you just have to maintain your birdbath to keep it clean and usable.
Replace the water daily and clean your tray weekly
When maintaining your DIY bird bath, it can be helpful to think about what you might need to do in different seasons. For example, to ensure it stays clean and doesn't harbor mosquitos, replace the water daily so that local animals can always find full, fresh aqua. However, hot summer days can mean water evaporates faster. During this period, you may want to check on it throughout the day in case it needs to be refilled more often. In winter, on the other hand, the water can freeze over, depriving the birds of the drinking and bathing they still need, even in the colder months. Consider adding a submersible heater to keep the water liquid, or add a small floating ball that can move about in the breeze and break up the ice as it forms. Even though trays tend to be shallow, try keeping them topped up with aqua so they won't freeze quite as quickly.
Whatever the time of year, clean your bird bath tray with a mixture of 9 parts water and 1 part vinegar once a week to make it less likely for diseases to spread from animal to animal. Also, make sure to check the ground around the feeder for anything that could make the area dirty or disease-friendly, such as animal poop. Always use personal protective gear like gloves and a mask to safely clean the area.