

Stop Wasting Coffee Grounds On Plants — Use Them For This Cozy DIY Instead
We may receive a commission on purchases made from links.
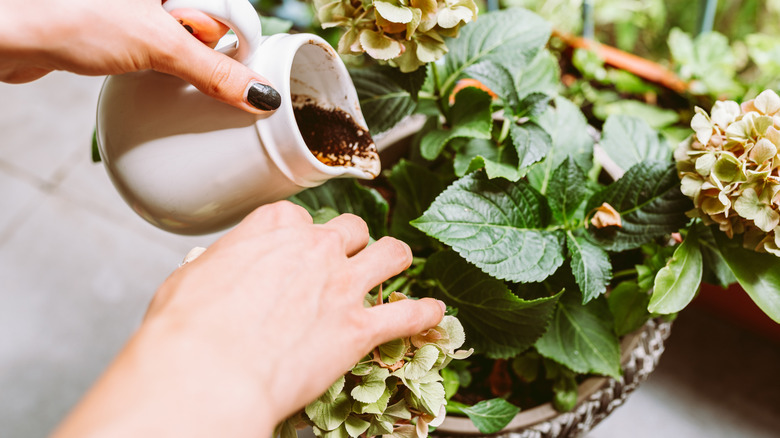
Since coffee is a good source of micronutrients, a lot of people sprinkle used grounds in their garden to give the plants a boost. However, coffee grounds are one of the things you should think twice before using as a garden fertilizer because too much can negatively impact your plants and the soil. Moreover, bringing them into contact with seedlings can affect their development. So stop wasting your coffee grounds on plants. Instead, use them for a cozy DIY: coffee-scented candles. Besides making your interiors smell like your favorite cup of joe, this simple DIY can help eliminate bad odors from your home.
To get started, just dry the grounds by pouring a thin layer on a newspaper-covered baking tray and putting it in a spot that receives direct sunlight. After two or three sunny days, they should be completely dry and ready for use. If you'd like to speed things along so you can craft a few candles on your rare weekend off from social obligations, preheat your oven to 200 degrees Fahrenheit and slide the baking tray inside. Give the grounds 20 to 30 minutes to dry before you take the tray out. Then, set it aside for a few minutes to cool down. Though drying them might seem like extra work, this step is important because moisture and wax don't tend to play nice with each other. If you use wet grounds, your candle might not burn well, sputter, give off excessive smoke, and melt unevenly. Additionally, the coffee scent might not be as strong. Worse, the candle will look like a novice made it instead of appearing high-end.
Supplies you'll need to DIY a coffee-scented candle at home
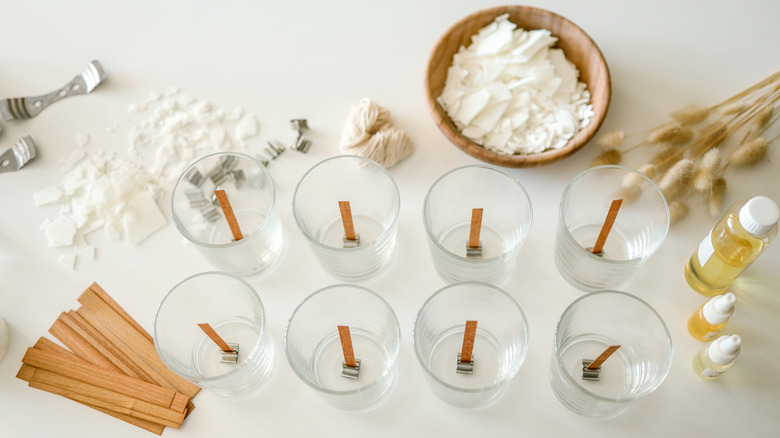
While your coffee grounds air-dry or cool down, gather the supplies you'll need for a coffee-scented candle. For starters, see if you have some leftover wax from your previous DIY projects. You can even use old candles, including the ones you put on top of a cake, to give them a new lease on life. If you don't have those, get some soy wax, like American Soy Organics' Wax Beads, or beeswax, such as Trinida's Organic Pellets. You also need to create a double boiler to melt the wax, but it's easy to make one with a sturdy, heat-proof glass bowl and a saucepan or pot the bottom of the bowl sits securely on top of. You'll add water to the pot, get it simmering, and place the glass bowl you'll be melting your wax in over the top. Given the bowl's width, it should not touch the water underneath.
Additionally, get some wicks — you'll need two or three if you plan to make a larger candle. Chopsticks, craft sticks, or a pencil will help you keep the wick upright as you pour wax later. As for the new candle's container, you can repurpose old candle jars or use your old coffee mugs creatively — just don't pour your candle into plastic or wood. Either way, give your intended container a bath in soapy water and dry it completely. Another idea is to use a paper cup you can cut or tear away later if you'd like to burn your candle on a candleholder. You can even get your favorite essential or aromatic oil(s) if you'd like to blend your coffee candles with some other fragrances.
How to DIY a coffee-scented candle at home
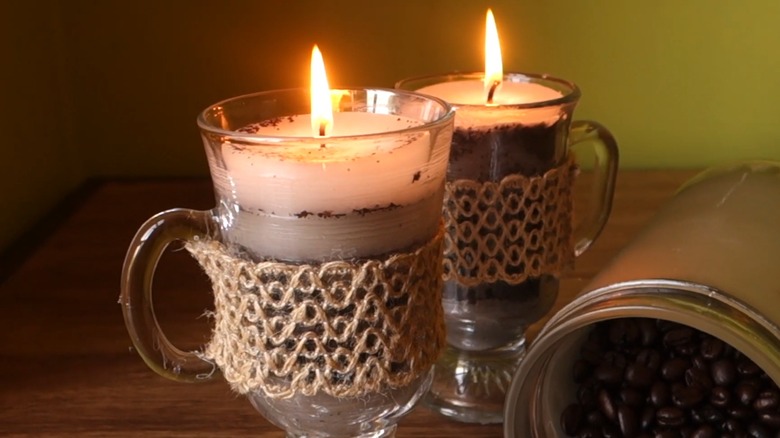
Once you have everything, throw your wax into the bowl of the double boiler, place it over the pot of simmering (but not boiling) water, ensuring the bottom of the bowl doesn't touch the water, and wait for it to melt. Be sure to fish out any wicks if you used old candles. Then, add 1 tablespoon of dry coffee grounds and mix them well. You can add in more grounds if you want a stronger scent, but don't go overboard or they might interfere with the wick's ability to burn. If you're using essential oils, this is the right time to mix in a few drops. Meanwhile, glue the wick to the inside bottom of the container with a small dot of glue. You can tie it to a craft stick set across the top of the container so the wicks remain upright. You might warm your containers to slow down the cooling process, which should prevent air bubbles. Pour the melted wax into your jar or mug.
If you're using a transparent container or plan to cut the solidified candle from a paper cup, you can alternate layers of wax and coffee grounds for a more aesthetic finish. To achieve this look, glue your wick, pour a thin layer of wax into your vessel, then sprinkle in a light layer of coffee grounds. Let this layer solidify a bit, then continue this process two or three times until you're done. Ensure there's about three times more wax than coffee. Also, add the coffee grounds toward the edge of your container and position them away from the wick, or they might catch fire. This is especially important if you plan to top off your candle with some solid coffee beans. Also, for the top layer, lightly stir the grounds into the wax layer below. Be sure to leave an inch of empty space at the top for the wick to burn cleanly. Finally, allow your candle to solidify over a few hours before trimming the wick to ⅛ inch.