

Not Erosion Or Weed Control: A More Creative Way To Use Traditional Landscaping Fabric
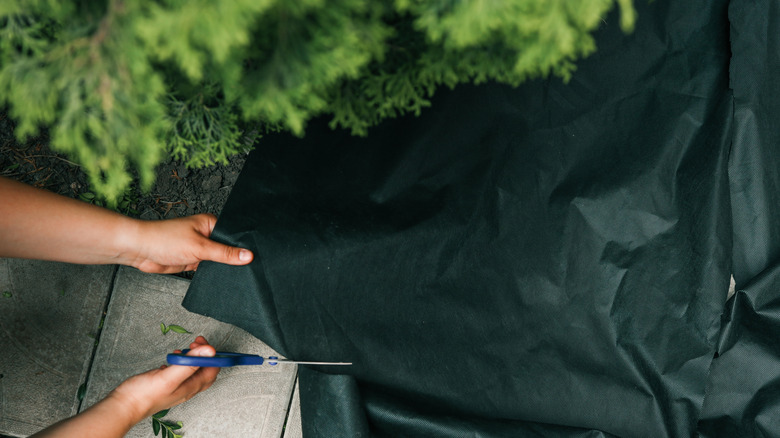
If you've got an extra roll of landscaping fabric taking up storage space in your garage, chances are that you've used it for things like trying to keep weeds at bay in the yard or under layers of gravel to prevent them from sinking into the dirt below. While those might be the traditional uses for landscaping fabric, there is a more creative way to use what you have leftover: turn it into a grow bag for your garden.
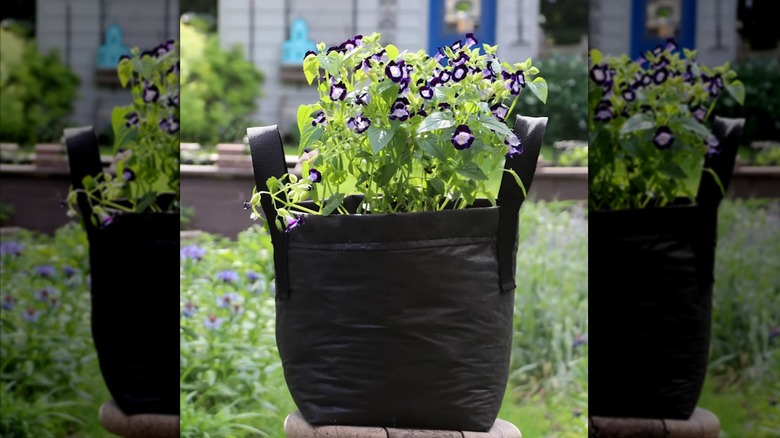
Grow bags are basically a fabric version of a planter. You fill them with soil and grow your plants of choice just as you would with a plastic or terracotta container. Why bother with fabric? While there are many benefits of using fabric grow bags in your garden, their claim-to-fame is that they create incredibly healthy root systems. The material lets in air, which actually causes the roots to stop growing when they reach the fabric. Plastic containers don't allow for that, so roots continue to grow, getting tangled up inside – commonly referred to as being root-bound. You can always purchase pre-made grow bags for tomatoes and other veggies, but if you already have landscaping fabric on hand or just love a good DIY, here's your chance to make your own.
How to DIY grow bags out of traditional landscaping fabric
To make a medium 16-inch bag, start by cutting out two pieces of fabric, measuring 32 inch by 48 inch pieces to create thick layers that measure 32 inches by 24 inches when folded in half lengthwise. Sew along the outside of all four sides of each piece to create a thick, double-layered fabric for your bag. You can sew it by hand, but a sewing machine will create a stronger stitch for a sturdier bag.
Lay the two pieces of fabric on top of each other, and sew the bottom, left, and right sides together, leaving the top open. Measure an 8-inch square in the left and right bottom corners and cut it out of the fabric. Now open the bag, pulling the two sides apart. This will feel counterintuitive, but once you see the two holes on either side of the bag, you'll be able to pinch them closed and sew them shut. This creates the flat bottom of the bag, allowing it to stand up. Now all you have to do is turn the whole thing inside out and you're ready to start planting.
Optionally, you can add handles by cutting two 18-inch strips of 1-inch webbing strap. Sew one end of the strap to the outside of the bag, bring the other end down and sew that as well, creating a looped handle. Repeat with the other strip on the opposite side of the bag. Be sure you know how to clean and reuse grow bags in the garden to make the most of your new DIY project and be able to use it season after season.