

13 Best Lawncare Practices For Boosting Curb Appeal

We may receive a commission on purchases made from links.
Nothing beats that feeling of arriving home from work and realizing that the most appealing driveway on the block is the one you're pulling into. But one thing that has the potential to spoil your home's curb appeal is a lawn that lacks luster. Of course, most will know that it's important to mow the grass regularly, and that, from time to time, it's a good idea to give it a drink. But do you know the right length to mow your lawn at, or how often you should do it? Are you unsure whether it's best to water little and often, or shoot for a more occasional soak?
This guide can help. Below are 13 helpful tips to ensure your lawn doesn't spoil your home's curb appeal. There are tips to keep your mowing and watering regimen on point, along with some specific advice to help manage more recalcitrant types of grass. We'll explore techniques like overseeding and aerating to improve the health of your lawn. And if you have pets, we'll offer tips to ensure your pooch's presents don't pose a problem.
Foliar feed with iron for deep green color
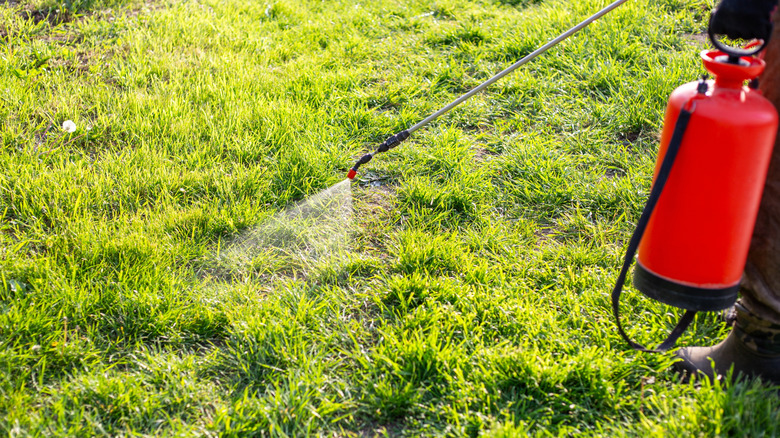
Foliar feeding involves spraying a liquid fertilizer directly over your grass. There are several things that you can "feed" this way; however, the one we're recommending here is iron. Iron helps enhance the chlorophyll inside your grass — a critical ingredient in any plant's ability to photosynthesize. Iron is especially important in turfgrass, as without adequate amounts, the leaves can turn yellow or even white. These kinds of deficiencies are especially common in younger lawns, so if you've recently seeded yours and it's starting to yellow, then it could be worth applying some iron.
It's straightforward to do. Buy yourself a liquid-iron foliar spray, like this Liquid Iron from LawnStar. Mix it according to the instructions, add it to your sprayer, then apply it evenly across your grass. Just know that, while it can be effective in the short term, the effects may not last for long. You may be better off choosing a slow-release, granular fertilizer with supplementary iron, like Scotts Green Max Lawn Food, which feeds your lawn while boosting the availability of iron. Even then, you may find that the natural conditions of your soil cause the problem to repeat itself. In that case, you may need to fold foliar feeding into your regular lawn care strategy, reapplying your chosen feed whenever the deficiency starts to show.
Overseed Bermudagrass with ryegrass for extra curb appeal in winter
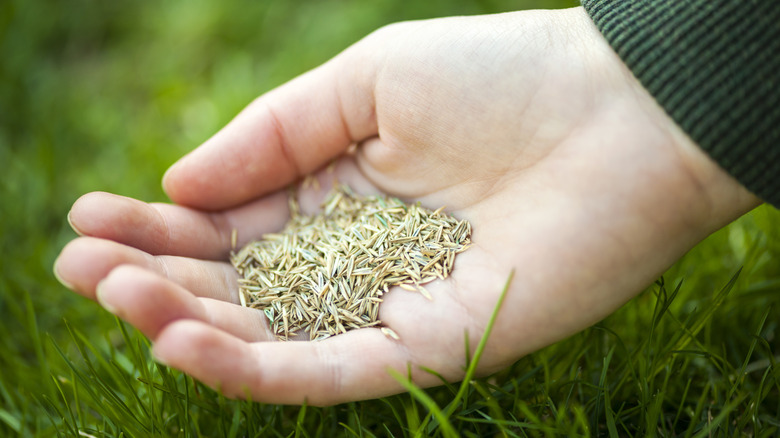
If you're dealing with Bermudagrass, you'll probably find it starts to lose its luster when temperatures drop. This is natural, and certainly not a sign of unhealthy grass, but it's hardly attractive to look at, either. One way around it is to overseed your Bermudagrass lawn with ryegrass. Ryegrass is a cool-season grass, which means that it springs to life when the temperatures start to drop. In other words, if you overseed with ryegrass seed at the right time, it'll be ready to pick up the slack once your Bermudagrass stops growing. Just don't be tempted to overseed your lawn if it's not grown with another grass species. Bermudagrass is well suited to overseeding, since it usually copes well with the irrigation, fertilization, and shading effects that happen as a result of overseeding.
To do it, you can sprinkle the seeds by hand. Alternatively, get yourself a seed spreader, like this Amazon Basics Fertilizer Spreader, which covers up to 5,000 square feet per load. Either way, you'll want to ensure you dethatch your lawn first so your seeds make proper contact with the soil. Also, if you suspect the soil has become compacted, you may need to aerate it before applying seed to ensure the conditions are right for rooting. Aim to overseed once daytime temperatures are warm enough for the seed to grow and the nights are cool enough to reduce the chance of disease impacting your young seedlings. As a rule of thumb, the Clemson Cooperative Extension suggests 30 days ahead of your first frost.
Consider a turf colorant to mask brown grass in winter
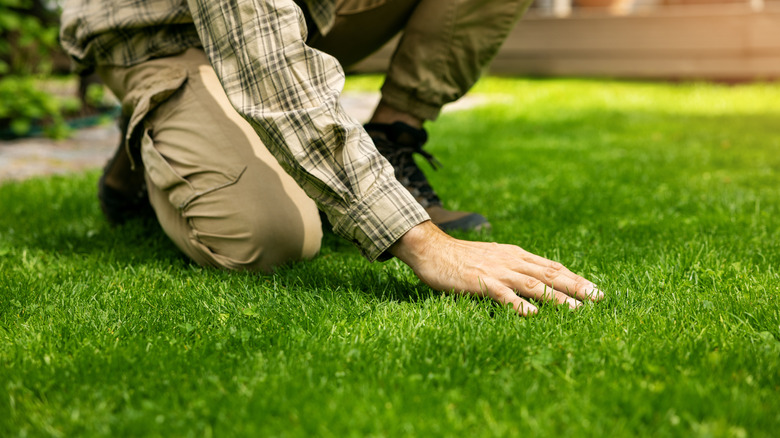
If the green grass in your neighbor's front yard is putting the blades of your own lawn to shame, then did you know that you could always color it in? It sounds silly, but it's actually entirely possible to add turf colorant to a browning lawn, especially if you have warm-season grass that tends to go brown in the cooler months. It's a better alternative for warm-season lawns not grown from Bermudagrass, as it eliminates the worry of competition between grass types — and it doesn't rely on invasive soil preparation procedures, either.
Now, it's worth noting that adding a colorant to your grass isn't a one-time job. You may need to apply it several times, depending on the temperature swings that occur in your yard until the first frost. But it's worth the effort if you hope to maintain your property's curb appeal through the otherwise dreary winter months. You may also find that it helps your lawn spring back to life with increased vigor when the mercury starts to climb. The darker colors of these colorants act as a heat sink, trapping and harnessing the sun's warmth, thereby encouraging grass growth.
Mow at the proper height
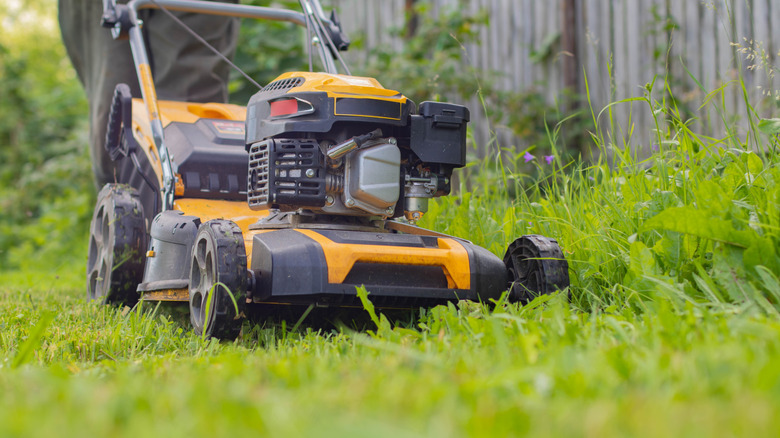
Also known as "scalping," cutting your grass too short can lead to a few health problems that will directly impact the look of your lawn. Firstly, if left too short, the blades won't have the surface area they need to effectively photosynthesize, leading to a thin, patchy lawn that struggles to grow. Scalping also exposes the root systems, which can weaken the plants and leave them more susceptible to diseases. Health problems aside, by cutting away all those leafy greens, you'll reveal the paler crowns beneath, leaving your lawn looking a little sorry for itself until it bounces back to life.
Another reason it's important to pay attention to how high you mow is that it can encourage weeds to take hold. Weed seeds usually germinate more prolifically if there isn't thick, healthy grass also competing for the space. If you scalp your lawn and it grows back weak and thin, you could find yourself fighting an almost unwinnable war against weeds. The fix? Firstly, learn which height is best for your grass. This can change depending on what grass is growing in your yard, but as a general rule of thumb, the University of Minnesota recommends cutting no shorter than 3 inches. Whatever height is best for your grass, adjust your mower blade settings, and aim to trim your lawn around once a week during the growing season. It's better to trim higher and more frequently than it is to cut grass low and more sporadically.
Sharpen your lawn mower blades
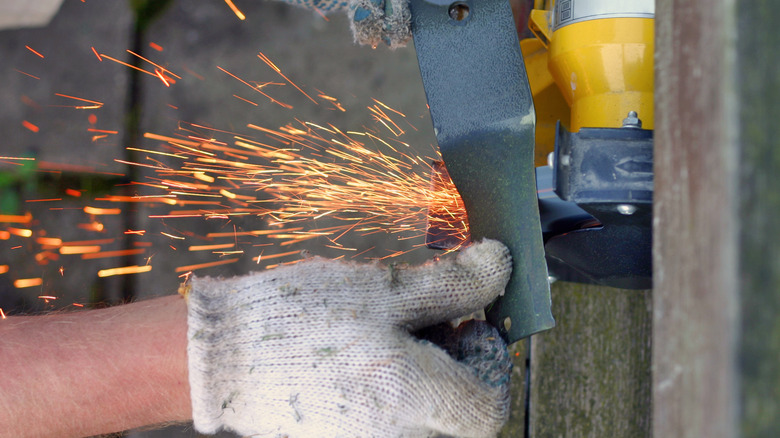
When was the last time you checked the sharpness of your lawn mower blades? Just like a dull kitchen knife with fresh produce, a dull mower blade is less than ideal for cutting grass. It can lead to untidy, frayed-looking lawns, where grass appears torn instead of trimmed, not to mention uneven. More than that, when grass is torn, it becomes damaged, leading to moisture loss, greater susceptibility to disease, and exposure to pests. All of this can contribute to a dull and patchy finish.
So, sharpen your lawn mower blades! You can use an angle grinder, a file, or, if you have one, you'll find it's one of the many jobs a rotary tool can take care of. Provided that your chosen tool restores the edges to your blades, you'll find it much easier to keep your lawn looking at its best. You'll be able to cut your grass with precision (remembering that 3-inch rule!) without leaving it looking torn and forlorn.
Aerate compacted soil
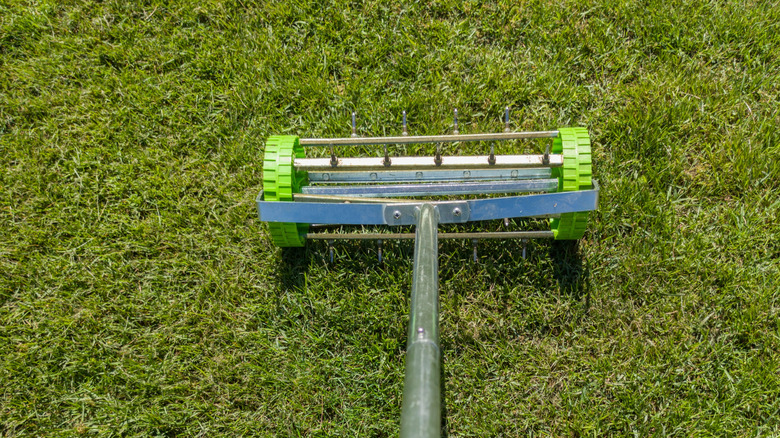
One of the best habits for maintaining a lush, healthy lawn is regularly aerating your garden soil. Aeration essentially requires you to punch lots of tiny holes into the surface of your soil. It's effective in high-traffic lawns where the soil inevitably becomes compacted with people's constant comings and goings. When this happens, water and valuable nutrients struggle to permeate the soil, which in turn leaves the lawn's roots starved of the things they need to grow. Even in technically low-traffic areas, soil can still become compacted by you and your mower during your weekly maintenance. And if those compacted areas are left unchecked, they can lead to stunted growth and bare patches.
Fortunately, there are various ways to aerate your lawn. Remembering that all you need to do is poke holes into the soil, you could easily do it with nothing more complicated than a pitchfork. That said, for larger yards, it may be more practical to invest in a dedicated aeration tool. You can buy spiked aerators, like this push-spike aerator from SuchTale, which you wheel over the surface just like your lawn mower. You don't even necessarily need to buy one; in fact, you may be able to hire a mechanical aerator to manage a larger lawn. Whatever you use, by ensuring your grass's roots can access the water and nutrients they need, you'll stand a much better chance of enjoying a lush green lawn whenever you pull onto the drive.
Overseed thin or bare patches
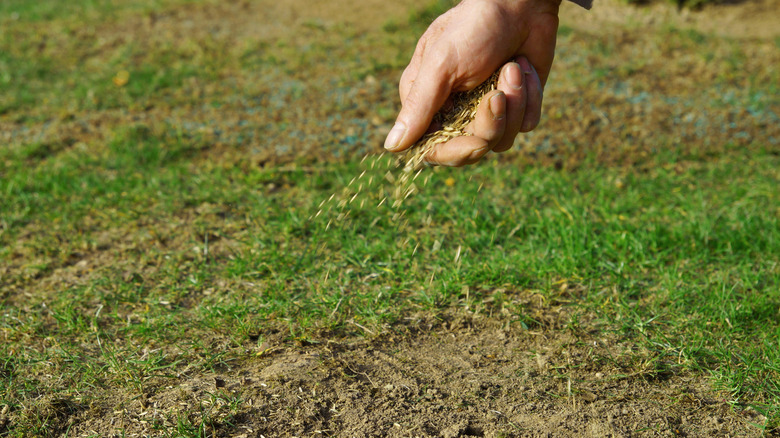
We've talked about overseeding Bermudagrass lawns with a cool-season seed in order to keep things vibrant through the winter. However, if you're struggling with thin or bare patches during the growing season, then you may also want to consider overseeding your grass with a matching seed type. Doing this can help thicken any areas that have started to fall behind in terms of growth, but you'll want to ensure you fix any underlying issues first.
For example, if those patches are a result of compacted soil, then it's best to aerate the soil first. Alternatively, if there's water pooling in your garden, you may need to address drainage issues before attempting to overseed. And if there's a leafy suburban tree casting shade over a patch of your lawn and leading to sparse growth, then you may want to consider a different, more shade-tolerant seed in order to fill those areas in. In any case, it's best to prepare the soil first. Start by digging up any damaged turf, then fold some new topsoil or compost into the divot. Once you've done that, make sure that you time your overseeding correctly. Early fall is the best time for cool-season grass types, like ryegrass, as this is when they naturally want to grow. For warm-season grasses, like zoysia, late spring is the optimal time.
Pay attention to the edges
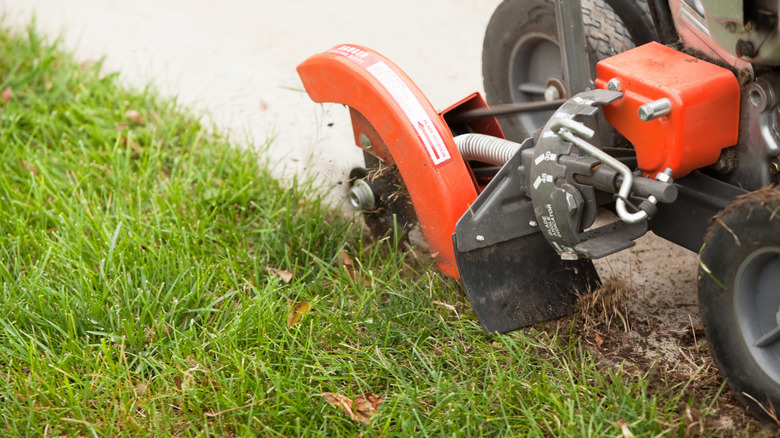
Now that your mowing routine is up to scratch and you've overseeded those spartan spots of growth, you may find that your grass starts growing beyond your control. If it starts to spill into your driveway, then that can bring its own brand of untidiness to the look of your front yard. If that's happening, then the first thing to do is arm yourself with an edging tool. These set clear boundaries by cutting narrow channels between the edge of your lawn and the driveway, thus ensuring a crisp, manicured look. Aim to create a 2- or 3-inch trench, angling it away from your path or driveway, to keep roots from creeping beneath the paving. Repeat this process once every couple of weeks in the growing season, and aim to do it once a month once your grass enters its annual dormant phase.
Alternatively, you could incorporate edging materials. Things like brick, metal sheeting, and even ornate metal driveway edgers from Amazon can all help here. But to ensure your grass behaves in the long term, it can also pay to dig those edging materials into the ground. By digging a trench around the edge of your lawn and sinking materials like bricks or pavers into it, you'll add a physical barrier that helps keep those edges intact. Not only that, the natural aesthetic of such edging materials will bring an intentional, designed look to your driveway.
Keep an eye on weeds like crabgrass
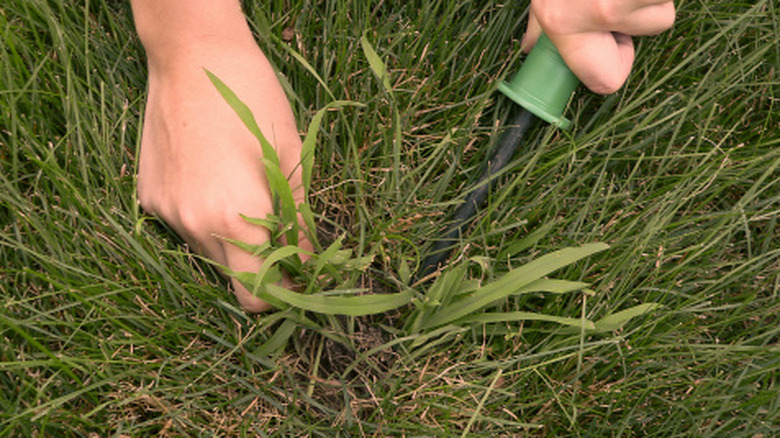
When weeds are actively growing, it can be hard to notice them, since they often blend in with the green of the rest of your garden. And as your lawn looks uniformly lush, there's nothing to worry about, right? Well, not quite. Come winter, there are certain weeds that can seriously spoil the aesthetic of your lawn, leaving you kicking yourself that you didn't take action when you had the chance.
For example, crabgrass, while prolific in the warmer months — and looking very much like grass in its own right — is an annual. In other words, it dies back in the winter, leaving grim, unsightly patches around your lawn that can spoil your home's curb appeal. If you keep on top of things and routinely stamp out weeds like crabgrass whenever you spot them, then you can save yourself the neighborly shame of a patchy lawn when the seasons change. Fortunately, by simply maintaining thick and healthy grass, you should be able to keep crabgrass in check, since it struggles to compete with a healthy lawn. But if your lawn isn't in the best shape yet and you spot crabgrass, it's best to remove it wherever you see it. You can then apply a pre-emergent herbicide in the spring, before its seeds have a chance to sprout.
Repair pet damage promptly
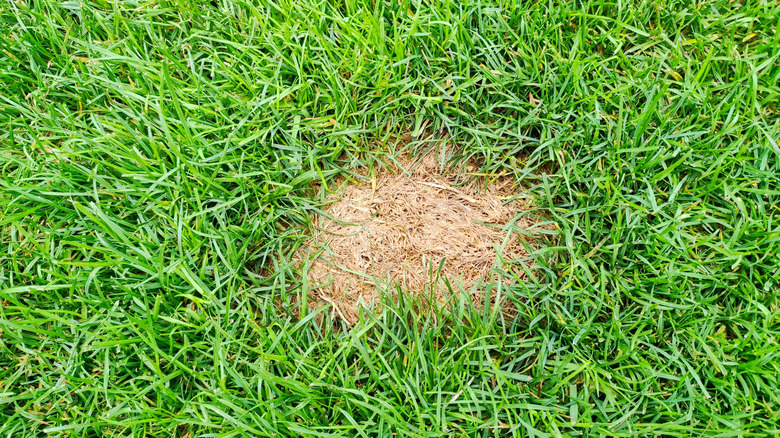
If you have pets who regularly use the facilities provided by your lovingly tended lawn, you'll know the pain of seeing bare patches form in their favorite spots. Dog poop can kill grass, while also spreading bacteria and parasites. It can overload patches of your lawn with nitrogen, leading to yellow burn spots and brown, dead grass. The same happens with dog urine, which contains urea — a potent form of nitrogen.
With this in mind, presents left behind by your pet should be gathered as soon as possible. If you can, train your dog to go to the same area so it's easier to manage. And if you can make a point of hosing the area down to wash away excessive amounts of urine, that should also help prevent your pet from spoiling your home's curb appeal.
Mulch mow leaves and grass clippings back into your lawn
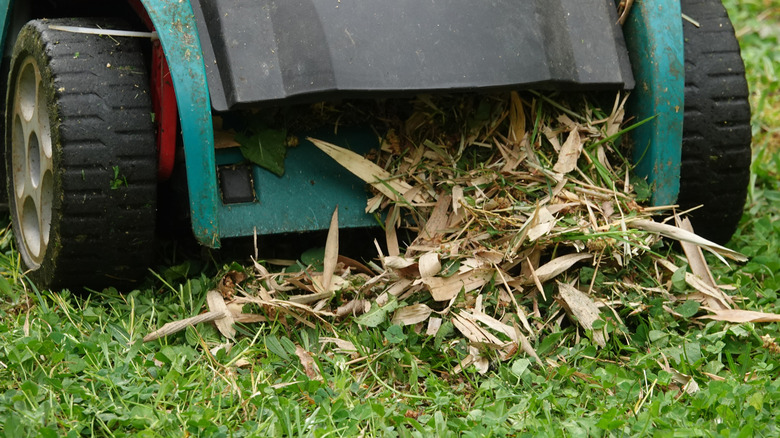
Another way to keep your front yard looking healthy is to mulch mow your grass. It works by feeding moisture and nutrients from your grass clippings and other organic mulch materials, like shredded leaves, back into the soil, which lends to the lawn's long-term health. And since those items are folded neatly and evenly into the grass, it ensures that they don't wind up lying in clumps on top of the lawn, starving it of sunlight.
You can buy dedicated mulch mowers that fold the clippings back into the turf as you mow, rather than bagging them or discharging them to the side. Alternatively, it's also possible to buy mulching blades and retrofit them to your existing lawn mower. These are designed to keep the cut blades of grass in the cutting deck of your mower, repeatedly chopping them down until they're tiny, before depositing them back into the grass.
Do a soil test before amending and fertilizing
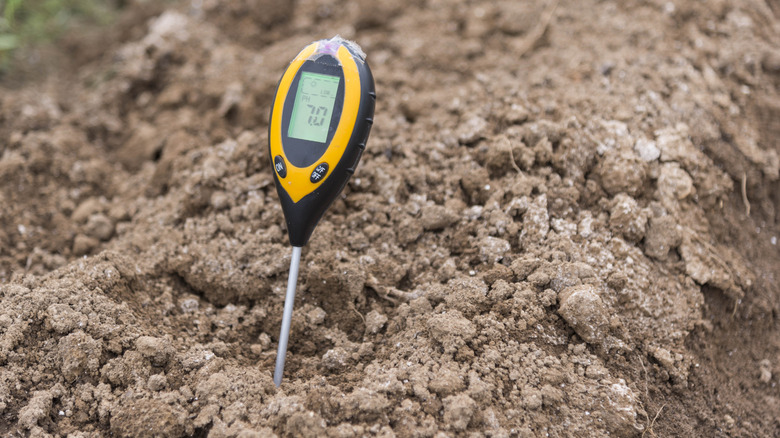
There comes a time in every lawn's life when its soil needs some TLC to ensure it's in the best possible shape to support verdant, healthy grass growth. If you suspect that your soil needs aid, you should first conduct a pH test. This will give you the information you need to add the appropriate items to your soil. For example, if your soil has a high pH, this could effectively lock out nutrients, leading to a yellow, lackluster lawn. If you were to simply guess, you could end up adding the wrong amendments and potentially making things worse.
Instead, have your soil tested. You can conduct tests by yourself, for which the best soil testers are usually digital. These eliminate the need to color-match litmus readings to printed charts, and they're usually highly accurate. Alternatively, you could send a sample of your soil to a testing lab. Most states have a testing facility that will test your soil, and if you're serious about lawn health and maintaining strong curb appeal, you'll probably find that it's worth the usually small fee.
Remove thatch when it becomes excessive
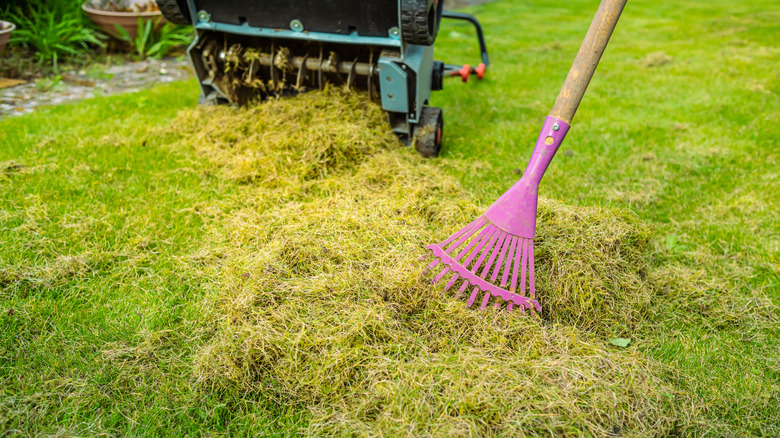
While it's a good idea to mulch mow your lawn, you'll also want to keep an eye on it to ensure it doesn't build up too much thatch. Thatch is simply dead grass, and it tends to build up over the course of the year. If too much accumulates, it can start to starve the lawn of sunlight, and if it's allowed to form mats, it will also prevent water and nutrients from penetrating into the soil. If this happens, it can lead to patchy, uneven growth — perhaps the opposite of curb appeal. If you can't see the soil beneath your lawn, or if it feels spongy underfoot, those are pretty good signs that it's time to de-thatch.
There are various ways to de-thatch your lawn. You could use a manual thatching rake, perfect if you only have a small lawned area to manage. For larger areas, it may be more practical to invest in a dedicated thatching machine. You can buy thatching machines that remove the top layers of thatch. Or, if you need to remedy a more deeply embedded thatch problem, you can buy a scarifier, which will remove the thatch while also punching shallow holes in the soil, aerating it and preparing it for further treatment, like overseeding.