

14 Of The Biggest Wastes Of Money You Can Spend On Your Driveway
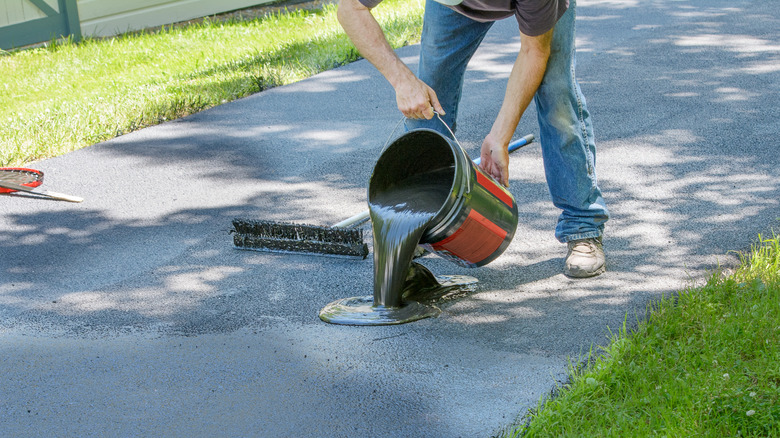
Driveways seem like they should be fairly straightforward and low cost once they're in place, but actually they are deceptively high maintenance. This is sometimes made worse and more costly by the choices you make. Plus, you have to remember how much abuse driveways actually take. You drive on it regularly, park heavy vehicles on it, shovel it in winter, maybe pressure wash it or seal it, and expect it to cope with road chemicals, extreme heat and cold, and other adverse conditions. All of that takes its toll, regardless of whatever driveway surface you've got.
Homeowners are constantly bombarded with advice, products, and services aimed at maintaining their driveway, but some will just end up costing you money and time. Some decorative edging and stamped concrete products, for example, are just short-lived vanity products, so they are essentially harmless. But poor resurfacing, excessive cold pour patching, and trying to cut corners on a resurfacing job all actively harm your driveway.
Installing decorative plastic or timber driveway edging
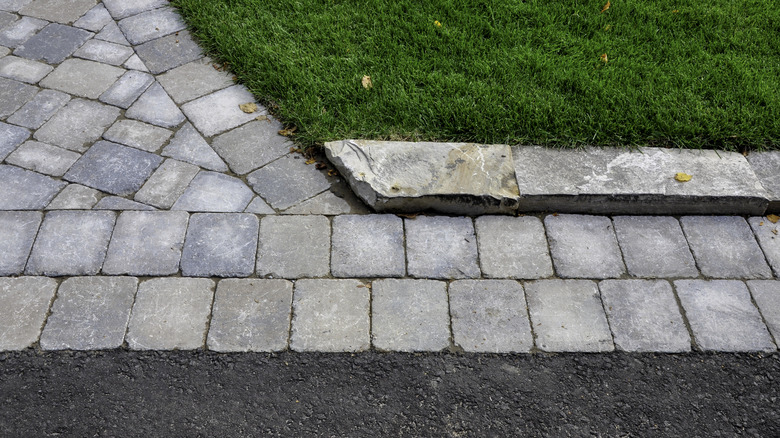
Decorative driveway edging made from flimsy, non-UV-stabilized plastic or untreated timber is really a waste of money. It looks fabulous when you first install it, but, unfortunately, most products don't last. They have to withstand high and freezing temperatures and UV exposure, soil or sub-layer movement, splashing from vehicles with road chemicals and salts, and pressure and damage from getting accidentally run into with tires. In a frustratingly short amount of time, you'll end up with faded plastic edging that is brittle, cracked, or warped. Budget-friendly, untreated timber will weather, split, rot, and attract pests, so you end up spending money to fix or replace it on a fairly regular basis.
Driveway edging is for more than just looks, so choose materials that can handle heat, moisture, and the daily struggles of a standard driveway. Aluminum and steel have a little flex to them and can better hold up against common driveway issues than plastic or wood. Brick, concrete, or natural stone, if properly installed, offer a more permanent finish that doesn't deteriorate. Yes these materials cost you more up front, but over time, they offer savings over cheaper options, because you don't have to keep replacing them.
Choosing tender plants for the driveway hellstrip
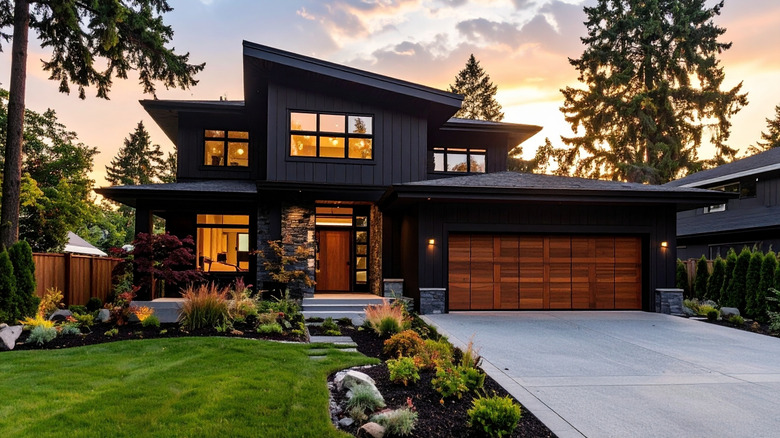
The hellstrip is a tough spot to keep looking good — it's that bit of bare ground between the driveway and the sidewalk or curb. It's a particularly punishing planting spot and it's very easy to waste your money on plants that are too delicate. Hellstrips are hot, compacted, dry, and low in organic matter, so even native plants may struggle. They are regularly exposed to reflected heat from the pavement, road salt, chemicals, and occasionally being driven over. Plus, of course, the local canine population is likely to drop by and leave their "pee-mail."
For what is arguably the harshest planting environment in your landscape, choose something native but tough. Whatever plants you go with need to handle all of these stresses simultaneously. Look for something that's low-growing, drought-tolerant, and salt-tolerant too. Lavender, asters, hardy sedums, hardy geraniums, and even milkweed are all great choices for plants that will thrive in a hellstrip.
Using rock salt on concrete driveways
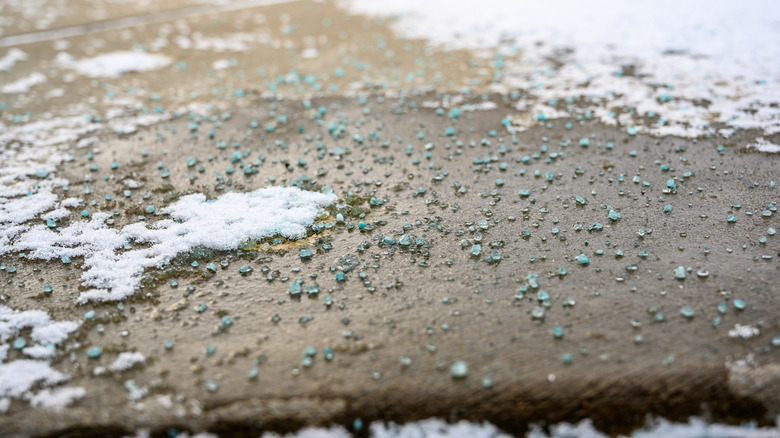
Understandably, lots of people use rock salt as a cheap winter fix on their driveways. It becomes a problematic waste of money, however, when it is used on concrete driveways. Concrete is porous and rock salt is made of sodium chloride. Once it penetrates the surface, rock salt causes compounding damage to concrete. It's known as scaling and it's where the top layer of concrete starts to noticeably pit, chip, and flake away. This is very expensive and difficult to fix. You also need to think about the wider landscape. Salt runoff is very hard on nearby lawn edges, ornamental plantings, such as the hellstrip, as well as vehicle undercarriages and any steel reinforcement that might be embedded in the slab.
There are options for de-icing and adding traction to your driveway without rock salt, including using sand or grit. They cost very little and won't do damage to your lawn or plants. If you still need a de-icer, then choose a concrete-safe product that's rated for use on concrete driveways. These cost a bit more per unit, but save you significant money over the long term, as they don't actively reduce the lifespan of your driveway.
Sealcoating new asphalt before it has cured
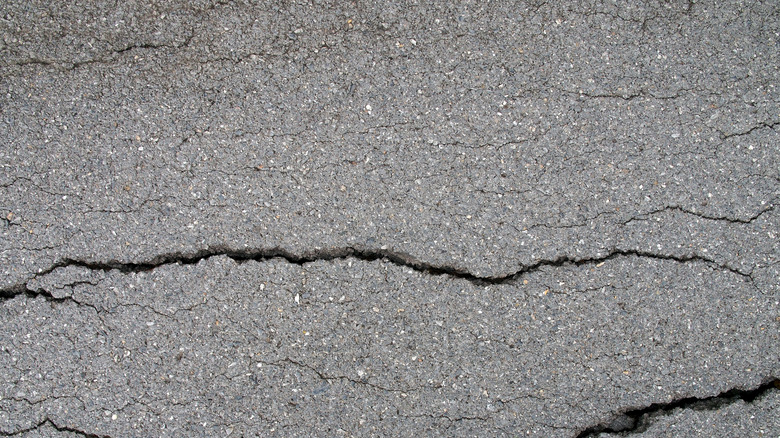
Seal coating a freshly laid asphalt driveway sounds like a good idea. People do it because their theory is that sealing it will help protect it and therefore it'll last longer. They pay a lot of money to have this service carried out. Fresh asphalt, however, contains binder oils, and those oils work their way out and dissipate from the surface as the asphalt cures. If you seal the driveway before the oils have had a chance to escape, you trap them under the seal coat and slow the hardening process, which ends up weakening the bonds between the sealer and the pavement. This process leaves the surface more vulnerable to scuffing, tire marks, and premature wear.
Ask yourself if your driveway really needs sealing. As a general rule of thumb, sealer shouldn't be laid sooner than 6 to 12 months after the asphalt has been installed. The exact timing depends on the mix the contractor used, the weather, how much traffic the driveway gets, and a few other factors. You may want to hold off for at least 12 months, just to be on the safe side. If a contractor starts pushing immediate seal coating on a newly asphalted driveway, be cautious and don't be afraid to push back. Some contractors do offer this as a package deal with the asphalt installation, but don't be tempted to take them up on it. Wait the full period, then have a contractor come and apply the seal coat when it's safe to do so.
Performing annual asphalt sealcoating
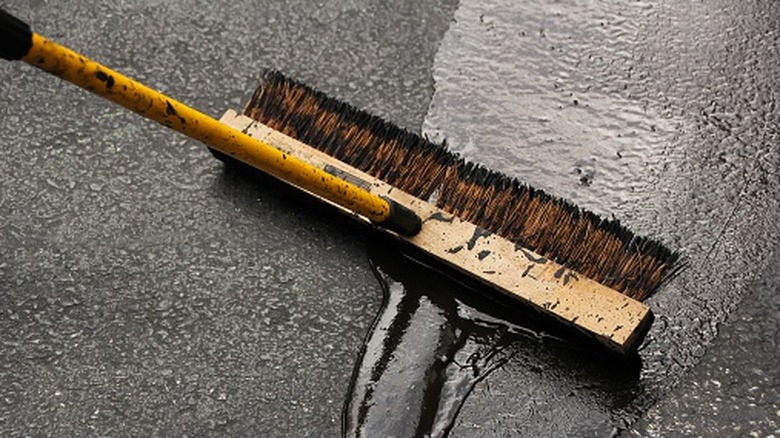
Just like you shouldn't be too keen to apply seal coating to a new asphalt driveway, don't be tempted to apply a new layer of asphalt seal coating every year. Sealers do protect asphalt well and help extend the life of your driveway, but applying them more frequently than the surface needs can cause build-up. That build-up of unnecessary seal coating can crack, flake, and peel, which results in the driveway looking shabby, old, and degraded. It also requires corrective work, which can be an expensive service, before you can properly seal it again.
The industry standard is to only apply a seal coat every two to three years for the typical home driveway that gets a moderate amount of traffic. You're probably safe to wait closer to three years. High traffic, harsh climate, and heavy sun exposure can warrant more frequent seal coating application, but only apply it when there's actual need.
Planting fast-growing shade trees beside the driveway
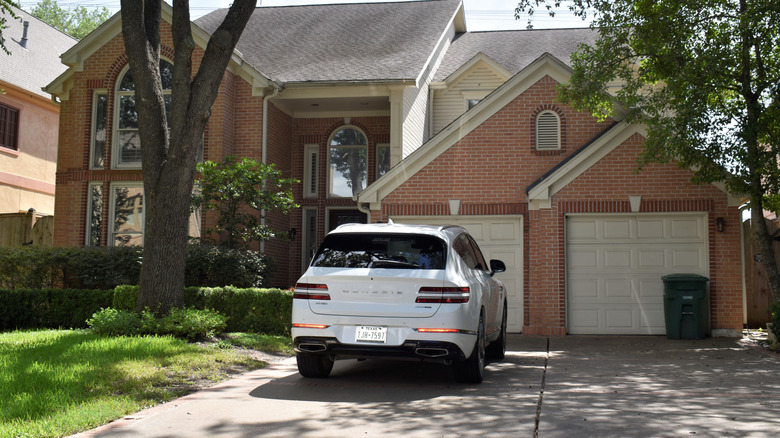
Driveways get hot and become their own mini heat islands. One way to combat that is by planting shade trees. They help cool the drive, and therefore your home, and support local wildlife. They are a great investment, but only if you plant the right types of trees. Many people go for fast-growing species like maple, willow, and poplar, planting them right up against the driveway — and therein lies the problem. Many of those fast-growing species have aggressive and comparatively shallow root systems. Yes, they grow exceptionally quickly and develop a beautiful shady canopy, but at the same time as the canopy is spreading, so are the roots. They get thicker as the years go by, snaking under the driveway and creating upward pressure that lifts and cracks the surface.
Lots of people attempt to patch these cracks, but that's expensive and is not a permanent fix as the tree roots continue to grow. Eventually, every crack that you patch will crack again. You'll end up having to replace your driveway and remove the tree, basically starting all over. Slower-growing options with less problematic root systems include flowering dogwood, eastern redbud, and Japanese maple. They still deliver ample shade, but have less of a risk to your pavement. It's also a good idea to consider the mature size of the tree and not plant it right against the driveway edge. Keep large species at least 20 feet away from the driveway edge.
Doing a resurfacing job over a structurally-failed base
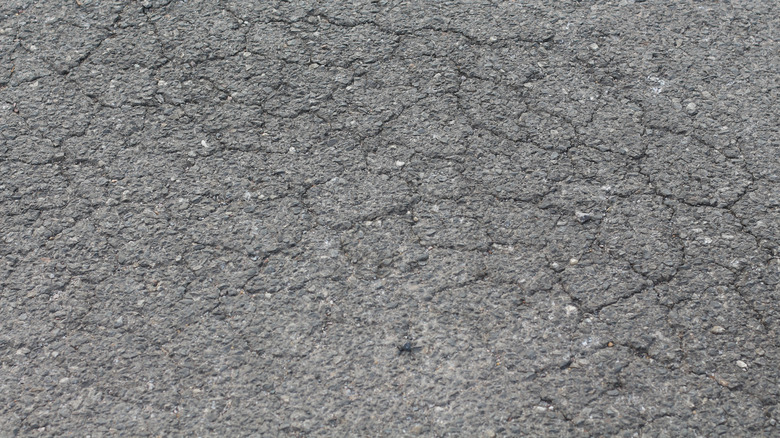
If your driveway surface is worn, but the base underneath it is still in good condition, then resurfacing is good value and makes good sense. It becomes a waste of money if your driveway has alligator cracking or exhibits widespread heaving, sunken spots, and other tell-tale signs that the damage goes down to the base. Slumping, for example, is a clear sign that the driveway's foundation is failing. If you do have a problem with the foundation, then there is no point in putting an overlay on top. A fresh top surface over a failed base will initially look good and you may even think that you've solved the problem. However, in a surprisingly short amount of time, the same issues that you fixed will come right back.
If it's just the surface that's worn, you'll see fading or isolated hairline cracks, and you may notice a loss of texture in the aggregate. In this case, you are safe to have the driveway resurfaced without wasting money. It's a good idea to have a driveway contractor assess your driveway before you decide. If they see something like cracks in an interconnected scaly pattern radiating across a particular area of the driveway, this is alligator cracking and they will likely advise replacement, rather than resurfacing.
Adding a new driveway surface before fixing drainage
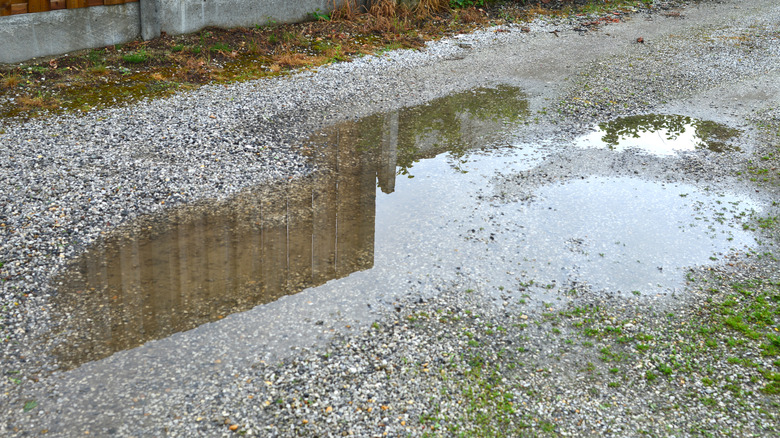
Some people try and cut a few corners with their driveway surface, and one common corner they choose to cut is fixing drainage issues. If you get standing water on your driveway surface on a regular basis or the ground to either side of the driveway gets really wet and boggy, then you know you've got a drainage problem. Thinking it'll be fine once you've got a new driveway surface, and neglecting fixing the drainage issue, is a waste of money.
Wet soil and standing water softens the base layer and seeps into cracks and porous surfaces. When it freezes, it expands and can cause cracking. A new driveway surface does boost curb appeal because it improves the look of your property's exterior, but it will fail long term if drainage isn't adequate. A contractor should be able to diagnose and correct drainage issues before they undertake any resurfacing, repaving, or new installations. They may need to add a channel drain to stop the driveway flooding. Depending on your situation, the driveway's base, slope, and compaction may need addressing. Yes, this costs money, but over the long term it will extend the life of your driveway and therefore cost you less.
Using cold-pour pothole patch as a permanent repair
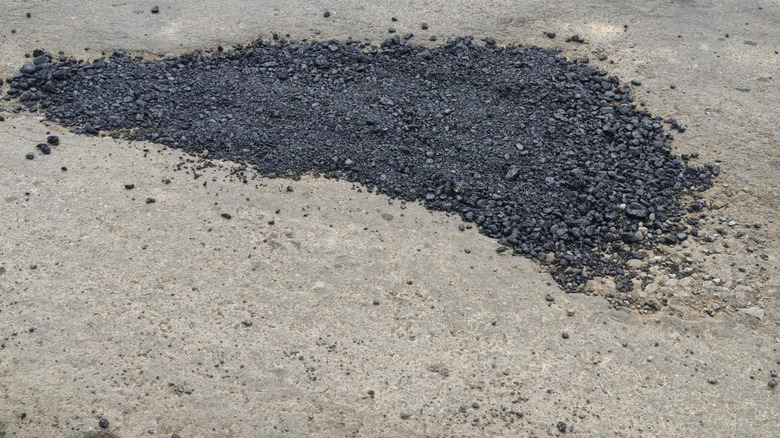
Cold pour pothole patch from the hardware store is not a permanent repair. Plenty of people throw their money at it, thinking that it might extend the life of their driveway or save them money on a resurfacing job, but that's really not what it's for. This product does have a legitimate use when you need to make a quick patch in winter to stop damage from getting worse, but then you should proceed with a proper repair.
This product is fairly cheap, but it isn't formulated for the same high level of bond, compaction, or durability as hot mix asphalt repair. With regular and sustained weight and movement from tires, a cold patch will quickly compress, loosen, and break away from the hole. By the time you've bought several bags to repair the same hole, you would've spent almost as much as getting a proper repair. Yes, use cold pour in winter when a full repair isn't possible, but remember that it's not permanent and will need to be properly addressed once the weather warms.
Turning to DIY driveway resurfacing kits
DIY resurfacing kits are tempting for many people because they are marketed as providing a fresh surface, without the expense of a professional job. For light damage, as long as you do an extremely thorough job of cleaning, preparing the cracks, and grinding the surface or etching it to promote adhesion, then there's a good chance that the kit will do an adequate, if not particularly long-lasting, job. However, you do also need to apply the right thickness of material under the right fairly narrow temperature and humidity conditions. But if you get that wrong or the surface is uneven, contaminated with something like oil, has more significant cracks, or evidence of alligator cracking or slumping, then it's really too far gone for a thin DIY overlay coat to make much of a difference.
You'll find in situations like this, that within a few months the coating starts to peel, flake, and delaminate. It's frustrating because you've already paid for the kit and put in a full weekend of labor, but the original driveway problem is still there. Plus you now have to move the failed coating before you can try anything else. Don't automatically assume a DIY driveway resurfacing kit will solve your driveway problems. It may be that the most cost-effective solution is to have a professional do a proper resurface for you, or you may find that more extensive work is necessary to get it into a decent state.
Using the wrong sealer for the driveway surface
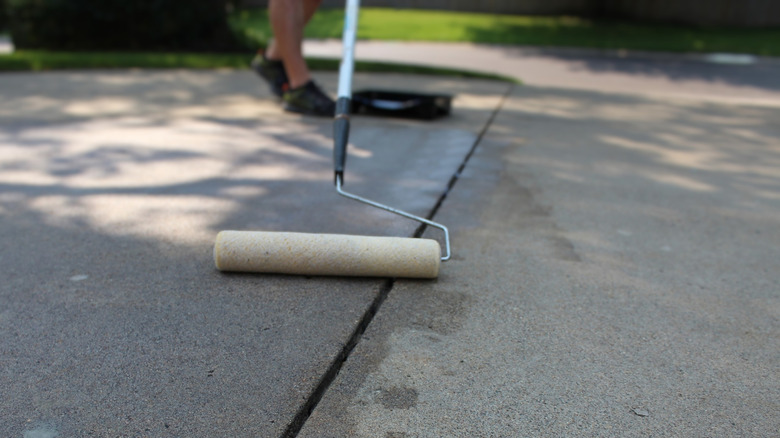
One mistake that is very easy to make is using the wrong sealer for your driveway type. Concrete sealers and asphalt sealers are not interchangeable. You'll end up wasting both money and time if you get it wrong. Asphalt sealer contains petroleum-based binders to bond to the oil-based surface of the asphalt. If you apply it to concrete, it doesn't bond right and can actually trap moisture against the concrete's surface, which can cause or exacerbate scaling and become a very costly mistake. Concrete sealers are penetrative, and if you apply it to asphalt, it won't address the oxidation and binder degradation that asphalt sealer corrects. It's just an utter waste of money.
Pay special attention when you are at the store and check the labels to make sure that you know what type of sealer you are buying. In a worst case scenario, it can get extra expensive, as it may require professional stripping before the right treatment can be applied.
Employing cheap crack fillers for cracks that need real repair
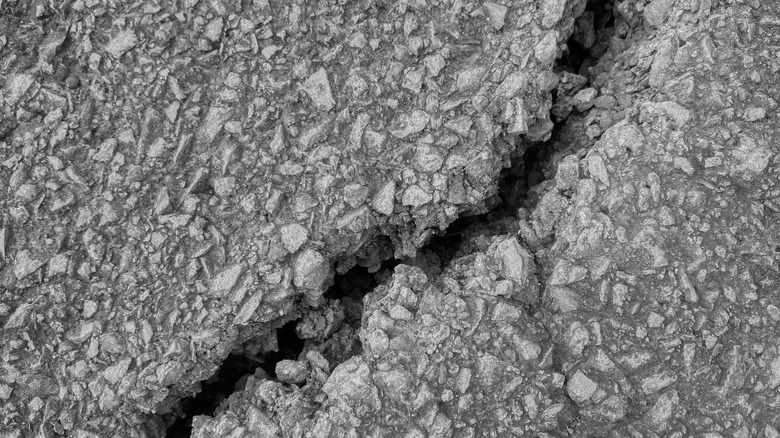
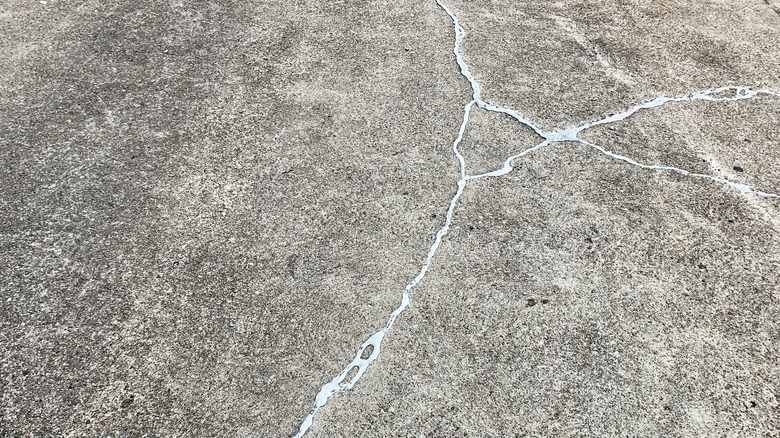
If you have a narrow, clean, dry, stable crack in your driveway that lets the filler bond to both sides, then squeezed tube fillers and pourable crack sealers are an option. They're not suitable for wide deep cracks and those with dirt or vegetation caked in them. Nor are they suitable for cracks that are caused by something more significant and structural happening underneath.
If you use one of these cheap fillers in a crack where it can't properly bond, it will just pop out, sink, or split within a few months. You'll waste more time and more money cleaning that out and trying to fill it again. Deeper and more structural cracks in particular need specialist treatment and, of course, they may be indicative of something more significant going on that requires substantial professional work.
Laying decorative stamped concrete in heavy turning areas
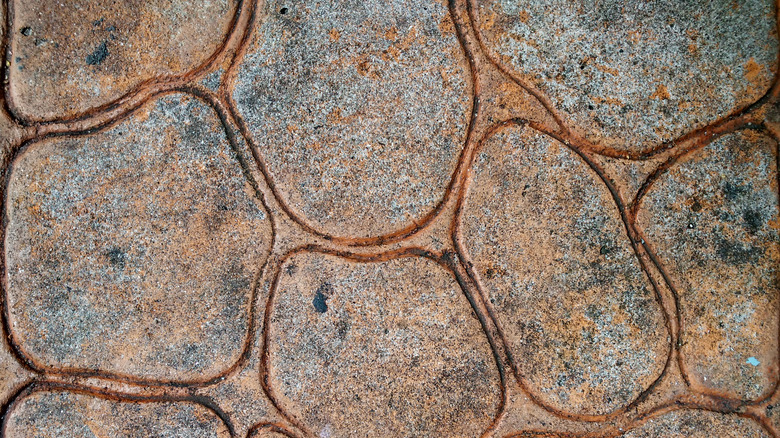
Stamped and patterned concrete are lovely, but they need to be kept away from heavy turning areas and the parts of your driveway that get the most use. Turning, braking, and slow lateral movement from tires creates extra stress on pattern edges and texture lines, as these are the weakest points in the surface. You don't want to pay a premium for stamped concrete or decorative slabs only to have them fade, crack, and wear away in just a few years.
Reserve those higher cost elements for driveway edging or the parts of your driveway that only get light traffic with minimal turning. They can definitely help boost curb appeal and can last a long time if you place them on the apron, border, or a patio area away from the turning zone.
Going with the cheapest paver installation quote
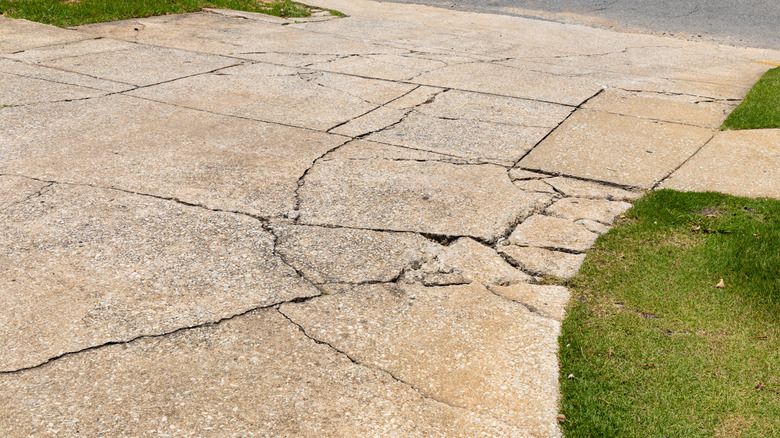
Nobody likes to spend more than they have to, especially not on a utility like their driveway. You can understand the desire to go with the cheapest possible quote. After all, in theory, paver installation should be the same, no matter who's doing it. And the end result should look fantastic, whichever contractor you use. But cheapest is not always best. Installing pavers requires significant work, including proper excavation, installation of compacted aggregate at the right depth for the ultimate load, and for your specific soil type. Bedding sand, edge restraint, and drainage installation all need to happen, too.
If a cheap quote is going to cut any corners with any of these essential tasks, then it's a key reason your driveway might sink, pavers can lift, or it develops ruts or becomes uneven within just a couple of years, even if the pavers themselves are premium. Before you decide on a quote, get to know what type of soil you have and the typical guidelines for successfully laying a driveway on it. Ask for an itemized breakdown of everything, including the depth of the base the contractor plans to use, as this is a common area where contractors may try to save money. Over clay soil for example, a compacted gravel base should be a minimum of 12 inches deep for standard driveways.