

What Is The 3-Inch Edging Rule For Gravel Driveways And Garden Borders?
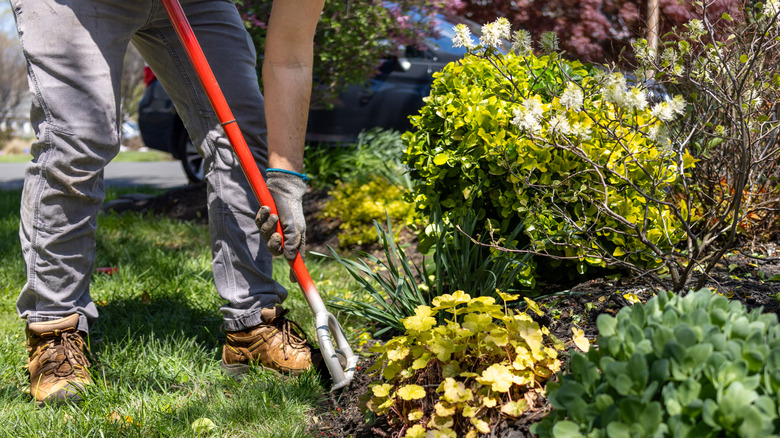
Clean garden edging makes for the perfect landscaping. It's like a well-made bed, a crisp paint job, or a mess-free counter — defined edging indicates that you care about the small details on your property, which gives everything an overall more put-together look and may deliver an increased property value. By ensuring that grass and ground cover doesn't creep out of its defined territory, it simplifies mowing and landscape maintenance, too.
One natural landscape edging idea to elevate your yard's curb appeal involves the 3-inch edging rule. This rule indicates you should dig a narrow trench that's 3 inches in depth where you want to clearly define the border between the lawn and your driveway or flower bed. By digging 3 inches into the ground with a spade, you should clip any roots on the grass near the border, which reduces the chance of the lawn later growing into and beyond the trench. Make sure your spade has a sharp blade, which will provide clean cuts on the turf and a well-defined trench. Sharp spades also reduce the physical effort you need to use to slice through the thick grass roots.
If you install a plastic or metal edging product instead of using the trench, grass might grow over the top of the edging materials, negatively affecting the look of the landscaping. The 3-inch edging rule greatly reduces the risk of the grass blades creeping into areas where you don't want them.
How to use the 3-inch edging rule for gardens and driveways
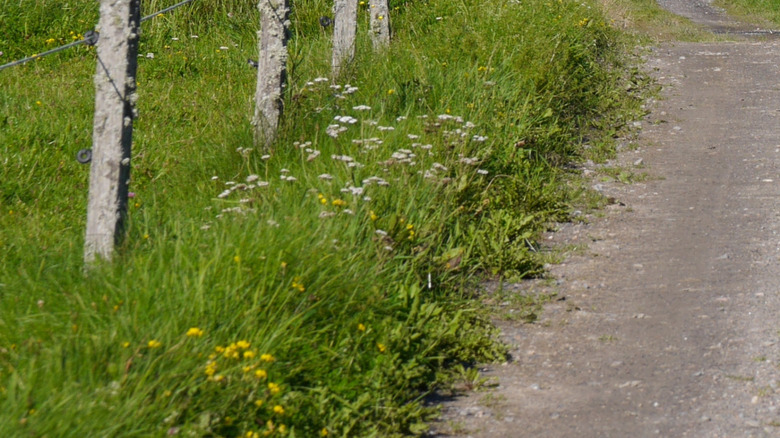
If you would like to create a natural border using the 3-inch edging rule, it's usually best to do the work in the spring. Working at the beginning of the growing season eliminates the narrow strip of grass before it starts growing aggressively. Soil is generally easier to work with during spring, as well.
Start by determining where you want to create the narrow trench. If you're planting a new lawn or creating new garden beds, you might use rope, chalk, or marking paint to determine where the trench will go. If the gardens are already established, it will be easy to see where your border line should be. Then you can begin digging the trench with the sharp spade. Try to maintain a vertical orientation of the spade for a straight, clean cut along the edge closest to the garden bed or driveway. Continue working along the entire length of the edge. You can use duct tape or a marker to create a line at 3 inches on the spade itself to help you visualize the desired depth.
Once you reach the end of the line, shift to the side closest to the lawn and complete the narrow trench. Angle the blade of the spade to remove a narrow wedge of turf all the way along the line. This newly dug area should prevent any grass from growing across the trench and reaching your garden bed or gravel driveway.
Maintenance steps to take after digging the 3-inch trench
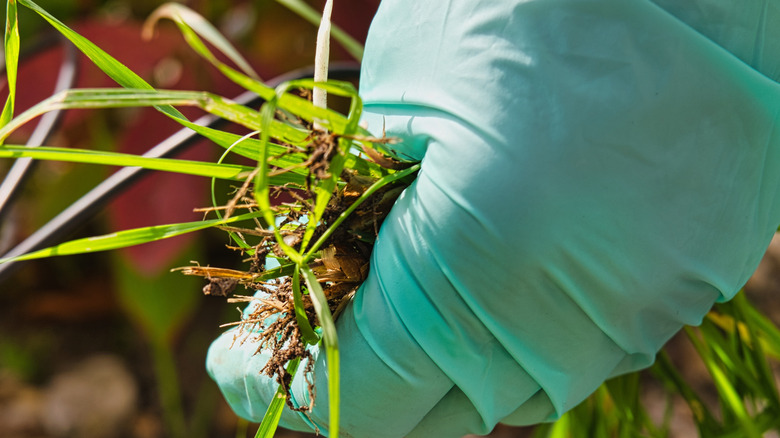
After digging the narrow trench, you will need to perform some maintenance steps to keep the area free of grass and looking sharp. Start by using a small trowel or the sharp side of a spade to remove loose soil and enhance the lines of the trench wherever necessary.
You'll want to mow the grass near the trench at the same time you're mowing the rest of the lawn, though it might take some precision. Keep the mower wheels out of the trench to avoid tilting the mower deck and scalping the grass. Since you may not be able to mow as close to the trench as you'd like, you may have to use shears or a reliable string trimmer for weeds and grass blades that were missed.
Weeds and grass plants may try to sprout in the trench during spring and summer. Pull these plants by hand or carefully use a hoe on them. You may need to occasionally use the spade throughout the year to recut the trench to be certain it remains deep enough to prevent grass roots from spreading. Use a hand trowel to remove any dirt clods that fall into the trench, as this could provide an easy path for migrating grass and weeds, as well.