

How To Keep A Gravel Driveway From Washing Out With The Right Materials
We may receive a commission on purchases made from links.
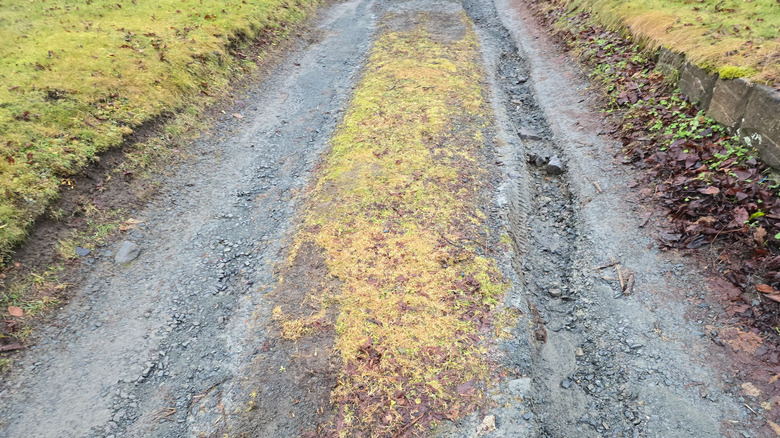
Gravel driveways are a beautiful way to enhance your home's exterior. The look of natural tones on a meandering road adds a great rustic touch without being stiff like concrete or appearing too busy like pavers. But one downside of a gravel driveway is its tendency to wash out, especially during rainstorms. This refers to gravel being displaced by runoff from heavy rain or melting snow. As a result, your once beautiful gravel driveway turns into an eyesore with ruts and puddles everywhere and piles of gravel accumulating at the edges. It also makes driving hard, and worse, becomes a potential safety hazard. Luckily, there are ways to prevent these washouts or minimize their severity. One of the ways to keep your gravel driveway secure and locked in place is to use the right materials during installation — think angular crushed stone and gravel stabilization grid.
Angular crushed stone, made by breaking large rocks into smaller pieces, has jagged edges that lock together to form a firm base layer when compacted. The rock then forms a barrier that breaks the energy of running water, slowing it down so it doesn't gouge out the earth beneath it. The stabilization grid, on the other hand, prevents gravel from shifting by keeping it confined within the honeycomb-shaped cells. So combining the hard angular crushed stone base and geocell stabilization grid will keep you from rebuilding or releveling your gravel driveway every other season due to washouts.
Using angular crushed stone in building gravel driveways to prevent washouts
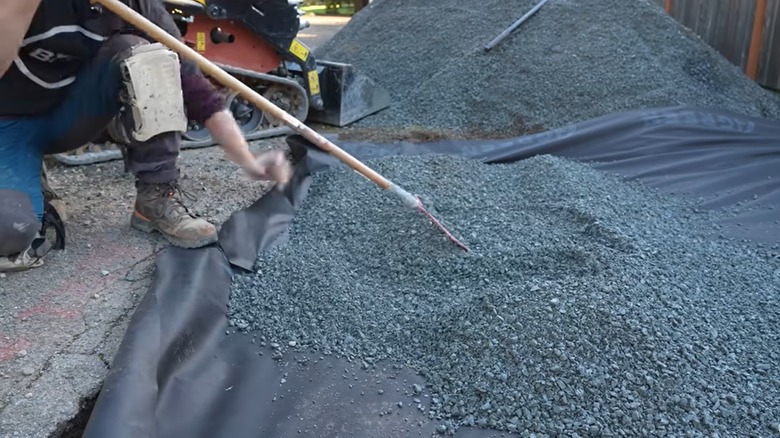
To get that awesome long-lasting crunch underfoot, you need to build your driveway correctly from the start. And at this point, the key focus is the base of the driveway which serves as the foundation. This foundation layer should use angular crushed stone to help prevent the surface gravel from sinking into the underlying soil. For the best results, you want two layers at the bottom: the base and the sub-base (middle) layer. Both of these layers should contain angular crushed stone but in specific sizes as follows.
For the base layer, which should be 4 to 6 inches deep, use crushed stone that's 2 to 4 inches in size. This layer provides the driveway with drainage and structural support. Next, add a 3- to 4-inch-deep transitional layer using crushed stone that's ¾ to 1 inch in size. Finish with a 2- to 3-inch surface layer of gravel. This top layer provides both traction and visual appeal, and it's also where the stabilization grid comes into play.
Note that you are not going to pour all the stone layers at once. Lay it down one layer at a time, using a rake to spread and smooth out the rocks, then use a plate compactor to compact each layer before adding the next. Compacting keeps the crushed rock layers from shifting and increases its density enhancing its load carrying capacity. If there are tight edges on your driveway that a plate compactor cannot reach, use a hand tamper instead. A good rule of thumb is to use crushed stone that's a little wet to enhance bonding during compaction.
Gravel stabilization grid further prevents gravel washout
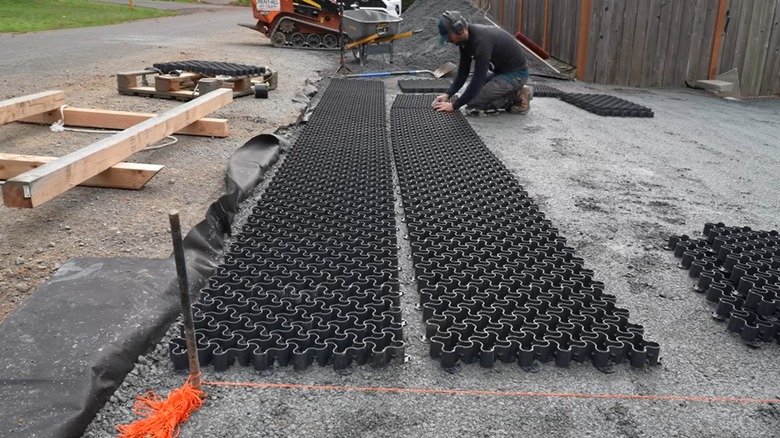
Before laying the top-surface gravel on your driveway, using a stabilization grid will help prevent washing out and gravel piling up at the end of your driveway every time there's heavy rain. These grids, also called geocells, are honeycomb-shaped plastic mats that are typically 1 to 2 inches deep. For instance, Amazon's clever solution for a more durable gravel driveway is a 1-inch deep grid, the Vodaland Permeable HexPave System. So, first lay down the grid on top of the two base layers. If you're using the flexible roll-out geogrids, use stakes at the edges to keep everything in place. If you have the stiff kind, snap the panels to interlock the grid system's sections as you go.
Next, pour gravel over the grid panels and spread it evenly with a rake. Compact this top layer and ensure the grids are completely filled and covered. Once the gravel has been compacted, inspect the surface for any low spots and add more material where needed to create an even finish. Last, use edging ideas that make for the perfect landscaping to keep the gravel on your driveway in containment.