

Turn An Old Frying Pan Into A Creative Way To Tell Time With A Clever DIY Change Site
We may receive a commission on purchases made from links.
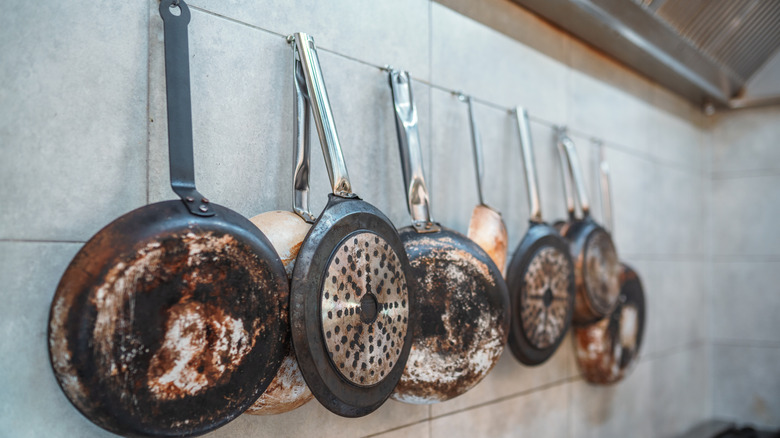
Every frying pan will see its final day on the stovetop. Maybe the nonstick coating has scratched away, or the surface is warped and uneven, or you've gotten a new fancy cookware set, knocking the old one off its pedestal. While your old pan will no longer be the sidekick for dinner time, it doesn't have to be banished to the recycling center. With a little creativity, you can turn it into an analog clock. The circular pan bottom just needs a time mechanism and a decorative facelift to become a stylish, functional time piece.
This project is a great way to repurpose pots and pans around your house for a unique art project. Along with the retired cookware and battery-powered time mechanism, like the Roymnie Clock Mechanism, you'll need acrylic paint and a drill. There are lots of designs to embrace with this project, so we'll start at the drawing board. You can decorate the interior or the exterior of the pan to be the new clock face. Choosing the former will mean the time mechanism box will stick out from the backside of the pan, making it better for a tabletop clock that can be propped up. The latter design will ensure the mechanism box sits inside of the pan's bowl so the backing will be flushed, making it suitable to mount. In particular, this would be a unique piece to create the perfect gallery wall. Plus, there are various styles for the hour and minute hands to choose from. Whichever style you fancy, you'll end up with chic, custom decor that has an artisan flair.
How to create an analog clock from a frying pan
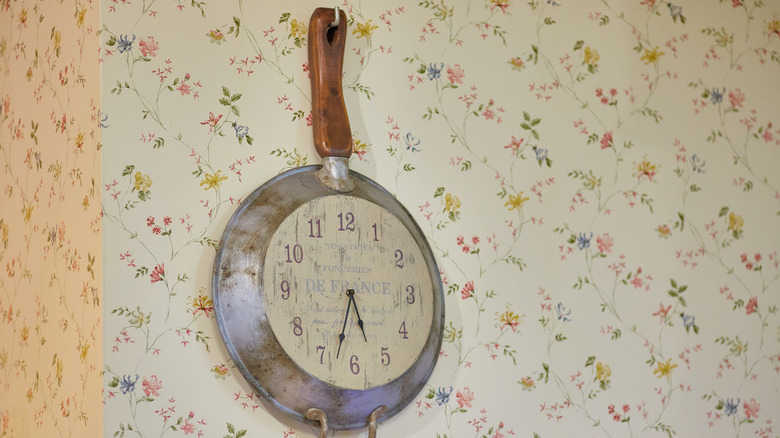
First things first, you'll need to thoroughly clean the pan. Degreaser or acetone will ensure the surface is grime free, so the decals won't have a problem sticking. Once the cookware is clean and dry, drill a hole in the center of the base. To be precise, measure across the pan's surface vertically and horizontally, marking each middle point. Then drill where the two marks overlap. If you want to remove the pan's handle, now is the best time. Keeping it will lend to the unique character of upcycling, while removing it can create a more high-end clock.
Next, it's all about the design. Apply a coat of acrylic paint to the side of the pan that will become the clock face. The paint creates an even base layer for a polished look, but you can forgo the extra color for a more rustic finish. A simple method to cover the pan in one sweep is to decoupage your design. Just print and cut out a clock template the same size as your pan and use Modge Podge Gloss Finish to glue it in place. This instantly transforms the surface into a masterpiece, even if art wasn't your strongest elective. For those feeling particularly artsy, you can hand-paint your design. Keep it simple with just a few numbers around the edge, or show off your skills and brush on a scenic night sky. The pan is truly a blank canvas for any design.
Finally, screw the clock mechanism in the center, following the product's installation instructions to ensure the time is set accurately. Now your clock is ready to style. Don't forget to decorate around your clock for the ultimate decor statement.