

Concrete Blocks Can Do More Than Hold Back Soil In The Garden
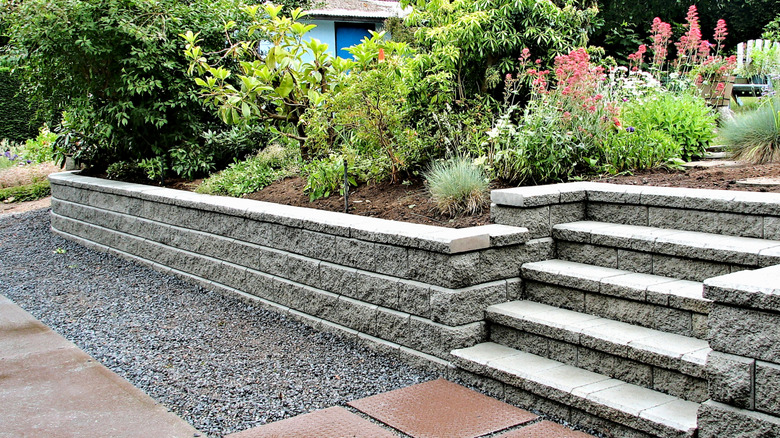
Concrete blocks have successfully held soil in place in the form of retaining walls for decades, but that's far from the only way these blocks can contribute to your garden. Another particularly functional use for the blocks, for example, is in composting. Whether you've just started composting or are a veteran composter, you and your compost can benefit from a sturdy concrete compost bin.
Concrete is an effective compost bin material for several reasons, notably its durability and the fact that it won't rot the way that wood does over time. Concrete soaks in and retains heat, which is especially beneficial for hot composting (and when it comes to hot versus cold composting, hot is much quicker). A concrete compost bin can be a permanent structure, or you can make it without mortar for a semi-permanent bin that can be moved, reconfigured, or easily repaired.
With this material, not only can you make your own DIY compost, but you can DIY your bin. Except for the heavy lifting, a concrete block compost bin is easy to build, as well as inexpensive. The two most prominent designs for concrete bins are a simple, U-shaped, single-pile holding bin or a three-bay bin designed for hot composting and frequent turning.
Planning and prepping your DIY concrete compost bin
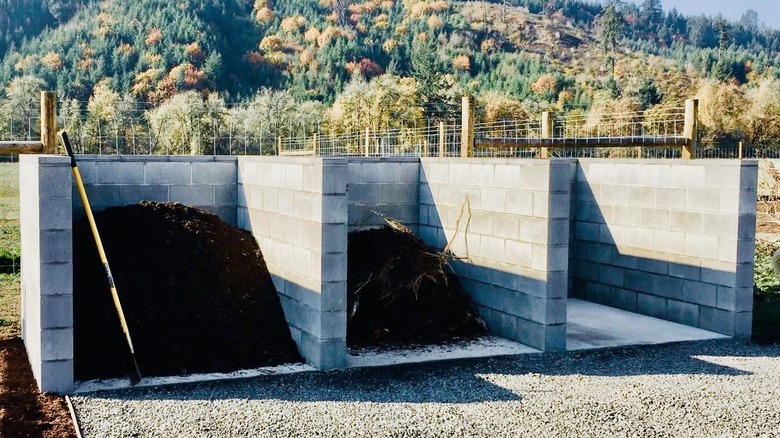
To create a simple, mortarless, three-bay concrete compost bin, you'll need 70 concrete blocks and at least three pieces of ½-inch rebar, which should total under $150. For a single-bay bin, as few as 38 blocks is sufficient, bringing the cost down even further. Work gloves are also a must for lugging these rough, heavy blocks.
Both designs are typically three-sided and open at the front, allowing easy access for adding to and turning your compost. Most concrete bin designs are open at the top, though it is possible to include a cover for your bin, especially if critters are a problem around your compost. You can place the blocks flush with each other, or leave space in between to allow more airflow. A concrete bin may not be the world's most attractive structure, but you could plant vines around it for a look that fits the landscape better.
To create your bin, you'll first need to choose a level and dry spot in your yard. Clear out any debris. Especially when working without mortar, it's a good idea to put down a layer of sand to help with leveling and to give the blocks a firm foundation.
Building your compost bin with concrete blocks
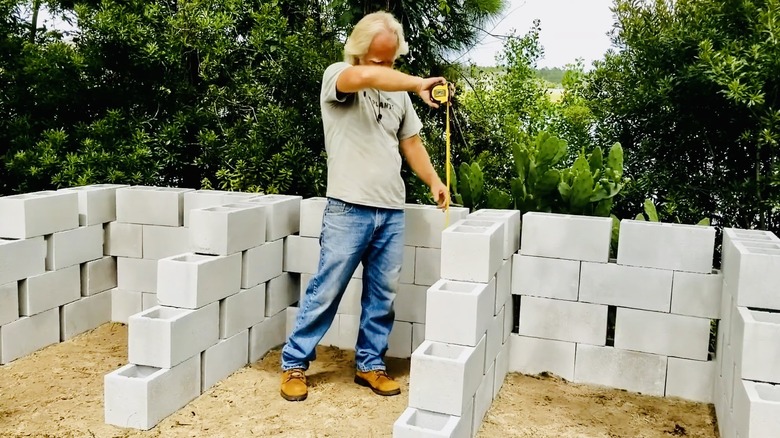
Put down your first layer of concrete blocks on their sides with holes facing up, pressing them firmly into the sand layer. For the three-bay design with 70 blocks, you'll first lay down four parallel, evenly spaced rows of three blocks each. Then, you'll create the back of the bin with a long row of nine blocks that abut the rows of three at perpendicular angles. All blocks on the bottom row of the back wall should be flush with each other, including at the corners, which should also be flush with the blocks on top of them. Stagger the second layer of blocks on top of the first layer for both the rows and back wall, leaving about ½ inch between blocks for aeration.
Once you get to the third and fourth layers, continue to stagger the blocks and use one less block on each side than you did on the layer below, creating a stairstep look for each of the bay dividers. Once all the blocks are stacked, reinforce the structure by pounding your rebar into the block holes in the two corners and two inside stacks at the back end of each bay divider.
Now you can start loading organic materials into the first bay to decompose. To take advantage of this three-bay system, place fresh materials to be composted in the first bay. The second bay will contain compost that is actively decomposing, while the third bay will be for compost that is cooling and curing into finished compost for your garden.