

Move Over, Plastic Plant Labels: There's A Durable, Eco-Friendly Option
We may receive a commission on purchases made from links.
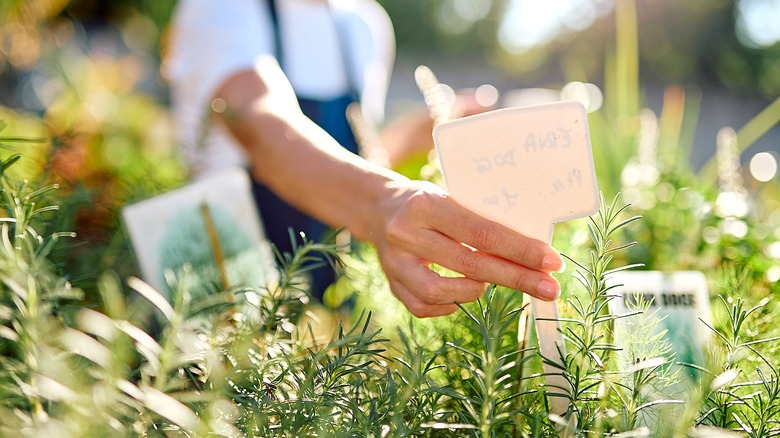
As every gardener knows, there's something so satisfying about growing your own fruit, vegetables, and herbs (and using them in your favorite dishes). But if you have a large or diverse garden, it can be tricky to keep track of all of your plants unless you've got a solid labeling system in place. While you could always use plastic tags (like these Dalzom 4" Plant Labels from Amazon), we've found a more fun alternative: painted rocks.
There are a few good reasons to consider switching from your plastic plant labels to painted rock markers. For starters, rocks are made from natural (rather than synthetic) materials, so they're better for the environment. They're also sturdier than plastic tags, which can easily become bent or knocked over. Plus, since rocks are bigger than plastic garden tags, you'll have more space to decorate them however you'd like. It's a great (and sustainable) way to express your creativity while adding some color and personalization to your garden.
Before we explain how to try this project for yourself, let's talk about how to choose the best rocks — which could be right in your own backyard. As you're digging through your garden, try to find rocks that are flat and smooth, so you have enough surface room to paint them (think river rocks). If you don't have any, you can buy them online or from your local home improvement store. This 30-pack of Daltack Natural River Stones is a good example of what to look for. Once you've gathered your rocks, you're ready to make these adorable DIY creative garden labels for your yard.
How to paint rock markers for your garden
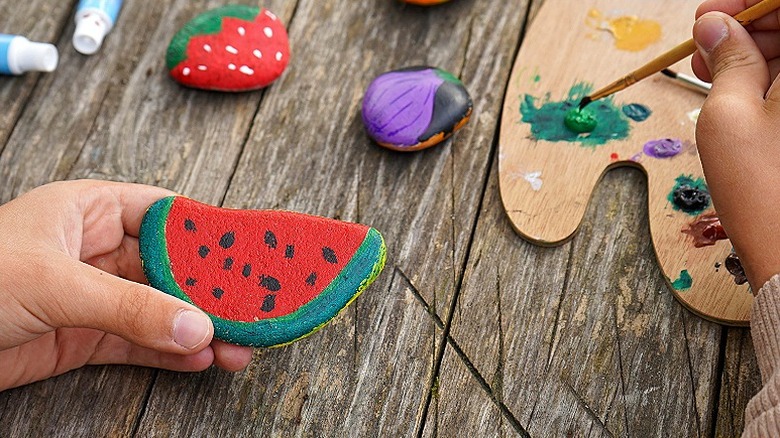
To keep this project eco-friendly, it's important to choose the right painting supplies. Specifically, you'll want to buy non-toxic products made from natural materials to avoid harming wildlife and to keep your garden healthy. This includes the paint itself, as well as the sealant and the markers or paint pens you use to write the plants' names. Finally, you'll also need some brushes: a few for the paint and a separate one for the sealant.
Now, it's time to roll up your sleeves and get crafty. Start by drawing your design on a rock with your marker or paint pen. (If you aren't confident in your sketching skills, you can practice on a piece of paper first or use a pencil instead.) Then, working in layers, begin painting your rocks. Let each layer dry before moving on to the next one. When you're done, use your marker or paint pen to write the plant's name. Leave the rocks to dry overnight, then add a couple coats of sealant to protect them against the elements.
After the season ends, it's a good idea to bring the plant markers inside so they don't get damaged by harsh winter weather. Before putting them back outside for the next harvest, it also helps to apply another layer of sealant. Or, if you decide to switch up what you're planting, you can paint over the old design to re-label the rock.