

How To Sharpen Drill Bits With A Workshop Essential
We may receive a commission on purchases made from links.
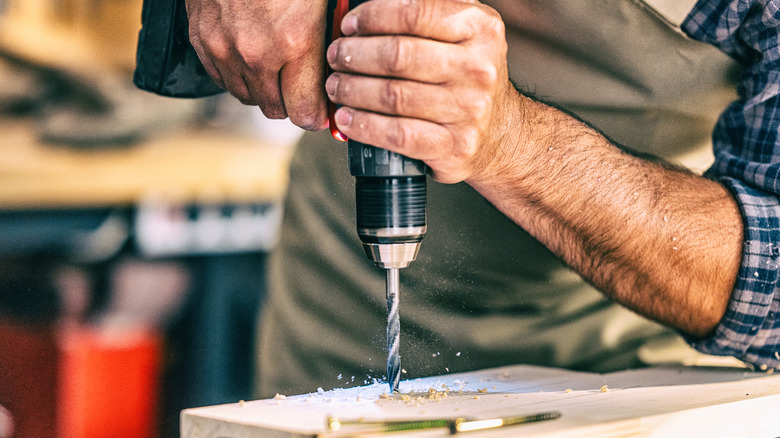
Whether you're a precision machinist or a novice garage tinkerer, there's nothing more infuriating than starting a new DIY home project and having to stop because your drill is skating across a piece of wood instead of creating a hole in it. Or maybe you suddenly find yourself smelling burning plastic and putting way more elbow grease than necessary into what should be a simple hole in a piece of PVC. Both of these situations are signs that your drill bit is dull and needs sharpening. But there is one tool that can sharpen bits in a matter of seconds, and chances are that you already have it in your workshop. That tool is the benchtop belt sander.
Though mainly used to sand wood surfaces, a belt sander can also offer a controlled way to bring dull drill bits back from the dead — no bench grinder or specialty sharpener required. The trick lies in positioning the drill bit at the correct angle against a moving abrasive surface, which is exactly what a benchtop belt sander is built to provide. For added guidance, you can draw a line with a non-permanent marker on the belt sander's table at roughly 118 degrees to help you match the bit's tip angle as you sharpen it.
If you don't already own a benchtop belt sander, Harbor Freight has the 4-inch Central Machinery Disc Sander for about $65 (it's just one of the brand's game-changing home improvement tools worth adding to your workshop). If you prefer a more narrow belt, you can also check out the 1-inch WEN Benchtop Belt and Disc Sander on Amazon for $90.
Get the cutting edges sharp first
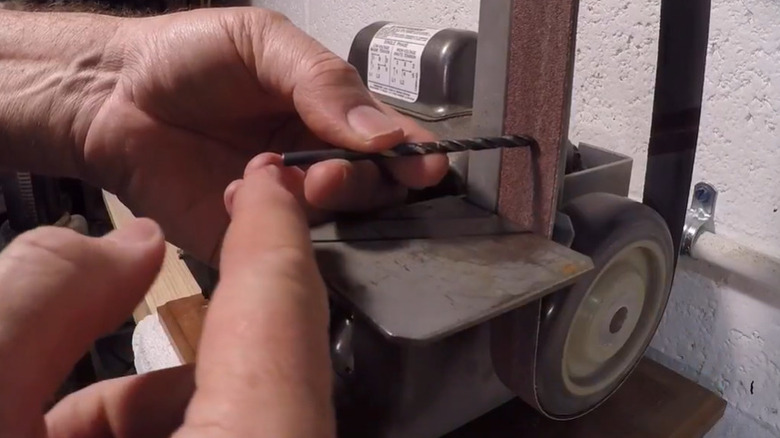
One of the best things about this hack is that it'll work for most standard drill bit sizes. However, you will need good vision and a steady hand for bits with a smaller diameter (such as a ⅛-inch bit), as they require more precision. Make sure you have a medium to fine-grit sandpaper on the belt before getting started. For example, sander belts with 80- or 120-grit paper will work great for this job. Begin by examining the cutting angles on both sides of the bit, noting where you'll sharpen it.
Then, lay the bit on the belt sander's table, with the cutting angle aligned against the belt. Draw a guideline behind the bit to mark the position on the table. This should be at about a 118-degree angle from the belt. Now, turn on the sander and briefly touch the dull edge of the bit against the running belt to grind away the worn tip. Do this a few times, examining the bit after each pass to monitor your progress.
Once you've sharpened the cutting edge on one side, rotate the bit and repeat this step on the other side, matching the angle as closely as you can. Remember, if the two sides don't match, the bit will be off-center and, as a result, won't drill straight. So, this step is worth taking slowly, especially if it's your first time sharpening a bit.
Use hex nuts for accuracy and adding relief behind the edge
Once you've sharpened the cutting edges on both sides, grab a couple of hex nuts to test your angles. Line up the hex nuts side by side on a table, then place the sharpened bit directly beneath them so the flat sides of the nuts line up with the cutting edges. If both bit sides sit flush with the bottom of the hex nuts, then your angles are even, and you're ready to move on. But if one side looks off, just take the bit back to the sander and touch it up until both edges evenly match the nuts.
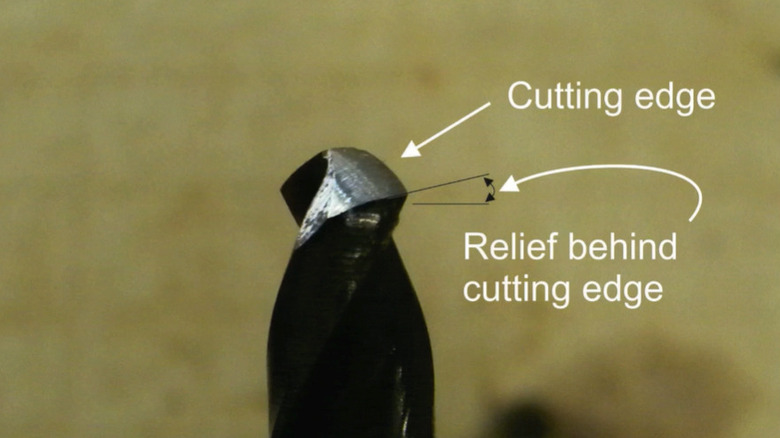
Be sure to perform this quick hex nut test after every sharpening to prevent taking one side back too much. After ensuring both edges are even, you'll need to create a small amount of relief (also known as lip relief) just behind the cutting edge. This area will be slightly lower than the cutting edge and is necessary to prevent the bit's edge from rubbing against the material you're drilling into (reducing friction and improving cutting efficiency).
For this step, hold the bit at the same angle you used before, then roll it slightly upward on the belt to grind away a small section from the cutting edge. From a side view, this area should look like a downward slope on the back of the cutting edge. A couple of light passes are all you need, as removing too much material here weakens the bit. Once both sides have relief, test your newly sharpened bit to ensure it's ready to go before starting your project.