

No Need For A Wet Saw: Use An Angle Grinder To Cut Tile
We may receive a commission on purchases made from links.
Let's say you decide to give your shower a makeover, and after doing a bit of research, you realize that a wet saw is often the go-to tool for cutting tiles — and you don't own one. Of course, you can go out, buy a wet saw, and spend time learning how to use it, but why do that when there's a simpler tile cutting method for the few pieces that you need to cut? Instead of buying a wet saw for this task, consider using an angle grinder to get it done.
Angle grinders aren't often considered one of the must-have tools for first-time homeowners, like hammers and screwdrivers. However, they do have their shining moments in home renovation when it comes to tasks like sanding wood and sharpening dull lawn mower blades — and for many DIYers, cutting tile is often another one of their value-adds. Not only is it suitable for this job, but it also costs less than a wet saw, which often starts somewhere near $65 and can easily go over $100.
Meanwhile, you can pay around $30 for a decent angle grinder that comes with cutting blades, such as this DCK Angle Grinder or the SHALL Angle Grinder. With this nifty tool, you're on your way to cutting perfectly-sized tile pieces without the hassle of learning how to use a wet saw — and without having to shell out the extra bucks for one. Note that not all grinders will come with a cutting blade; many just include the grinding wheels. So be sure to check the tool's accessory list to make sure you have this specific component in case you need to buy it separately.
Choosing the right cutting blade for an angle grinder
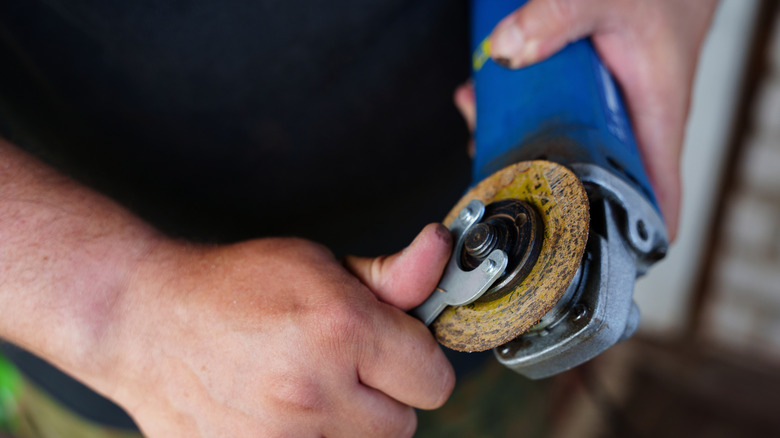
Before heading out to purchase your angle grinder, it's imperative to know what type of blade is required for this job. Oftentimes, the best blade for cutting tiles is a continuous rim blade — in other words, one that doesn't have serrated edges (like on a bread knife). The smooth, sharp edge of this blade will give you a clean cut on tile surfaces, as many tiles are made with ceramic or porcelain, or natural stones like slate and granite. Additionally, when looking at blades to purchase, be sure the cutting discs are compatible with your grinder so that they fit properly and safely — you definitely don't want a wobbly blade.
As an example, the DEWALT 4 ½-inch Diamond Blade is a good option for this type of job if your angle grinder doesn't already have a cutting blade. Its edges are diamond-coated, making them ideal for easily grinding through tiles without chipping them. Plus, its 4½-inch measurement is the exact disc diameter that most grinders accept.
Steps to cut tile using a angle grinder
While your new grinder is still unplugged or has the battery removed, press the lock button to unlock the spindle so that you can safely insert a new cutting blade or the one that comes with it. When attaching the blade, check that the rotation arrow on the disc itself matches the direction of the arrow on the grinder; this will ensure the blade spins in your desired direction.
Your angle grinder will usually come with a flange or retaining nut to secure the center of the disc to the tool. Make sure that the flat side of the flange is flush with the disc when you thread it onto your grinder, and use a wrench to make sure it's as tightly secured as possible. Depending on the angle grinder, you may have to hold down the lock button while you do this, and continue to do so as you rotate the wheel until it locks into place.
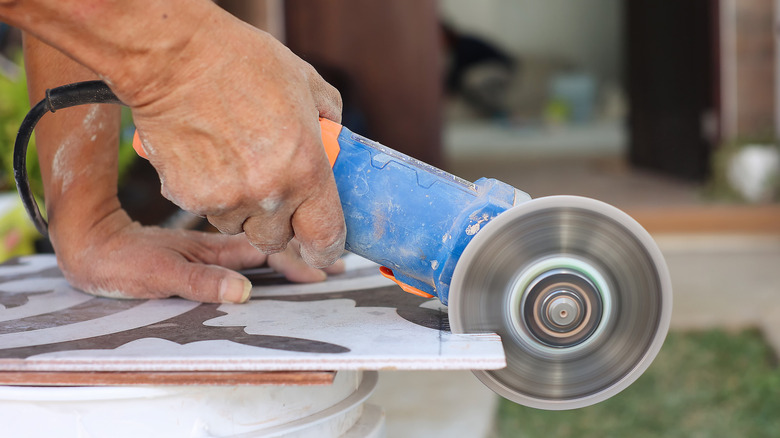
After making your desired measurements, mark a cut line on your tile so that you have a clear path for where to cut it. Set the tile on the edge of your cutting bench, and if needed, add a C-clamp to secure it. Don a pair of safety goggles, especially if you have the wheel guard off. Power up the grinder, and with the tool moving away from you, carefully cut your tile piece along the drawn line. You may need to repeat this with deeper cuts along the score if you don't cut through the tile the first time. After the cut, turn off the grinder and examine your newly cut piece, noting any jagged edges that may need sanding before installation. In the end, it's an easier (and cheaper) process than using a wet saw.