

Mistakes Everyone Makes When Cleaning & Maintaining Tools
We may receive a commission on purchases made from links.
Whether you're dealing with a toolbox filled with rusty and greasy tools, or need to disinfect your garden equipment, there are certain mistakes with garden tools to be avoided. Unfortunately, while a good old-fashioned bucket of soapy water can go a long way towards cleaning many things around the house, for others, it's not that simple. Similarly, while maintaining the hinges and mechanisms for certain tools can be as easy as reaching for a can of WD-40, it's by no means a "one size fits all" fix.
Below, you'll find 15 common mistakes to avoid when it comes to cleaning and maintaining your tools. Some can compromise the quality of your tools, leading to rust, rotten handles, and dull blades. Some can lead to safety hazards, especially when working with electrical items. And some, even if done with the best intentions, can be catastrophic to your tool's capability if you don't follow the correct procedures. Whether you're tired of dull blades or have an expensive new tool that you want to keep in fighting form, give yourself the best chance of success by avoiding the cleaning and maintenance mistakes below.
Not drying your tools properly after cleaning
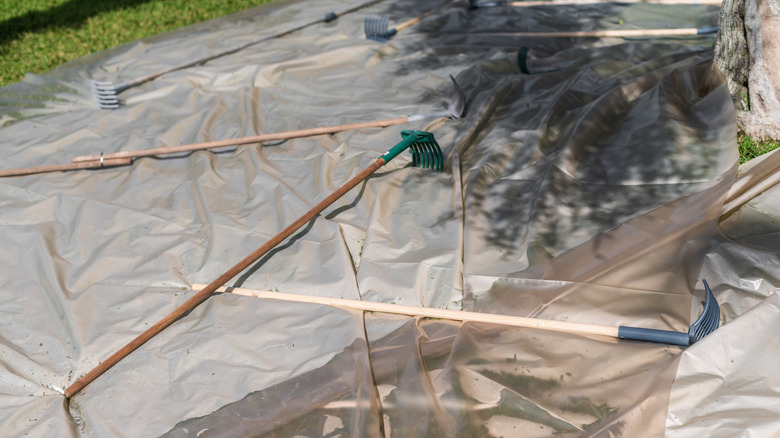
Even if you manage to restore your tools to a shiny, like-new condition, you can easily undo your hard work by simply not allowing them to dry. If you don't, your tools can find themselves cooped up inside your shed, garage, or toolbox with residual moisture. In turn, this can creep into any cracks in wooden handles, which can eventually lead to rot. Similarly, it can also seep into mechanisms and other metalware, eventually leading to rust and corrosion.
To avoid this from happening, just give your tools a chance to dry. You can wipe them down with a microfiber cloth to wick away the worst of the moisture. But to be sure, you can also leave them either outside in the sun for a short while, or laid out in a sunny windowsill. Allow them to sit in the warmth, turning them over to ensure all sides are exposed and allowed to dry. It can also pay to double check your tool box, shed, or garage for signs of moisture and ensure that they're nice and dry before returning your tools to storage.
Using too much water on mechanical tools

Making sure that your tools are fully dried before storing will help to ensure that they don't rust. But you should also aim to avoid using too much water during the cleaning process, especially on mechanical tools. Water will flow freely into any cracks or gaps that it can find, and if you use too much — especially on tools with tricky-to-access gears and mechanical parts — it can lead to long-term damage, like rust. It could seep into electrical components, too, leading to breakages, shorting, and potentially-dangerous hazards.
It's always best to err on the side of caution with water and tools. Instead of trying to bust through grease and grime with high amounts of H20, it's best to use a smaller amount of warm water in combination with a de-greasing dish soap. Wipe the tool down with a sponge or a cloth before re-wiping with a dry cloth, and leaving it somewhere warm to fully dry. Once it has, give any metal tools a wipe down with a specialized tool oil to prevent the metalware from rusting.
Soaking wooden handles in soapy water
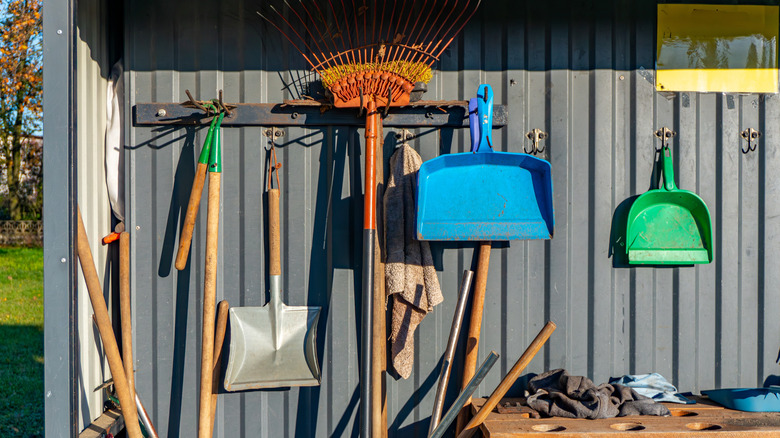
This is especially true with garden tools, like shovels, pitchforks, and axes, which tend to get very dirty, very quickly. While you need to clean them periodically, it's important to avoid using too much soapy water. If you do, and they have small cracks or splinters of wood peeling away, the wood can absorb the water, causing it to soften, expand, and warp. Over time, this can weaken the wood, potentially making it dangerous to use.
To avoid this, try cleaning those wooden handles with a damp cloth. You can apply more water if you have to, depending on the severity of the soiling. But always aim to use as little as you can get away with, and when you're finished, be sure to dry your tools as soon as you possibly can. As an added step, you can apply WD-40 to your wood handles to keep them splinter free, thus making them safer to use and reducing the chances of water ingress.
Using undiluted bleach to clean bladed tools
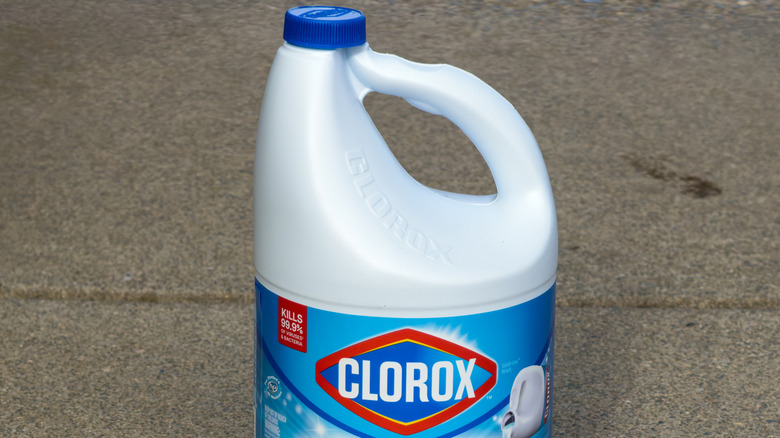
There are many ways to use bleach around your home beyond everyday cleaning, but you should avoid using it undiluted — especially on bladed tools. Bleach is naturally corrosive, which is what makes it such an effective cleaning agent. Because of that, unless it's diluted, it can actually cause pitting in your blades, ruining the edge.
Instead, the Iowa State University Extension suggests mixing up a 10% bleach solution. To do so, combine 9 parts of water with 1 part bleach, and use that to wipe down your tools. This is strong enough to clean your tools and kill any harmful pathogens, thus preventing their spread around your home and garden. But it will also protect your blades from the bleach's corrosive capabilities. Just remember to rinse them with clean water afterwards, and (you guessed it) allow them to thoroughly dry.
Ignoring rust until it becomes severe
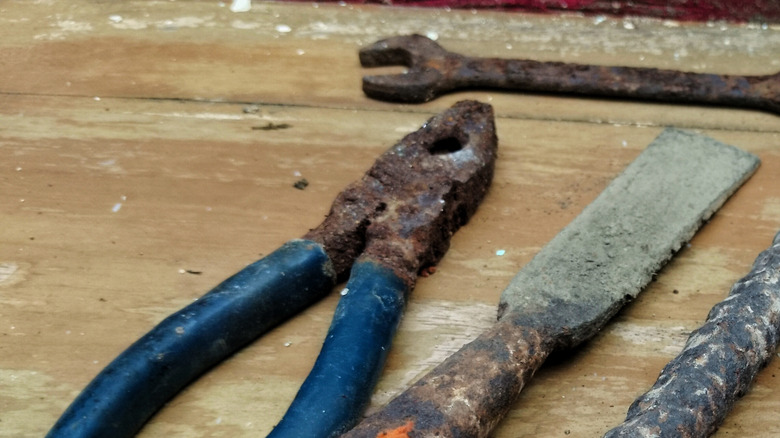
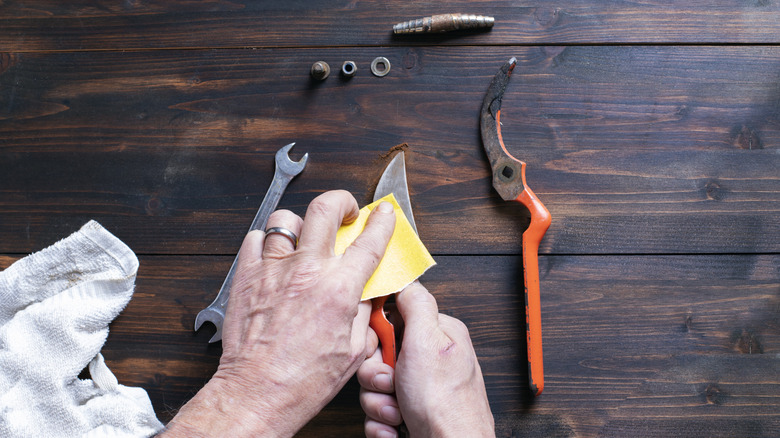
If you've noticed the odd, minor spot of rust on your go-to tools, and have decided that "it's fine" or that you'll deal with it later, we'd urge you to have a rethink. Rust should be dealt with as soon as you notice it on your metalware. If it's left in situ, it will continue to penetrate the metal — evolving from a surface problem into a more deeply-rooted issue that's decidedly more difficult to solve.
So, remove rust and corrosion from your tools as soon as you begin to notice it. There are several ways to do it, for example, you could grab your trusty can of WD-40 and a wire brush and use that to clean the rust off. Alternatively, you may be able to mix up a home-remedy, like vinegar and water, or lemon juice and salt, to naturally work the rust loose. Just be mindful of the tools you're trying to clean. If you're clearing rust from a blade, for example, then vinegar can actually lead to pitting on the edge, much like with undiluted bleach. Instead, you're better off using something like Evapo-Rust or another non-corrosive metal cleaner. These will lift the rust from your metal, without damaging the delicate, exposed metal of the edge.
Applying oil over existing dirt and grit
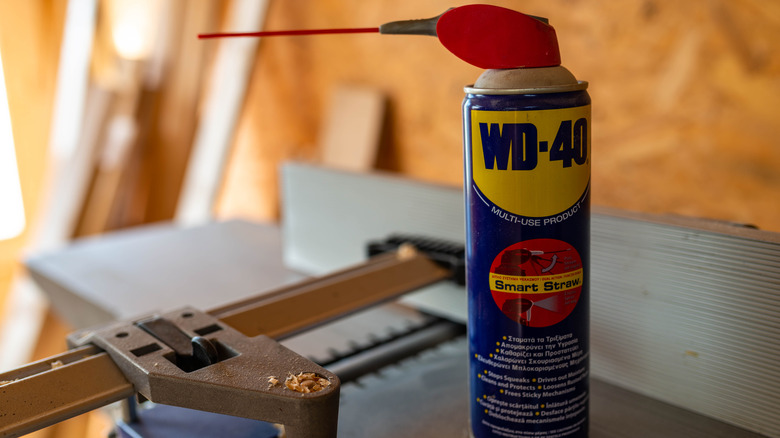
Every now and then, many tools can benefit from a fresh coat of oil. However, it's important to clean them thoroughly first. In fact, one of the mistakes everyone makes when using lubricants like WD-40 is neglecting to prepare the surface. If you don't remove as much dirt as you can, and you apply oil over it, you can end up locking the dirt in, making it much harder to remove. More than that, the oil and the dirt can form an abrasive paste, which can wreak havoc on gears and moving, mechanical parts.
So, following the other tips in this guide, give your tools a good clean first. Try to remove as much dirt as you can, and if you need to, use a small brush or blower to clear out hard-to-access areas. Next, give them a "wet" wash, before wiping them down and allowing them to dry. Finally, apply a fresh (and thin) coat of oil.
Using the wrong kind of lubrication
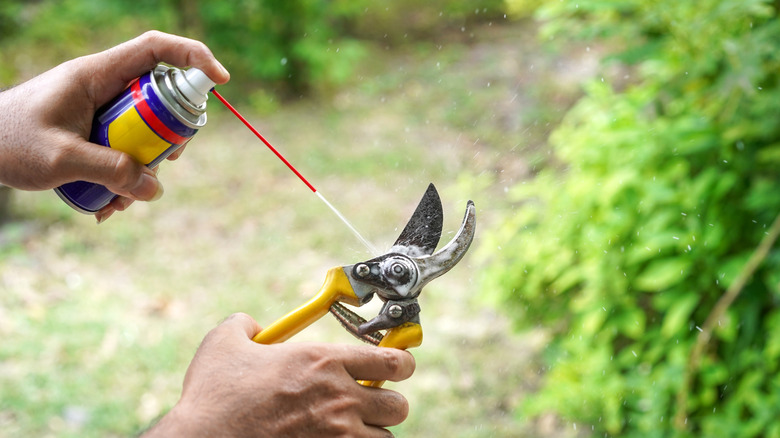
We've already covered the importance of properly preparing your tools for lubrication. However, it's also important that you use the appropriate type of lubricant for the equipment in question. For example, wood saw blades typically require a dry lubricant, like WD-40 Dry Lube, which helps them to cut smoothly through wood by reducing friction. Greasy liquid lubricants, on the other hand, tend to collect saw dust and shavings, which can gunk up your motor and form a paste that binds the teeth. Similarly, garden tools typically require something that's plant-safe, so that you don't accidentally poison your plants when you use them.
The best way to ensure you use the right lubricant is to consult the manufacturer's instructions. Alternatively, you may be able to reach out via their website or customer service line to double check. And failing that, you could always run a search online to see which kind of lubricant is best for the "type" of tool you're maintaining.
Applying too much lubricant
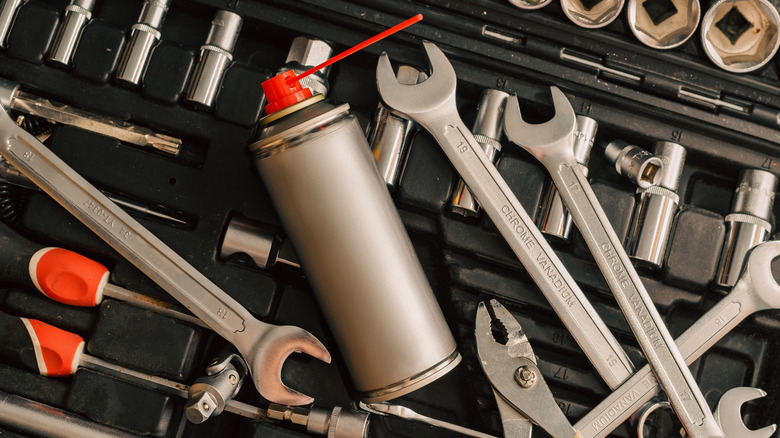
It's easy to overdo it with lubricant, but it's important that you don't. This is especially true with liquid lubricants. Excess amounts can actually attract dirt and debris, which again can mix with the lubricant and form a gritty paste. If this makes its way inside any gears or mechanical parts, it can cause all kinds of trouble for your tools and even render them ineffective.
Instead, you should use just a small amount and rub as fine a layer as you can over any metal parts. Even a thin layer will protect them from rust and corrosion. What's more, mechanical parts rarely need more than a small amount in order to work smoothly. If you're using something like WD-40, use the nozzle to spray a small amount into the gaps of any moving parts. For other parts, apply just a couple of drops to a clean rag and then wipe the tool down, being sure to clean away any excess fluid.
Sharpening tools incorrectly
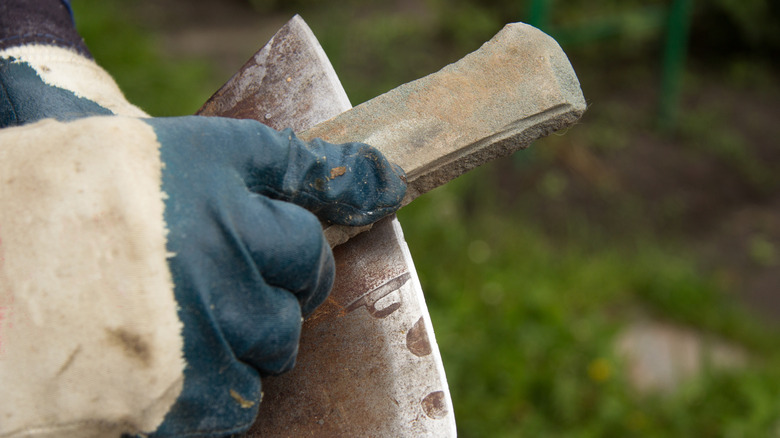
There are various DIY and garden tools that need to be regularly sharpened. Gardening knives, for example, need a nice, sharp edge in order to make clean cuts without damaging your plants. Axes need to be honed to ensure they bite into the wood instead of bouncing dangerously off it, and lawn mower blades need a keen edge in order to avoid tearing up the grass. The thing is, different tools tend to require slightly different approaches, and it's easy to get it wrong. For example, different blades often have specific angles that they need to be sharpened at. And even if you get that right, it's easy to apply too much pressure, which can cause the blade to "bite" into the stone and ruin the edge.
For most bladed tools, it's best to try and match the manufacturer's sharpening angle with your sharpener or whetstone. Sharpen the blade gently, applying minimal pressure to ensure you don't completely blunt it. And to ensure that you sharpen the whole blade (and don't accidentally breeze over certain sections), mark the edge with a felt-tip or Sharpie. This will "rub" away as you sharpen the blade, giving you a visual indication of which parts have and haven't been sharpened.
Not checking for loose screws or fasteners
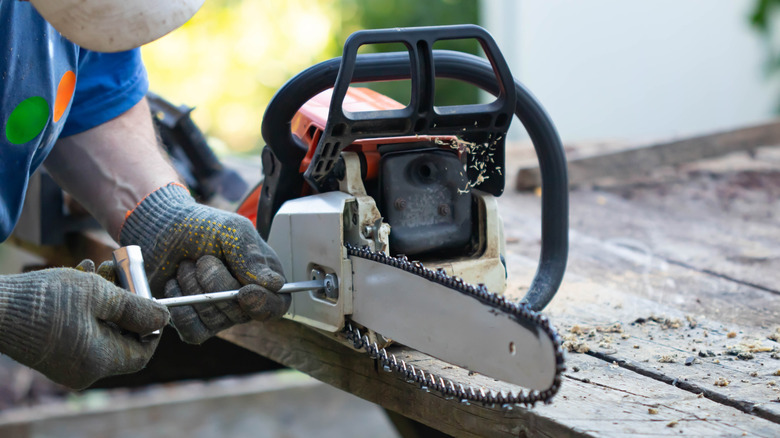
Regardless of the tool, if it has moving, mechanical, or screw-fastened parts, you should remember to double check them. Any parts that are loose or "rattling" are unlikely to improve by themselves, and should be fixed as soon possible. If you don't, those loose, rattling parts can come away entirely, leaving the tool unusable. More than that, if they break mid-use, they could potentially be dangerous, especially on tools like chainsaws, augers, and lawn mowers.
The best practice is to double check them whenever you retrieve your tools from the shed, and again before you put them back. Any parts that you can tighten or fix, do so before you use them. Alternatively, if you have power tools that are starting to rattle, and you're unable to fix them by yourself, then aim to have them repaired before you use them. If the tool is under warranty, then use it. If it's not, take it to a local repair shop and have it professionally dismantled and fixed. You'll likely have to pay for the service, but it'll almost certainly cost less than shelling out for a new tool.
Ignoring damaged parts
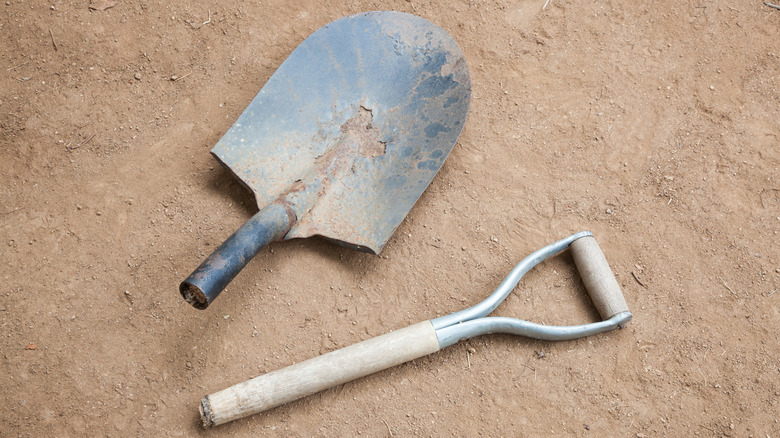
As well as monitoring your mechanical tools for loose and rattling parts, you should also inspect simpler items like shovels and other manual tools. As the old adage goes, "a stitch in time saves nine." If you keep on top of minor faults whenever you see them, you'll be able to extend the lifetime of your tools and save yourself the cost of new gear.
As an example, let's say that the wooden handle on your shovel has become chipped or is starting to splinter. Repairing the mark and sealing it against moisture will prevent a minor blemish from turning into a terminal bout of rot. Similarly, if the screw holding the head of your shovel in place is coming loose, then either tightening or replacing it will help to keep your shovel in fighting shape. Heads can also come away if those fasteners are loose, which could be dangerous with things like shovels and pitch forks that you'll likely be using with force.
Failing to inspect electrical cords and plugs
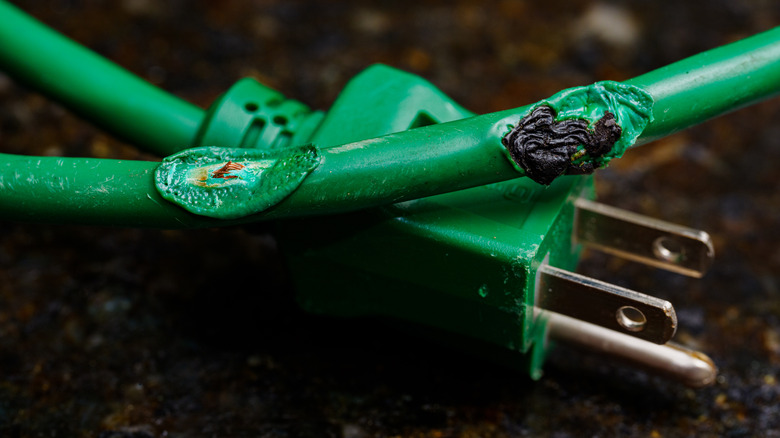
If you have a collection of corded power tools, it's important to regularly check for faults in the plugs and cables. Garden tools, for example, represent a high risk if cables and plugs are damaged — especially if they're used in a garden that's not completely dry. What's more, if you're having to work amongst woody bushes, branches and thorns can bite at the cable sheathing, leading to nicks and cracks that expose the wire assembly beneath.
So, whenever you go to use your power tools, make a point of inspecting their cables. Again, it's worth doing this before and after use, to ensure that the cables haven't been accidentally damaged. It's also worth checking the plug itself, to make sure the cable sheath is still secured inside the plastic. If it's not, and the cables inside are exposed, this could also be a hazard, so it's worth taking the plug apart and re-securing the sheath. If you can't, or the end of the sheath is torn or frayed, then you may need to trim the entire cable back slightly and rewire the plug. The key is to ensure the sheath is clamped securely in place, which will prevent accidentally exposing your wiring to moisture.
Ignoring the manufacturer's instructions
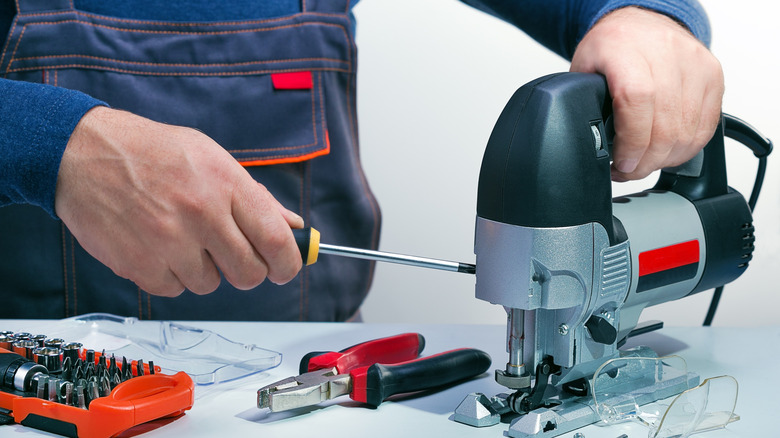
If you have them, it's always worth referring to your tools' manufacturer instructions. And that applies to both cleaning and general maintenance. Some may recommend certain cleaners for optimal results and to avoid damaging sensitive parts. Others, especially in the case of power tools, may recommend regular servicing in order to keep them in safe, working condition. Even if your tool is in perfect working order, failure to adhere to any advice in the manual could compromise the overall lifetime of your gear.
Another important point to bear in mind here is your tool's warranty. During the warranty period, most manufacturers will either repair or replace your tool if it unexpectedly fails. However, this is usually dependent on both how you use the tool, and the rigor with which you maintain it. By neglecting to clean the tool properly (or at all), following improper maintenance routines, or using the tool for jobs it's not designed to do, you could inadvertently void your warranty.
Turning your gas mower on just any side when cleaning
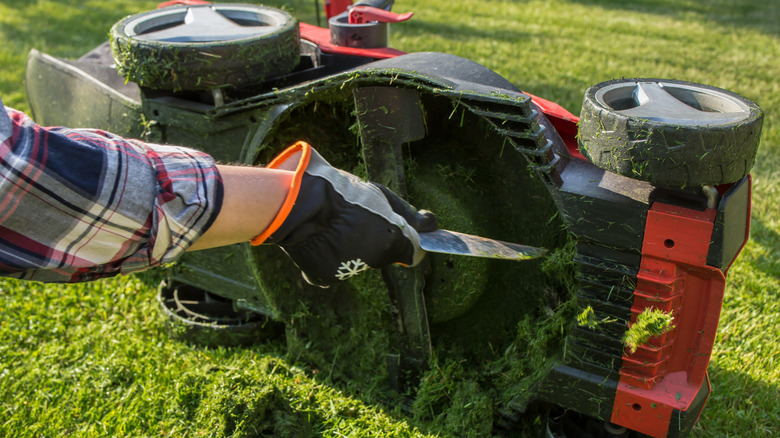
Cleaning the cutting bay is one of those lawn mower maintenance tasks you should be doing after every use, which means that tipping it on its side is almost unavoidable. However, if you have a gas-mower, then it's important to tip it the right way to prevent the engine from flooding. Flooding happens when too much fuel is allowed to enter the ignition chamber. This effectively suffocates the spark plug, preventing it from igniting the mixture. And while it's not usually catastrophic, it can delay your mowing and waste fuel, since you'll have to wait for the excess gas to evaporate before you can attempt to restart it.
Luckily, all you have to do to avoid flooding the engine when you tip it is keep the spark plugs facing upwards. This ensures that fuel remains in the tank, instead of flooding into the ignition chamber. If you're unsure — perhaps your spark plug is smack-bang in the middle of the mower — then consult your manufacturer's instructions. They should include advice on which way to tip the mower when it comes to cleaning.
Ignoring poor storage conditions
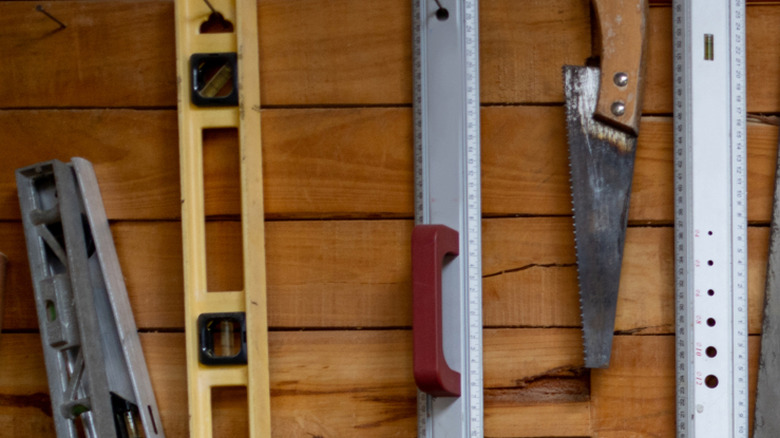
Damp sheds and intense, direct sunlight both have the potential to undo the hard work of even the most fastidious tool maintenance routine. Damp can cause metal components to rust, or work its way into your wooden handles, leading to expansion and warping. Tools may also crack if exposed regularly to high temperatures and humidity. Any condensation that builds up in a poorly ventilated space can lead to mold, which can work its way inside those absorbent wooden components.
To avoid environmental conditions in your storage area from damaging your tools, aim to keep it nice and dry. Fix any leaks, and if condensation tends to build up inside, work to add ventilation to ensure proper airflow. If you can, it's best to hang tools, rather than lay them flat on a shelf or leave them piled on the floor, as this will promote air circulation and prevent them from sitting on a damp surface. And if your storage area has windows, try to keep any wooden tools stored away from direct sunlight, to prevent them cracking in the heat.