

Don't Toss Old Utensils — Use Them As A Creative Way To Add DIY Wall Rack Storage
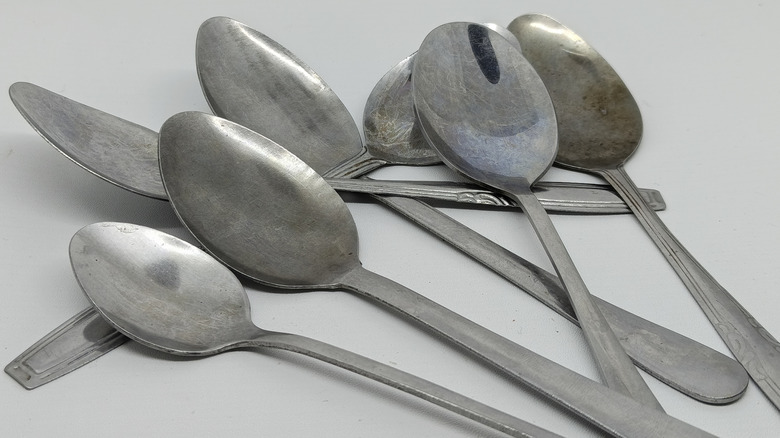
If you've noticed clear signs that it's time to replace your kitchen silverware, don't chuck them into the trash just yet. If your spoons, forks, or knives no longer look nice and shiny enough on the dinner table, they still deserve a second chance as materials for a new upcycling project. Together with a piece of scrap wood, your worn-out silverware may prove useful as parts of a farmhouse-style wall rack.
For this DIY, old spoons and knives are the easiest to work with because their heads provide enough space for drilling mounting holes. Forks can still be used, although you'll likely need to adjust the tines or find a different way to attach them to the wooden backing, so don't worry if your collection is a mix of utensils. You'll also need a piece of wood that's about one inch thick, 20 inches long, and 4½ inches wide. Prepare some standard tools every homeowner should have, such as a hammer or mallet, a power drill, and screws to assemble the rack. Those are the essentials, but a few optional materials — like metal polish and some wood stain — can make the wall rack look more polished. Furthermore, an F-clamp can help bend the utensils into uniform hooks, if manually shaping them is too tough to do on your own.
Upcycle old utensils into a farmhouse-style wall rack
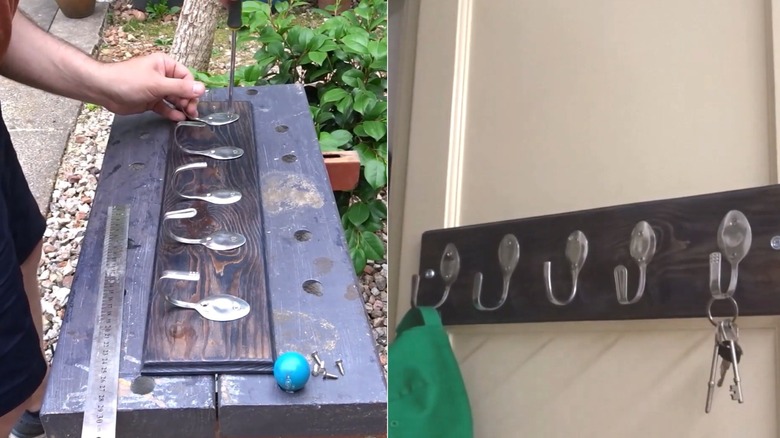
Before you put your back into hammering those old utensils into hooks, you should apply a coat of wood stain onto your wooden board so you can work as it dries. Here, it's best to sand the wood beforehand. After sanding and staining the wood, start working on the utensils by flattening the heads of each with a mallet or hammer. Work on a solid surface so the metal stays as even as possible. Next, buff your utensils by scrubbing metal polish onto them. Wipe them dry before drilling two holes into every utensil, placing one near the top and another about an inch below the first hole to create secure mounting points. Once the holes are drilled, it's time to bend the handle into a hook shape. You can do this manually using the hammer, but you can also use an F-clamp to shape each utensil a little more neatly.
Once you have your utensil hooks ready, arrange them evenly across the slab, then mark each drill hole before fastening them in with screws. After everything is attached, you can mount your upcycled wall rack wherever you want extra storage. It's also a simple way to add a farmhouse aesthetic into your home, among other methods. In the kitchen, it can serve as hanging storage for cookware or a spot to keep oven mitts within reach. Near the front door or entryway, it can become a convenient place to hang keys, jackets, hats, or reusable shopping bags.